How I 3D Printed A 3D Printer from Scratch

It seems ridiculous that someone without any 3D printing knowledge should, or even could, build a 3D printer entirely from scratch, but I did just that. Here's why, and how.
Setting the Scene
My first exposure to 3D printing was disappointing. The very first machine I ever saw was an early version of a consumer 3D printer by a Malaysian manufacturer. This was no Ultimaker or Printrbot. This was a science experiment that cost my school about $2500. Even by the standards of five years ago, that was definitely overpriced.
A couple of my friends and I were the only people even remotely interested in using the machine, so we had free reign over it. We soon discovered, however, that our monopoly was useless because the machine was itself even more useless. It could barely function properly without breaking down every week. But it still succeeded in igniting my dreams in this new and magical field of 3D printing.
The Start of Something New?
The Goal
Sometimes you learn something new that changes everything. 3D printing was my life-changing lesson. I barely knew anything about it, having spent three weeks or so on a machine that barely worked, yet I was excited. I was dreaming of all the things I could make. All the mechanisms I could design. All the fantasy cars and planes I could hold in my hands.
But the only half-working machine I had was not going to be enough. I needed a tool that would work in order to flex my creative muscles. I needed a new machine.
The Problem
At the time — and even now at the time of writing — 3D printers are not a high priority import here in Malaysia, where I am situated. I would have had to order one internationally and be taxed the Earth and my left arm for it, plus technical issues would be hard to resolve with limited support and level of technical expertise.
Another big obstacle was age and resources. As a sixteen-year-old high school student, my main source of funding was my parents. It would have been hard to make a case for dropping almost $1000 (including import taxes) on a tool I knew nothing about and was just learning how to use. I didn’t have the luxury of beginning a conventional journey into 3D printing.
The Solution
So there was no other choice but to build it myself. The individual parts needed to make a machine were easy to source from China, which ships easily to Malaysia. In addition, my parents were already used to the idea of me making things, because I’ve always been making things. Making a 3D printer didn’t sound any alarms, whereas buying a 3D printer raised many red flags. And that’s why I decided to make my first 3D printer.
In retrospect, I now think I should have just worked some night shifts at McDonalds until I could have bought a pre-made machine myself. Though that doesn’t mean that the experience wasn’t fun!
Step 1: Research and Resources
My first step in making my own machine was to do a lot of reading. I had heard of 3D printers less than a month ago when I decided to make one myself, so I had to learn about the different types of movement systems, basic universal parts, common problems, engineering and construction, tuning, and so much more. If you’re going to design a machine and build it from scratch, like I did, I recommend doing two things:
- Pick an existing machine as your model. Make sure it’s a machine with a good reputation and take design cues from it. This ensures the base you’re building on is solid. For your first printer, avoid coming up with some complex chimera of delta and Cartesian movement systems that uses pulleys to achieve Core XY motion.
- Make your design something special. This is important for me because it feels like my machine that I’m building, not just someone else’s machine that I’m copying. Make some small enhancement or change to make your design truly your own. Otherwise, just order a Creality CR-10S from Gearbest. It’s probably similar enough to what you would be making that the enormous effort to make your own machine is simply not worth it.
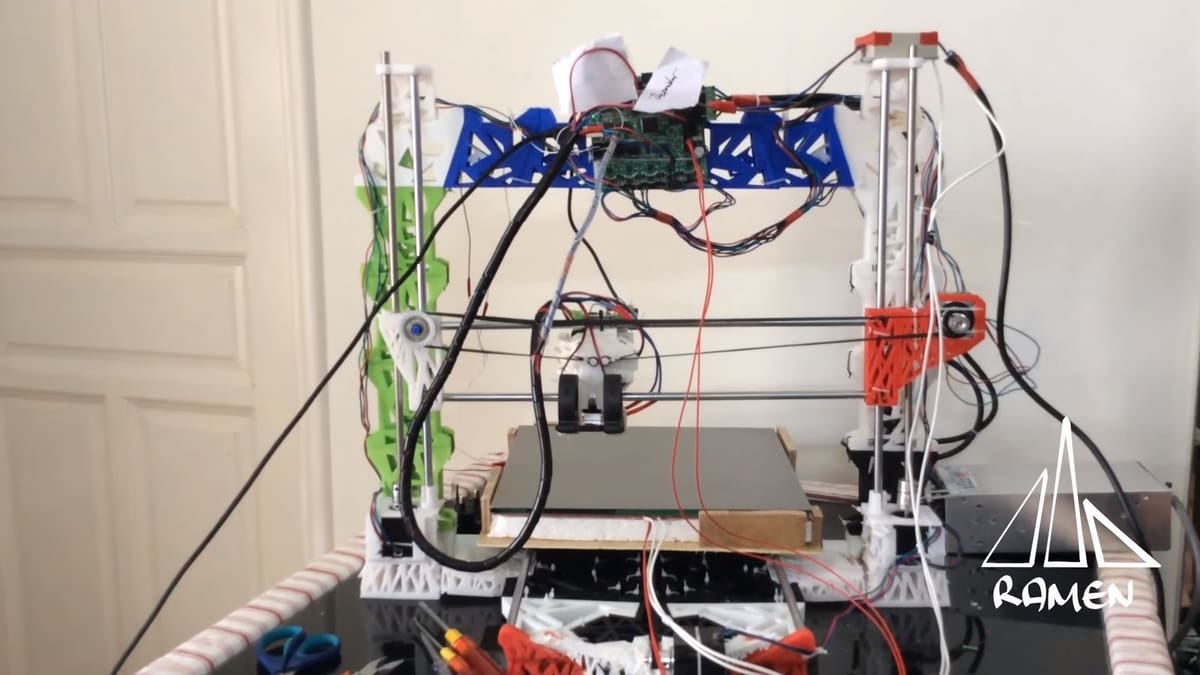
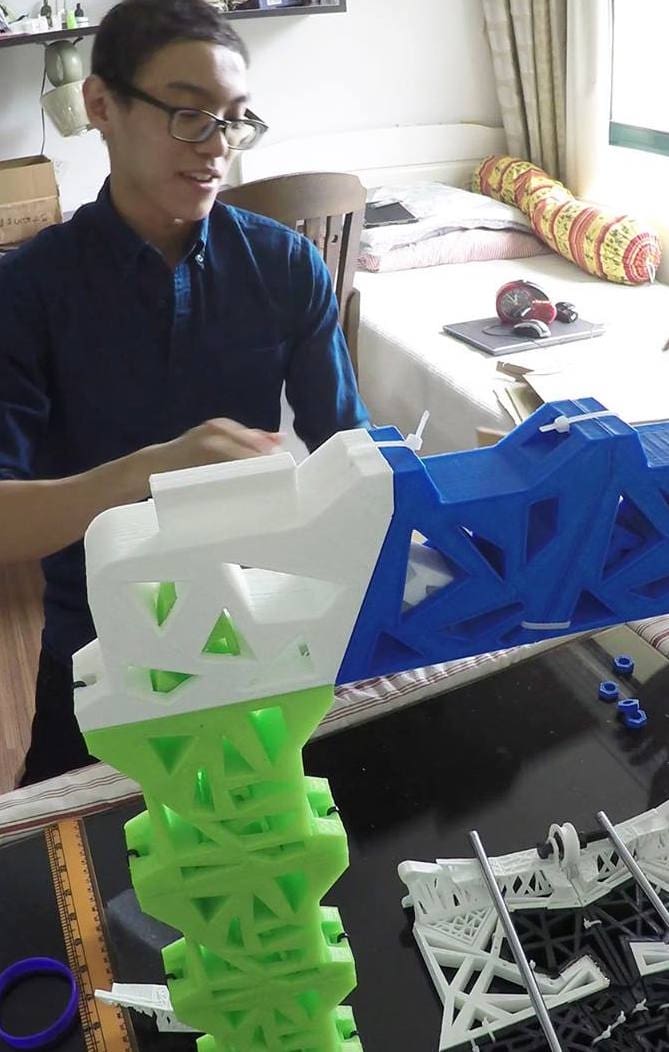
I decided on modeling my design after the Prusa i3 MK2, which was all the rage at the time. Because I didn’t know how to acquire or process sheet metal or wood to form the frame of my Prusa design, I decided to design a 3D printed frame. I combined this base machine with a large bed, extra cooling (because I thought bridging was cool), and a super powerful heated bed, all of which were my enhancements.
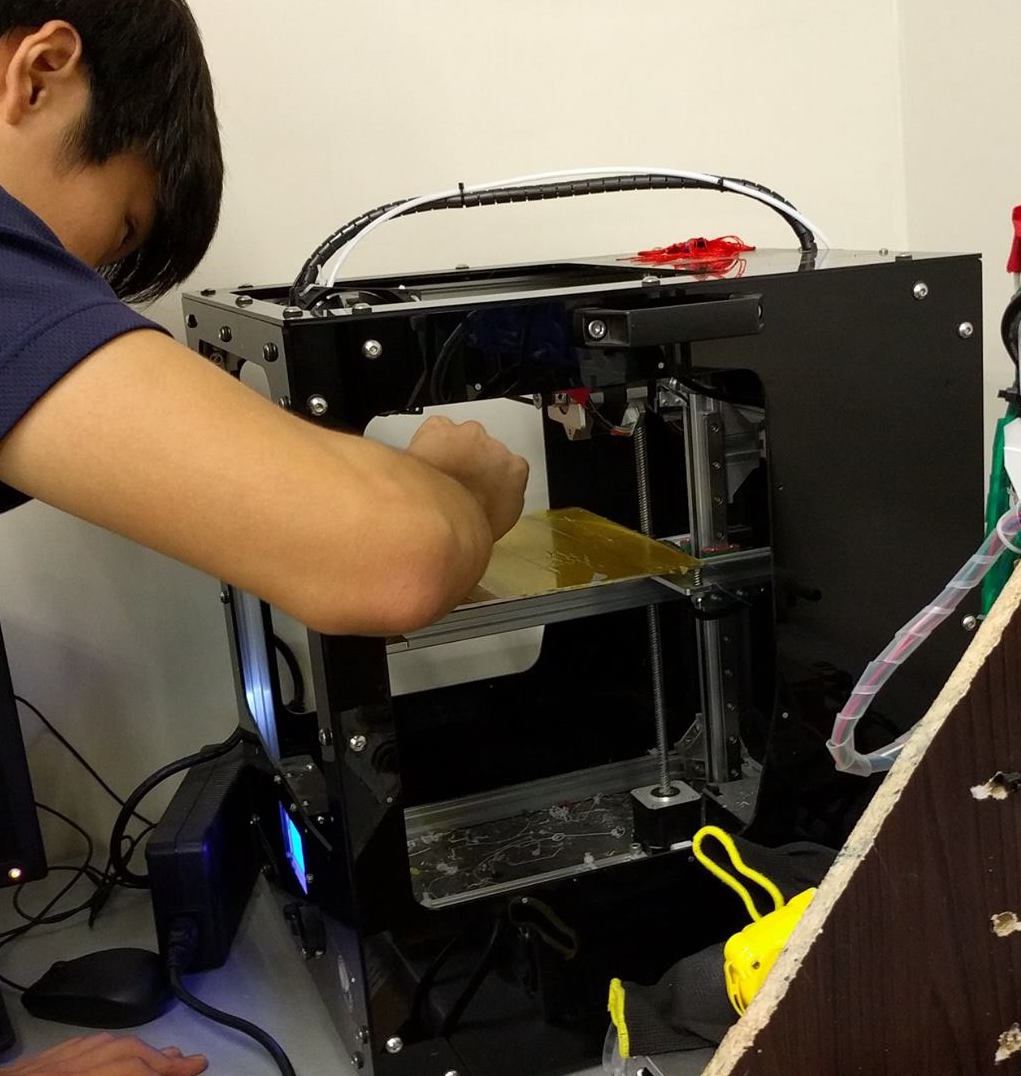
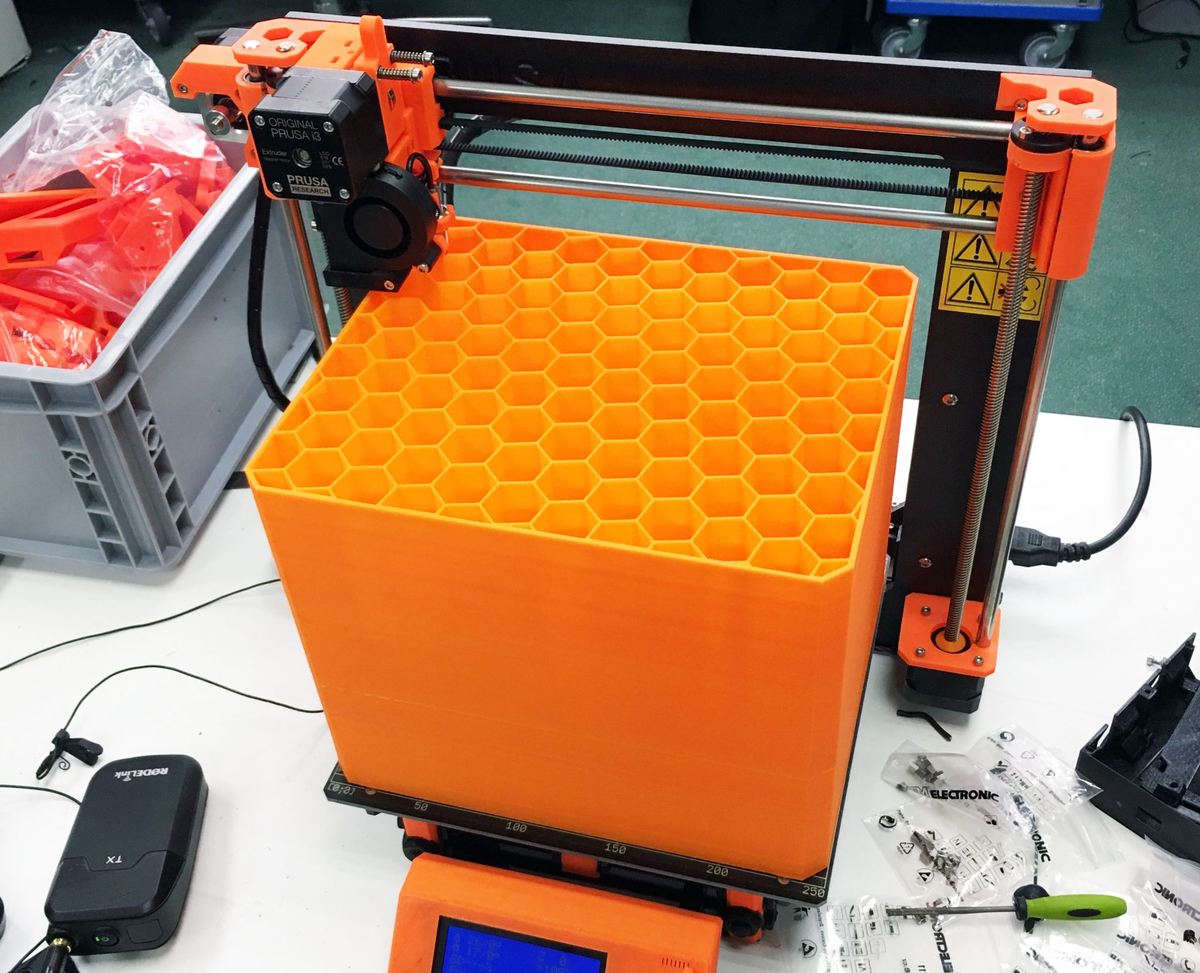
One last thing: I needed an existing 3D printer to produce parts for my own machine. After fixing it, I used the old barely-functioning one from my school. This is something to consider before designing a 3D printed 3D printer: You will very likely need an existing working machine to print either major components or miscellaneous parts that would be a pain to find otherwise, like spool mounts, washers, etc.
Step 2: Design, Gather, and Build in Batches
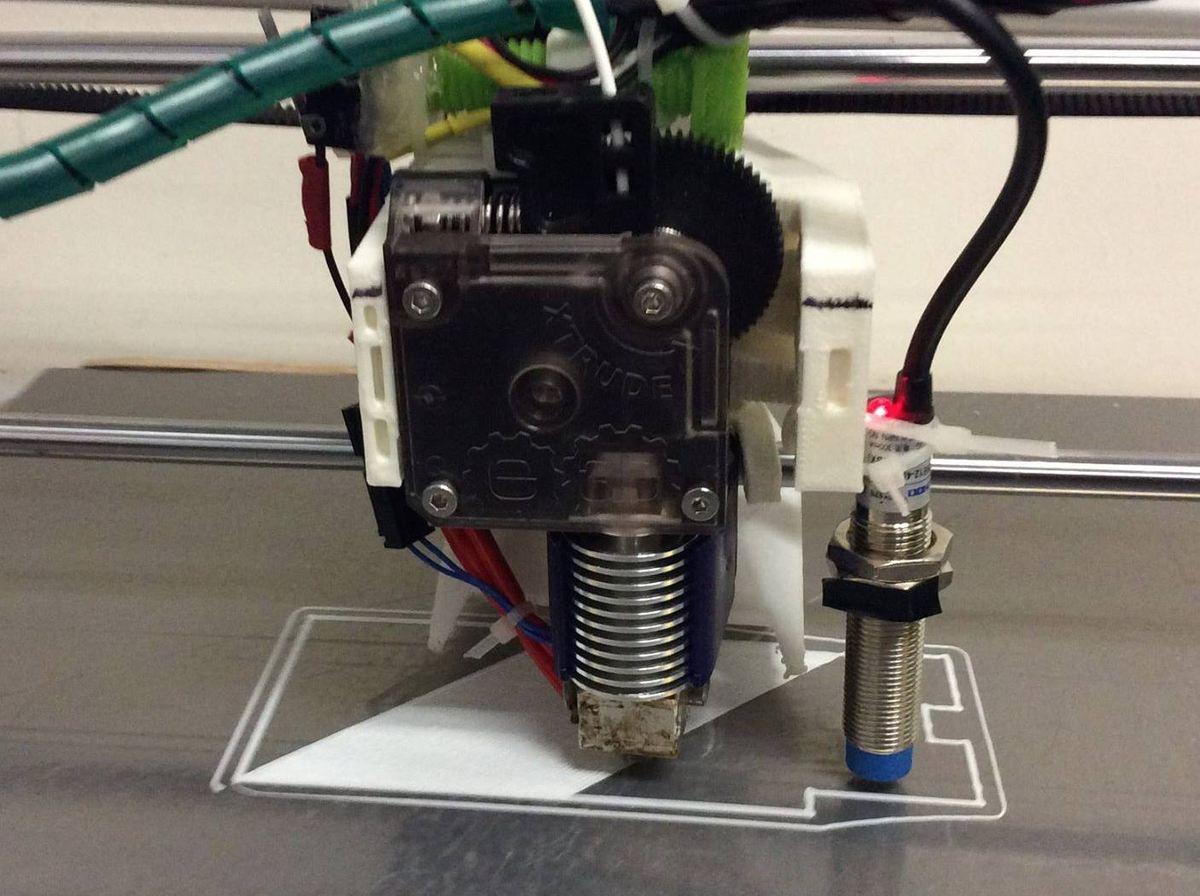
You should first get an idea of what your machine will look like in general. What extruder will it use? Direct or bowden? What about the X and Y carriage mechanics? How big will it be? Bed sub-assembly? Placing of components? Wire management? (Something I forgot.)
Parts
Once you know these things, start by building sub-assemblies. For instance, start with the toolhead. Begin by gathering the necessary parts because they can take time to arrive. As you wait, design the brackets and mounting for the sub-assembly and print it on an existing machine. Then, as the parts come, put together the sub-assembly and test it as well as you can.
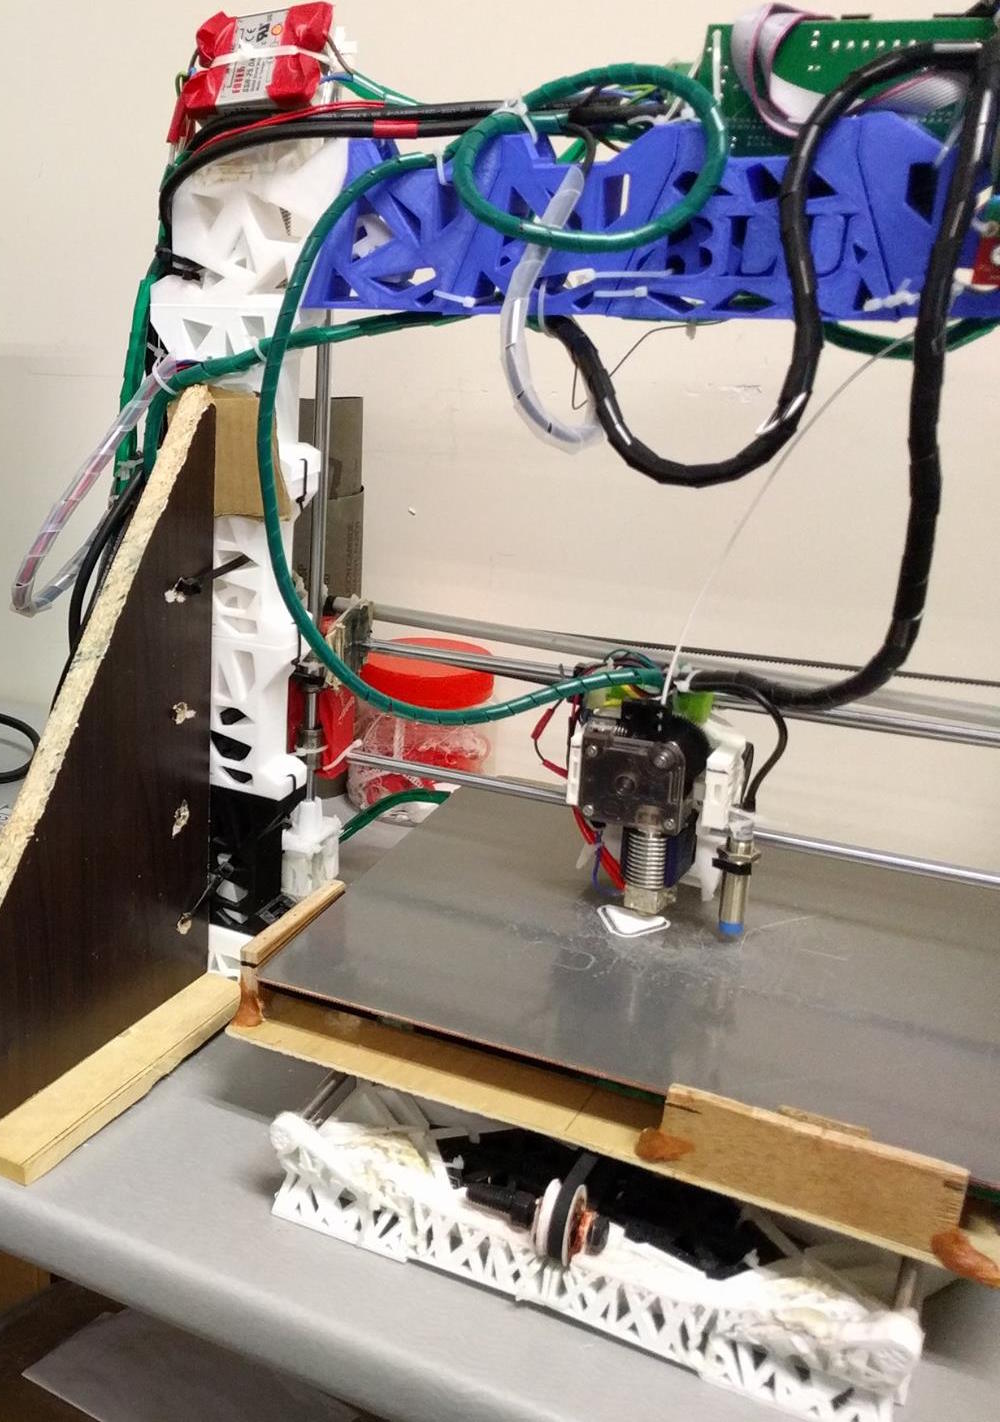
After the toolhead, I personally moved moved on to the X carriage, then the frame and Z axis, then the Y carriage, then the heated bed, and finally the LCD screen. This order made sense to me because of the order in which my parts arrived, so feel free to build in whatever sequence works best for you.
Prints
What does the process of designing parts for your own 3D printed 3D printer look like? When I did it, I spent about two weeks or so admiring existing machines I liked from all angles. I watched every video on YouTube about the Lulzbot Taz 6 to see its parts from as many angles as possible. I played clips about the Prusa i3 on 0.25x the normal speed to catch as much of the toolhead construction as possible in the brief two seconds it was on camera. I spent hours each day looking at pictures of the original RepRap machines to get a sense of what universal machine parts looked like in their most basic form.
Why didn’t I just look at Josef Prusa’s free online repository of parts for the Prusa machines? Put simply, 1) it’s dead boring to stare at them for too long, and 2) you’re building a complete, real-life machine, not just engineering one. Most popular 3D printers that exist out there, and even most of the unpopular ones, go through a round of design. People actually sit down and think about how to make these things look nice.
Paper
If you’re going to build your own machine, you’ve got to make it your own. For me, it was easier to personalize my machine from a high level than by modifying technical parts. I looked at all these existing machines and sketched what I wanted mine to look like. It was much easier to be creative with a big picture view of my machine than with a mental image of the X carriage bracket and how it connects to the lead screws.
Thus for most people, my advice is to sketch everything for maximum creative opportunity. It’s arguably more engaging than staring at a bunch of gray shapes on a computer screen, too.
This designing and building phase is the longest and hardest. Throughout assembly, I (almost) destroyed a brand new power supply, short-circuited the household power, broke an entire E3D v6 extruder, wrecked a brand new build surface, shattered a glass build plate, and much more. Don’t forget to have fun, though, especially at this time!
Once all the sub-assemblies are complete, put it all together. This depends on your design, but I started with the base since it made the most sense to build from the bottom up.
Step 3: Testing and Fixing
When I saw my machine print for the first time, I thought I was 90% done.
I was wrong.
Remember how I said the previous step was the hardest? This step was even harder. When you first start printing, you’ll likely find that your machine has some big issues. The process of solving these issues is what turns mere hobbyists having fun into seasoned veterans worthy of a solid, reliable 3D printed 3D printer.
The main problems I had personally were Z wobble due to a lack of frame rigidity (or lack thereof). My design for an entirely 3D printed frame was robust, but the material and printed parts had limitations in terms of accuracy and consistency.
In short, most of my problems were solved by stabilizing something. In your initial design, you should make everything extra strong to prevent issues. Remember that your machine will be assembled by hand with hand tools, whereas the sleek bodies of printers you buy are machined and put together by robots that are a lot more precise.
Step 4: You've Got a Printer!
If you made it this far, congratulations! But your work isn’t done yet. Having a self-designed machine takes constant maintenance and tuning.
If I could do it all again, here’s what I would keep in mind:
- Use a box design. A boxed design is more rigid in most cases. Plus it has more anchor points for making things rigid later on.
- Get a partner to do this project with. You’ll get worn out pretty quickly if you jump right into the deep end like I did, and having another mind with you can really help you get through some days.
- Don’t build it if you really need it. If you truly need a functioning machine for a different project, just buy one. Chances are it’ll be more dependable than one you construct in your garage. Building your own 3D printer is a fun project that is as much about the build experience as it is about the result. Sometimes, the result isn’t always as good as you might expect, but the experience probably can’t be bought on Amazon.
If you want to see footage of the machine I made, hit YouTube.
Want to share your knowledge like our contributing writer Mika Yeap?
Then join All3DP’s Content Academy today!