The Best Anycubic Photon Upgrades & Mods

Although a popular DLP 3D printer, the Anycubic Photon can be made better. Follow along for a handpicked list of great Anycubic Photon upgrades and mods.
Why Enhance the Photon?
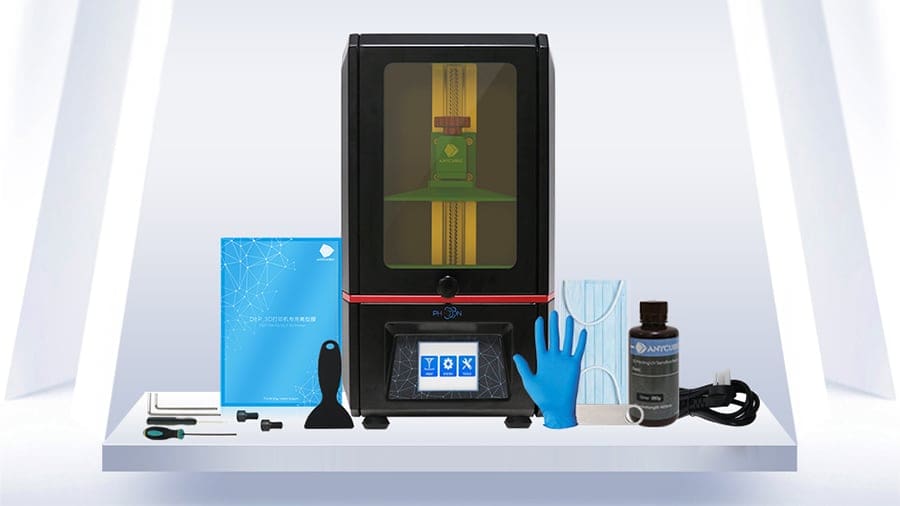
The Anycubic Photon is among the cheapest and most popular budget DLP printers. The classic version costs less than $300 and is a great option for stepping into the world of resin 3D printers. It has a relatively small build volume but is able to produce high-quality prints at an astonishing resolution of 25 microns.
However, as with any low-cost printer, the Photon has its downsizes. Structural flaws, cheap mechanisms, and terrible resin odor are all recurring complaints within the Photon’s user groups.
Time to Upgrade
This printer has been around for quite some time now, leading to an ever-growing user community. Over the years, the Photon’s users have been dealing with all kinds of issues, eventually sorting them out.
Whether on Facebook or GitHub, these online communities provide not only a handful of solutions to known issues, but also useful tips for getting the most out of the printer. It’s fairly easy to find spare parts, as well. So why not spend a little on upgrading this battle-proven machine that comes with expert online support?
What are we waiting for? Let’s get to it!
Exhaust Tube & Air Filter
There’s a lot of discussion around whether the fumes coming out of Photon’s printing chamber are harmful. Even if you’re not concerned about potential health hazards, surely the resin’s nasty odor is bothering. Although it is recommended to keep the printers in a well-vented room, that’s not always an option.
There are dozens of different mods for dealing with this. Perhaps the most common so-called solution out there is to unplug the cooling fan inside the Photon’s print chamber. And while this does reduce the overall odor in the room, it’s probably not the best approach.
This fan’s main purpose is to keep all the electronics located at the base at an adequate temperature. By removing it, there’s no airflow and, as a consequence, no electronics cooling. If the manufacturer installed a fan there, it’s most likely necessary for the printer to function properly.
So what can you do instead?
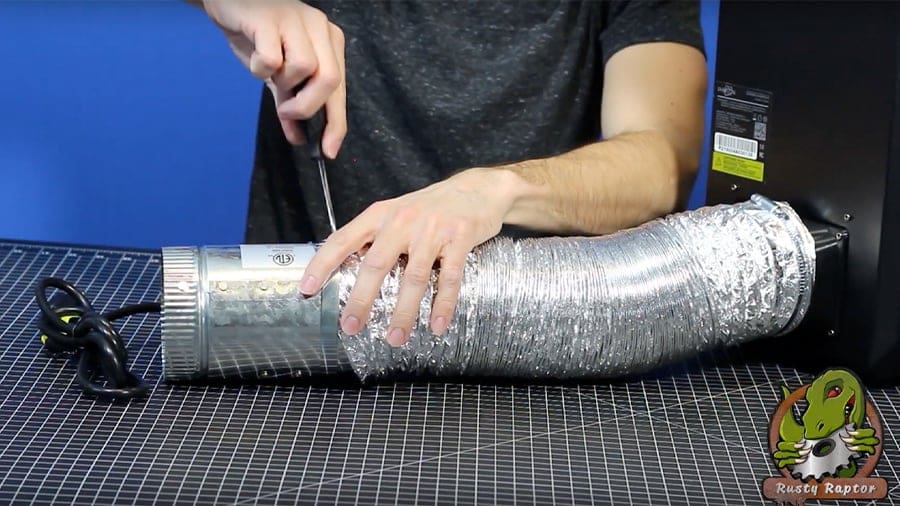
Exhaust Tubing
Matt Grisham from Rusty Raptor came up with this proper solution. Instead of removing the stock fan and thereby cutting airflow to the system, his idea was to get all the smelly air from inside the printer and exhaust it to an external environment. This ensures that the printer is still getting cooled, while also minimizing the resin fumes left indoors.
The material list includes an inline duct fan, duct tubing, and a printable adapting bracket. Matt made a tutorial video on how to install the mod and made all the parts’ links available on his website.
Air Filter
For those who can’t just rout a duct to an external environment, it’s also possible to use an activated carbon filter instead. Rather than simply moving the fumes to somewhere else, this kind of system filters the air, making it safe (and odor-free) for indoor environments. Maker Bryce B. shares a couple of pictures of the result on his website along with a link to a suitable filter.
What does it improve? Deals with the Photon’s resin fumes that are smelly and potentially harmful.
Who made it? Exhaust tube by Matt Grisham (via Rusty Raptor) and carbon filter solution by Brice B (via wiki.bryscus.com).
How much does it cost? Around $30 plus the 3D printable bracket.
Z-Axis Upgrade
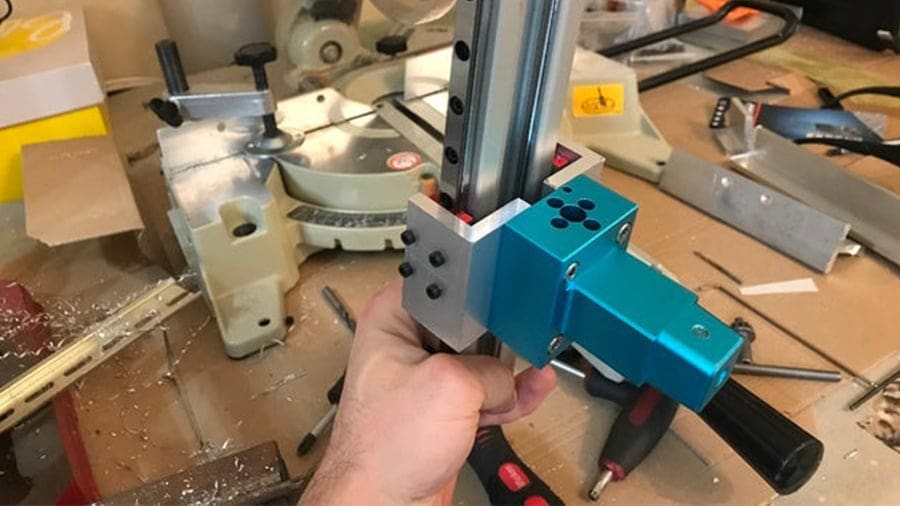
Z-wobble is a common issue with 3D printers in general. For SLA or DLP printers, this is caused when the Z-axis slider assembly (which moves the build plate up and down) gets loose over time and wobbles. With this wobbling, the build plate won’t return to the same position after lifting, causing ugly printing lines between layers.
The classic Anycubic Photon is known to have these issues, so much so that the next generation of Photon printer, the Photon-S, has a double Z-axis mechanism to prevent it. Although it’s possible to adjust the slider assembly, some users never get over this problem and go for a more definitive solution.
A common solution to eliminate the Photon’s Z-wobble is to replace the original slider with a double linear rail system. Linear sliders are very stable and don’t require adjustment over time. Thingiverse user Keith Hebard (PhotonHebs) came up with a very popular mod that’s demonstrated in his video tutorial (see below).
To instal this mod, it’s necessary to disassemble the entire printer and drill and tap holes in its structure. It all seems a bit intimidating, so be sure to check the video, which provides step-by-step instructions, before deciding whether to go along with this upgrade. Keep in mind that this is not an easy mod, but over time it will prove its worth.
This mod is so popular that other community users have contributed as well. Physics Anonymous has designed a bracket that substitutes some sourced metal parts, cutting down a few steps in the upgrade process. The machined aluminum bracket can be purchased at $60 dollars. If you’re on a budget, Thingiverse user Sascha Beez (Beezen) has a 3D printed alternative for this bracket.
What does it improve? Gets rid of Z-wobble issues that affect print quality.
Who made it? Keith Hebard (PhotonHebs)
How much does it cost? Around $60 for the DIY version.
Heater & Temperature Controller
Temperature is a constant worry for 3D printing in general, and DLP printers are no exception. For these printers, room temperature is a relevant factor for successful and high-quality printing.
Temperature impacts the resin’s viscosity, and this is key for good adhesion and proper layer curing. At low temperatures, resins might become too viscous, and the exposure values normally used might not be enough for proper curing. Manufacturers usually specify the optimal temperature range of their resins, generally falling between 20 and 30 °C.
It’s true that some resins work well at lower temperatures, and some even say that just warming the build plate before printing is enough. However, many Photon users have reported much better quality prints when controlling the print chamber’s temperature. Martin da Costa has done a side-by-side experiment where one Photon was kept at room temperature (~15 °C) and another had its chamber heated to 27 °C. He reports that “the print from the temperature-controlled machine was definitely crisper,” and eventually upgraded the other Photon, as well.
One of the most popular solutions for controlling the Photon’s temperature comes from the Facebook group “Anycubic Photon Printer Owners”. Vinicius Silva’s solution uses a 12-V fan heater, a heat controller, and an external PSU for power. The unit’s housing can be 3D printed and is available on Thingiverse. The whole assembly is mounted inside the Photon by small magnets. All the materials, instructions and STL models are linked to his Facebook post.
This mod is relatively easy to install and could be quite useful during tough winters. Be sure to check your resin’s recommended working temperatures before printing!
What does it improve? Maintains the resin is at optimal temperatures during printing to help ensure good quality and consistent prints.
Who made it? Vinicius Silva (via Facebook)
How much does it cost? Around $15 plus the 3D printable housing.
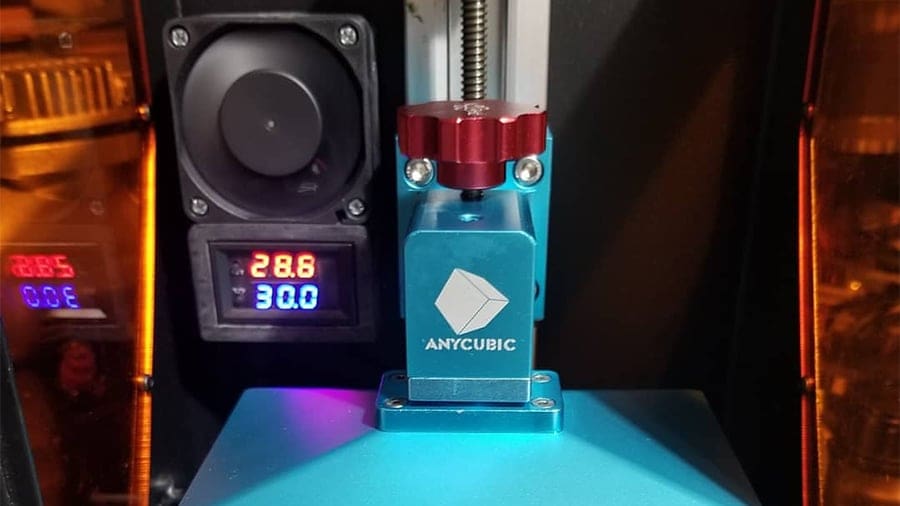
Easy Build Plate Leveler
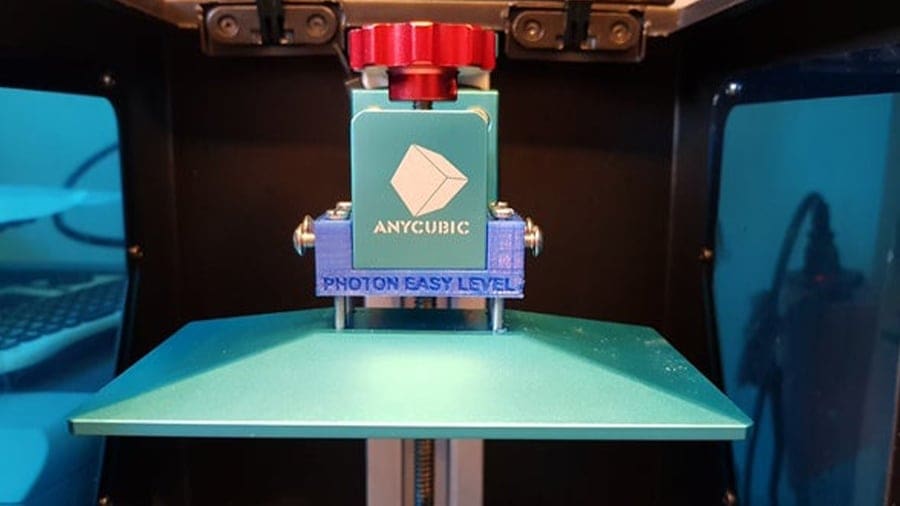
A well-leveled build plate is a must for successful 3D printing in any fashion. This is so true that for most FDM printers, the leveling is supported by both sensors and software. For DLP printers, however, getting the build plate leveled is almost always a manual process. And as for every manual process, there is a lot of room for mistakes.
A build plate that is not leveled well enough is one of the main reasons why prints fail. While there are instructional videos on how to level the Photon’s plate, the problem resides in its mechanism. Not only does it lack quality, but it has also proved to be not very tough.
To make the process easier, Thingiverse user Wundel designed a mechanism that can be quickly installed and doesn’t require any irreversible modification to the printer. This mod consists of a 3D printed part, some screws, and threaded inserts. The leveling is done by tightening the side screws until the build plate is at Z=0. Although the mod creator suggests printing the part with FDM, it’s perfectly fine to do it in the Photon itself.
There is a remix of the mechanism made by Thingiverse user Alessandro Sosta (Alebrescia) that uses nuts instead of inserts, with knobs for tightening the side screws without tools.
What does it improve? Makes the build plate leveling process easier.
Who made it? Wundel (via Thingiverse)
How much does it cost? Less than $5 for the screws and inserts.
LCD Screen Protection
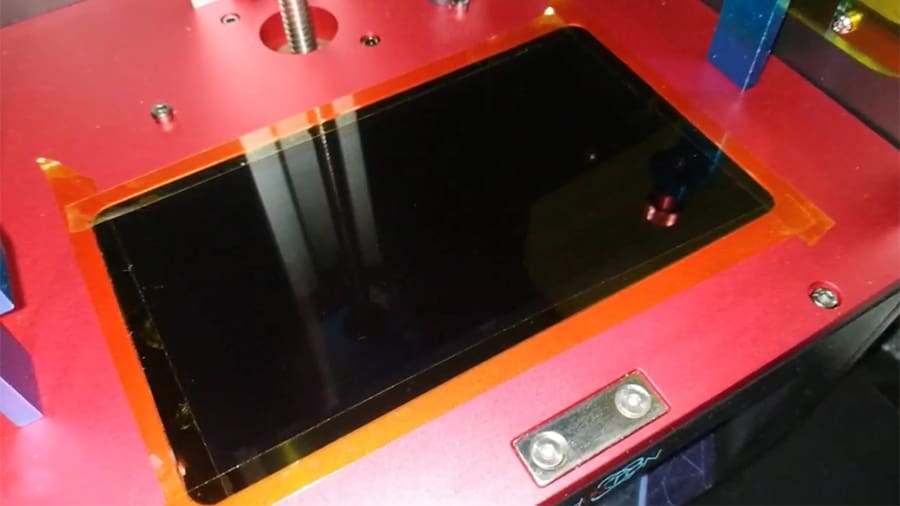
Most resin printers have a resin vat that uses an FEP film. Although reasonably tough, this plastic film can become damaged with use, especially from scraping off your failed prints. If the film gets punctured, the resin from the vat might leak inside the printer. In this case, not only will the precious resin be lost, but the LCD screen and even some electronics inside the printer could become damaged, as well.
Once leaked, the resin can flow through the edges of the screen and reach the electronics at the base. Depending on the amount of resin, this might not be a problem. The real issue lies with the resin that doesn’t flow to the electronics, which will likely solidify between the LCD and the vat, gluing them together. If that happens, the next time you remove the vat, the LCD screen will want to come out with it. Most of the time, there’s no way of knowing this prior to damaging the LCD.
There is, however, a simple solution to prevent this tragedy from happening. In fact, some users reported it being suggested by Anycubic itself. The idea is to tape the LCD screen down using Kapton tape. Kapton tape is translucent and very thin, thus not interfering much with the distance between the screen and the FEP. By taping around the LCD, it not only secures the screen, but also prevents any resin from leaking into the interior of the printer.
Frameone’s Makerspace shows how to do it in a short YouTube tutorial (see below). He also provides a link to the proper tape. While one might not consider this as an upgrade or mod, it is almost a must for every Anycubic Photon, being fast, easy, and cheap.
What does it improve? Prevents leaked resin from damaging the LCD screen and electronics.
Who made it? Frameone’s Makerspace (via YouTube)
How much does it cost? Between $5 and $10.
Bonus: USB Stick Upgrade
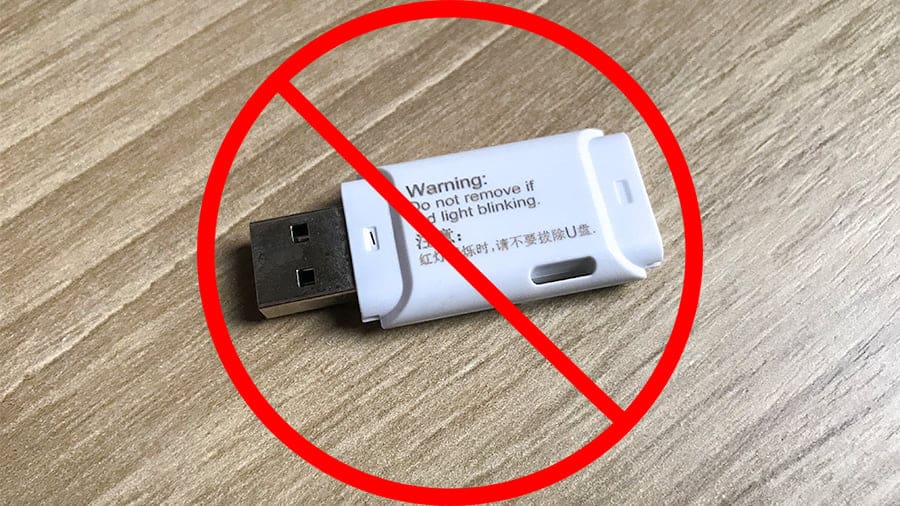
This bonus tip is for those that still use the USB stick which came with the printer.
Even though it comes from the manufacturer, it’s not recommended to use it with the Photon. While some have had zero issues with it, almost everyone in the community agrees that a faster, high-quality USB stick may prevent any issues during long prints.
A good USB stick is not expensive and, given the cost of resin, there is no reason why one should not purchase a better one. Just remember to format it for FAT32.
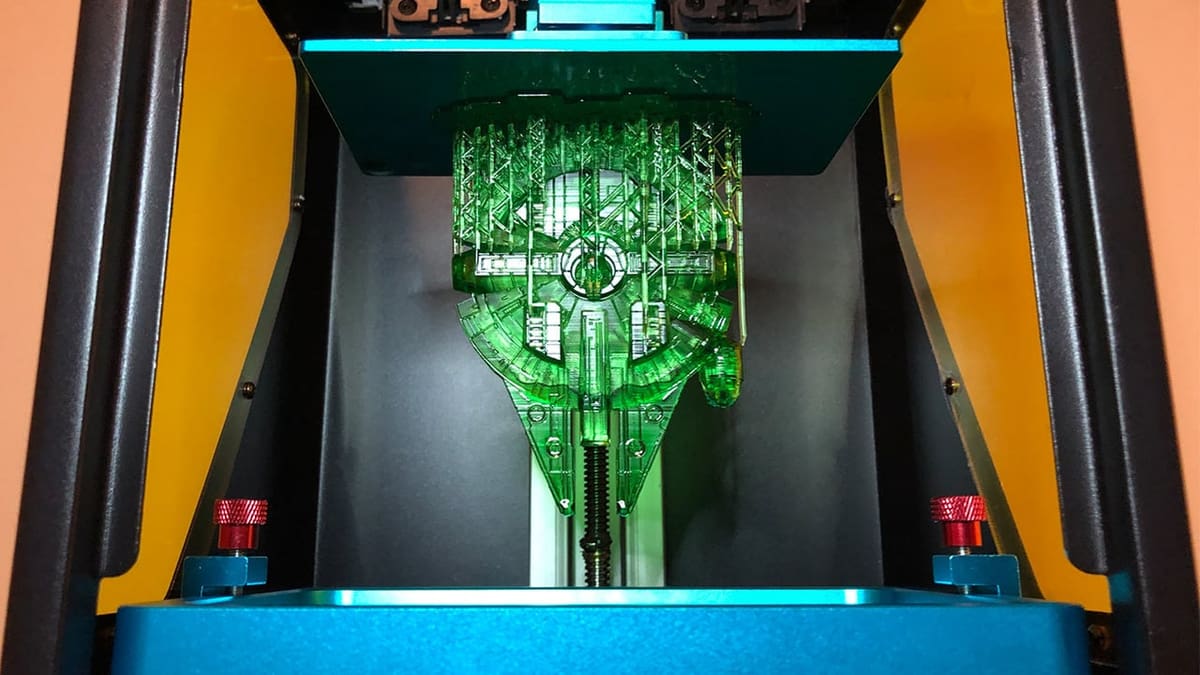
(Lead image source: johnbiehler.com)
License: The text of "The Best Anycubic Photon Upgrades & Mods" by All3DP is licensed under a Creative Commons Attribution 4.0 International License.