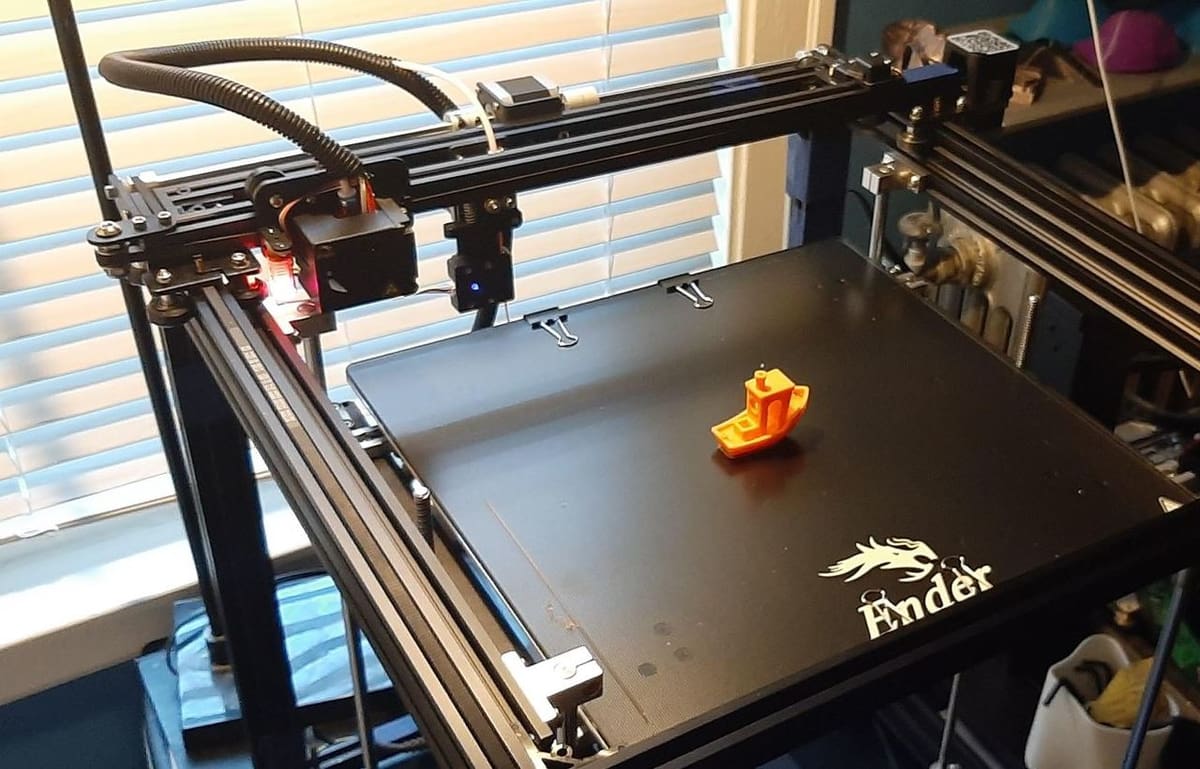
Ender 5 Plus Silent Board: How to Install It

While we love the Ender 5 Plus, we love quiet, too! Learn how to upgrade your Ender 5 Plus with a silent board for quieter 3D printing.
Bigger Bed, Bigger Board
The Ender 5 Plus is one of the many budget hobbyist 3D printers in Creality‘s collection and is a popular choice due to its large build volume. The Plus printer is an improved version of its Ender 5 predecessors (the original Ender 5 and Ender 5 Pro), but with some hardware enhancements. These upgrades include a filament runout sensor, a pre-installed BLTouch, a touchscreen interface, and more.
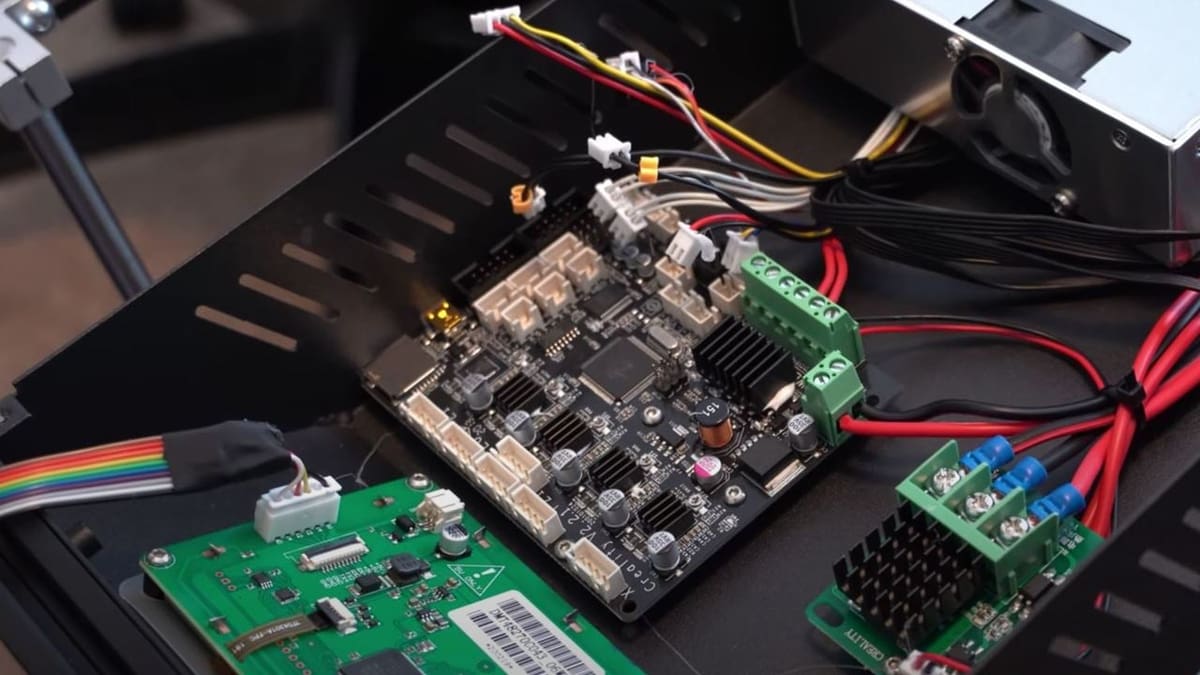
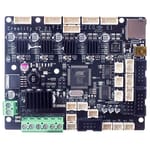
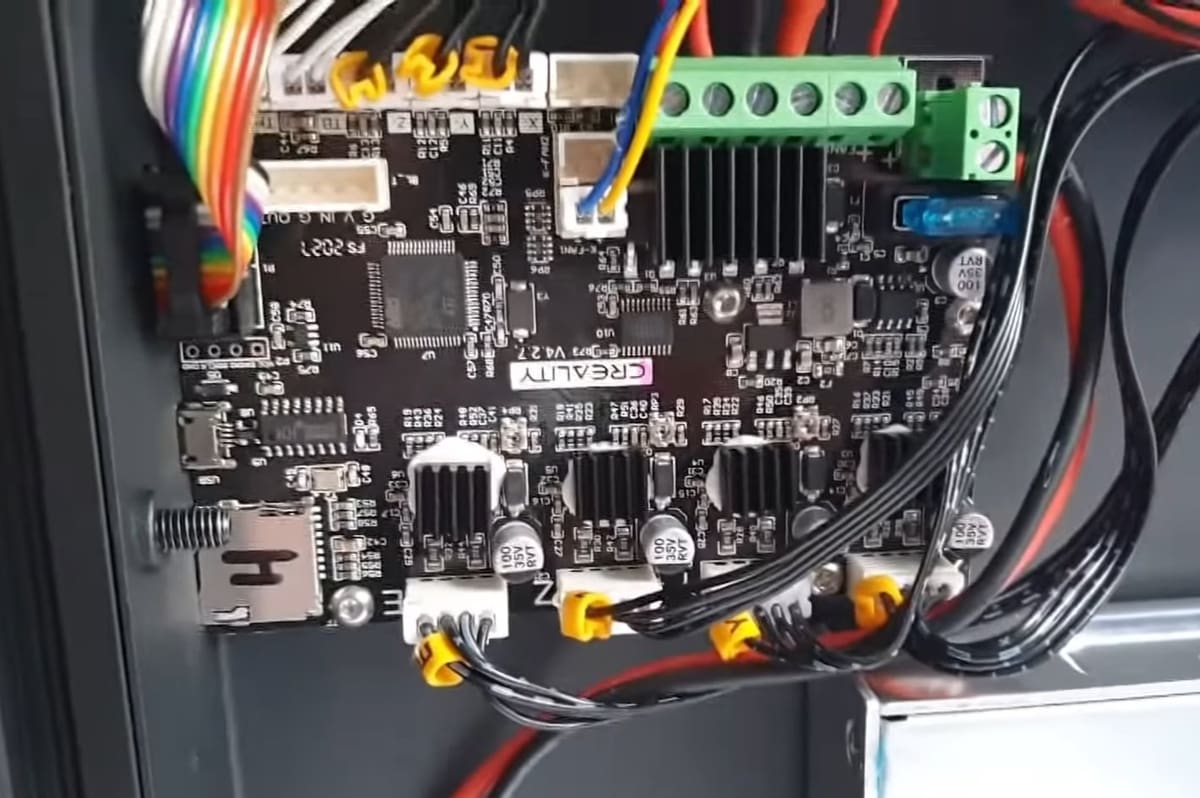
Along with new printer versions, Creality’s success also led them to develop several variations of a “silent board”. This mainboard comes with higher-power stepper motor drivers compared to the stock Creality mainboard. For those unfamiliar with the term, stepper motor drivers help rotate stepper motor coils, and better ones help quiet the printer’s motors.
The silent board is a great upgrade for the Ender 5 Plus, especially if your printer is somewhere you’d like it to stay quiet. The new mainboard is basically the same as the original Ender 5 Plus board, except it has better drivers and comes in black rather than green. Like the Ender 5 Plus’ stock board, the silent mainboard has six stepper motor ports to allow for dual extrusion and dual Z-axis motors (included on the stock printer).
This mainboard costs around $60, and with it, users have found that the stepper motors barely make any noise. You’ll probably still hear the fans humming on the hot end, mainboard, and power supply unit (PSU), but that’s inevitable.
In this article, we’ll go over how to install Creality’v V2.2.1 silent mainboard on your Ender 5 Plus. We’ll start by going over what materials you need and some tips to review before you get started. Then, we’ll get into the steps for assembly and updating the firmware.
What You'll Need

Before touching your machine, it’s important to gather all the tools and parts you need for this upgrade. Below, we’ve made a list of what you need, including the purpose of the part if necessary:
- Creality V2.2.1 silent board
- M3 hex (Allen) key (comes with the printer, for accessing the mainboard)
- Small flathead screwdriver (for wiring)
- Cable ties (for wiring organization; you can also 3D print them, there are several options)
- Colored markers (for wiring organization)
Also, if you plan on updating your printer’s firmware, you’ll need the following supplies:
- USB to Micro-USB cable (to connect a device to the printer)
- Device (laptop, PC, etc.)
If you want a more visual guide, The Edge of Tech, Frankly Built, and Kersey Fabrications have made great helpful video tutorials for this upgrade.
Tips & Tricks
Below are some tips for this upgrade that might come in handy to know before getting started:
- Test the BLTouch: The Creality mainboards and firmware have been known to have issues with the BLTouch sensor, which serves as the printer’s Z-axis endstop. For this reason, before homing your Ender 5 Plus for the first time with its new mainboard, move the bed far down, tell the printer to home its axes, and then manually activate the BLTouch sensor. This way, if it’s not working, you’ll have sufficient time to turn off the printer before the nozzle clashes with the print bed.
- Enable auto bed leveling: One user mentioned how when they made the switch to the silent mainboard, the auto bed leveling feature was turned off by default. To fix this, all you need to do is enable the leveling feature on your LCD.
- Write down your BLTouch values: When you change the mainboard, you’ll lose the BLTouch leveling values as well as your Z offset. So before making the switch, write down your Z offset value, and then after installing the board, run a leveling routine.
- Adjust firmware as needed: If you have any special upgrades like an E3D Titan Aero or a geared extruder, you’ll need to make adjustments to your firmware so that it’s compatible with the new hardware. We recommend building your custom firmware first and then uploading it, as running the stock firmware with incompatible hardware might lead to issues or damage.
- Test wire distance: When wiring, you want to make sure that all wires have enough slack so that each axis can reach its maximum length without the wire becoming taut. To do this, raise or lower each axis so that it’s as far away as possible from the mainboard.
- Test wire security: Sometimes, especially with screw-in connections, you may not be able to plug in the wire securely. So before moving on to reconnect another wire from your old board to your new one, gently pull each wire to make sure it’s safely secured.
Step #1: Preparation
The first thing you’ll need to do is prepare your printer for the upgrade. This means removing all forms of power that the mainboard receives so that you don’t cause any damage to yourself or the board when working on your machine.
- Turn off the power switch from the PSU switch box and remove the power cord.
- If you have anything connected (like a Raspberry Pi) to the Mini-USB cable, make sure to remove it.
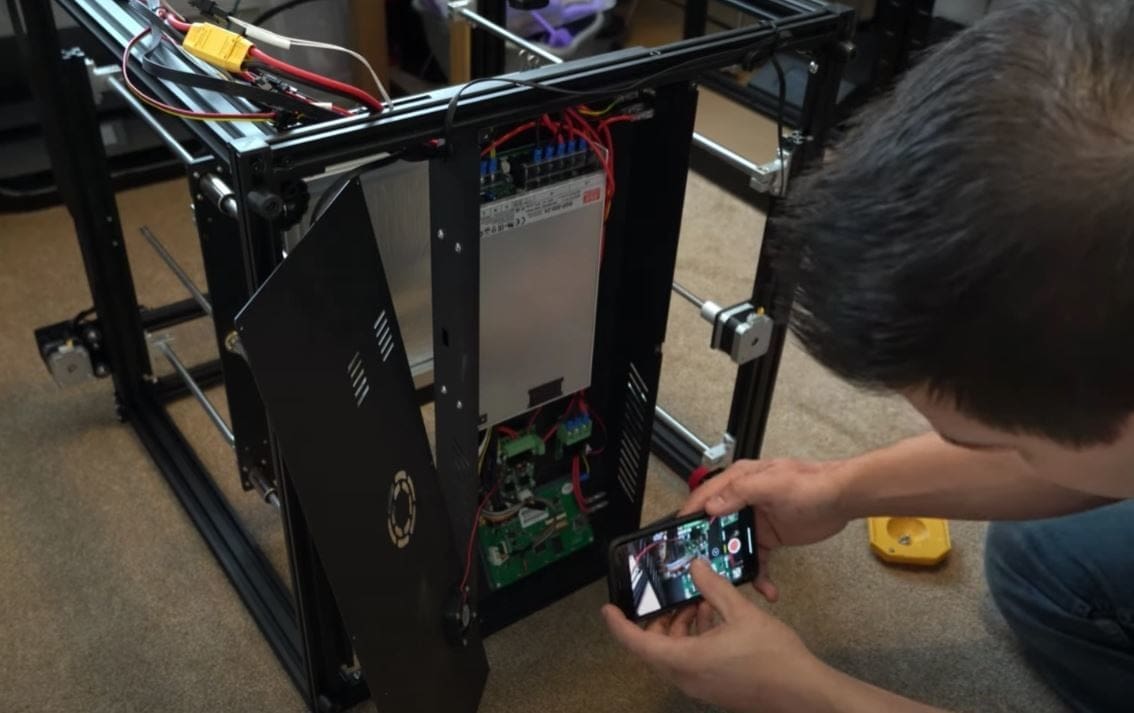
After you’ve removed all power connections to the mainboard, flip the printer on its side, so it doesn’t move.
- Use the Allen keys to open up the under-panel, where the mainboard is housed.
- Move the mainboard fan (attached to the under-panel casing) to the side without putting too much tension on the fan wires.
Once you’ve taken off the mainboard casing panel, take a picture of the current wiring before unplugging anything. (As an optional step, you can use a few different colored markers to mark each wire and draw out a diagram.)
- Unscrew the small M3 screws that hold the mainboard to the sheet metal frame, but don’t unplug anything yet.
- When the board is dislodged, hold onto it with one hand (or let it dangle if you have enough confidence in the wire’s strength).
- Screw the new mainboard to the sheet metal frame so that it’s secure.
Now, let’s move on to the next step: wiring!
Step #2: Wiring
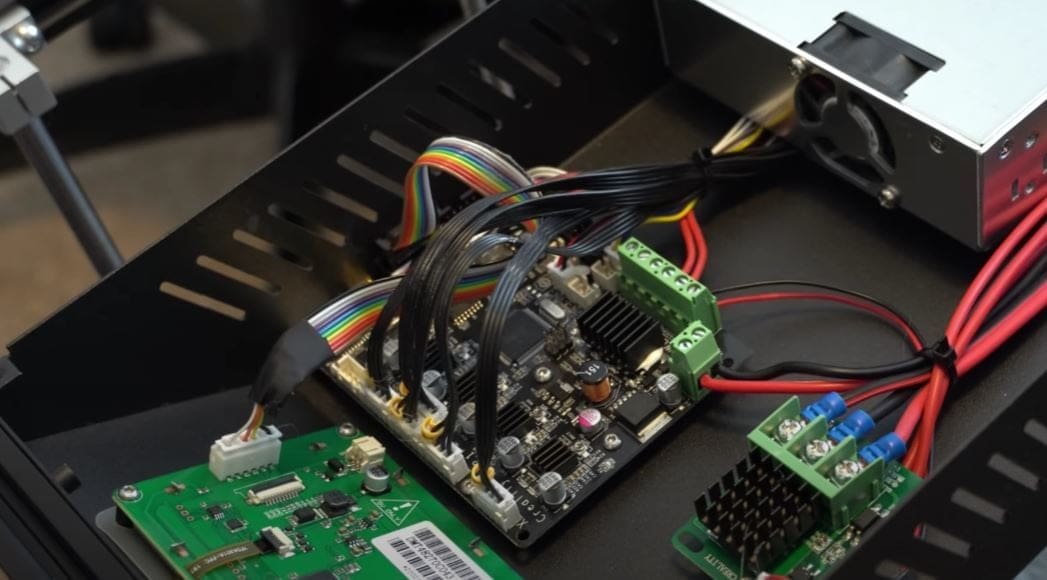
Now that the board is in, you’ll need to move all the wires and connectors from the old mainboard to your new silent one. Before going through the wiring process, gently remove any hot glue on the stock mainboard connections using a utility knife so that the wires come loose easily.
Remove each wire from the old board and connect it to your new board one at a time. Unfortunately, Creality didn’t provide any wiring diagrams or pinouts for this board, so you’ll need to refer to that picture you took.
Important: When wiring your new board, replace each individual wire one at a time so that you don’t mix up the separate wires in a connection (power ground, signal, etc.). Doing so could result in damage to the board: if the wires are for the fans, reversing the power and ground wire will invert the polarity, and the fans might spin the wrong way or not at all.
Tips
- For connecting your extruder motor, hot end, or thermistor wires, unless you have dual extruders, make sure all of the wires go to the “E0” port. The other ports labeled “E1” are only for a second, alternative extruder, thermistor, or hot end.
- Make sure the pins line up for your LCD screen port, and the male pin headers aren’t offset from the female pins. Misaligning or disorienting these pin headers will cause the screen to not function properly or even not turn on.
- If available, use cable ties to organize where your wires go.
Now, let’s finish this process by uploading firmware!
Step #3: Firmware
The final step to getting your silent mainboard up and running is to upload the firmware. Great firmware can improve print quality and user experience. If you have upgrades (like a geared extruder) or unique offsets on your 3D printer, you’ll have to use customizable firmware to work with your upgrades.
Typically, the newer the firmware, the more features it has. At the same time, newer firmware can be less stable from bugs in the program. For this reason, we don’t recommend using the newest firmware program available, but it’s still a good idea to use recent firmware to take advantage of the latest features. There are a few options for firmware for the Ender 5 Plus, and you can check out our article about a few of the options.
Uploading your new firmware is easy, and many guides exist online such as Kersey Fabrication’s firmware flashing video tutorial.
Below are the general steps you’ll need for installing new firmware on your Ender 5 Plus:
- Find or build your firmware (e.g. Marlin, TH3D, etc.).
- Download or save your firmware as a pre-configured HEX file.
- Connect your device (laptop, PC, etc.) to your printer’s new mainboard via a USB to Mini-USB cable.
- Download and open Creality Slicer 1.2.3. If it doesn’t work, right-click the app icon and select “Run as administrator” to open the program.
- If you don’t already have a profile on this slicer, make one for the Ender 5 (no Plus version is currently available).
- Click “File” in the top right corner, and then select “Machine settings…”.
- In the pop-up box, check that the correct port (“COM”) and baud rate (115200) are selected.
- Close the pop-up box and click the “Machine” tab and select “Install custom firmware…”.
- Select your firmware HEX file and upload the firmware file.
- Wait until your firmware is loaded, and don’t click anything on your printer until it’s finished.
- Check to make sure the firmware on your printer has changed on the printer’s screen.
And that’s it! Enjoy your quieter 3D printing experience with your Ender 5 Plus!
Lead image source: Frankly Built via YouTube
License: The text of "Ender 5 Plus Silent Board: How to Install It" by All3DP is licensed under a Creative Commons Attribution 4.0 International License.
CERTAIN CONTENT THAT APPEARS ON THIS SITE COMES FROM AMAZON. THIS CONTENT IS PROVIDED ‘AS IS’ AND IS SUBJECT TO CHANGE OR REMOVAL AT ANY TIME.