Creality Ender 3 V3 SE vs KE: The Differences

The SE and KE represent the latest iterations of Creality's best-selling Ender series. Read on to learn all about the Ender 3 V3 SE vs KE!
With the Ender 3 V3 SE and the Ender 3 V3 KE, Creality continues to build on the storied reputation of its Ender series. Released in 2017, the premier Ender 3, alongside the Ender 3 Pro, set the bar for budget printers and quickly became the industry standard for entry-level 3D printers. The Ender 3 V2, released three years later, cemented Creality’s position as a major player in the budget 3D printer market globally.
Now, the third iteration of this popular printer has been released. The Ender 3 V3 SE and the Ender 3 V3 KE bring new levels of versatility and performance to the 3D printing community at budget-friendly prices. If you’re wondering what they offer and how they differ, we’ve got you covered. In this article, we’ll delve into the specific features, capabilities, and design choices that distinguish the SE from the KE, helping you to decide which one would be the ideal choice for your creative endeavors.

At a Glance
Design
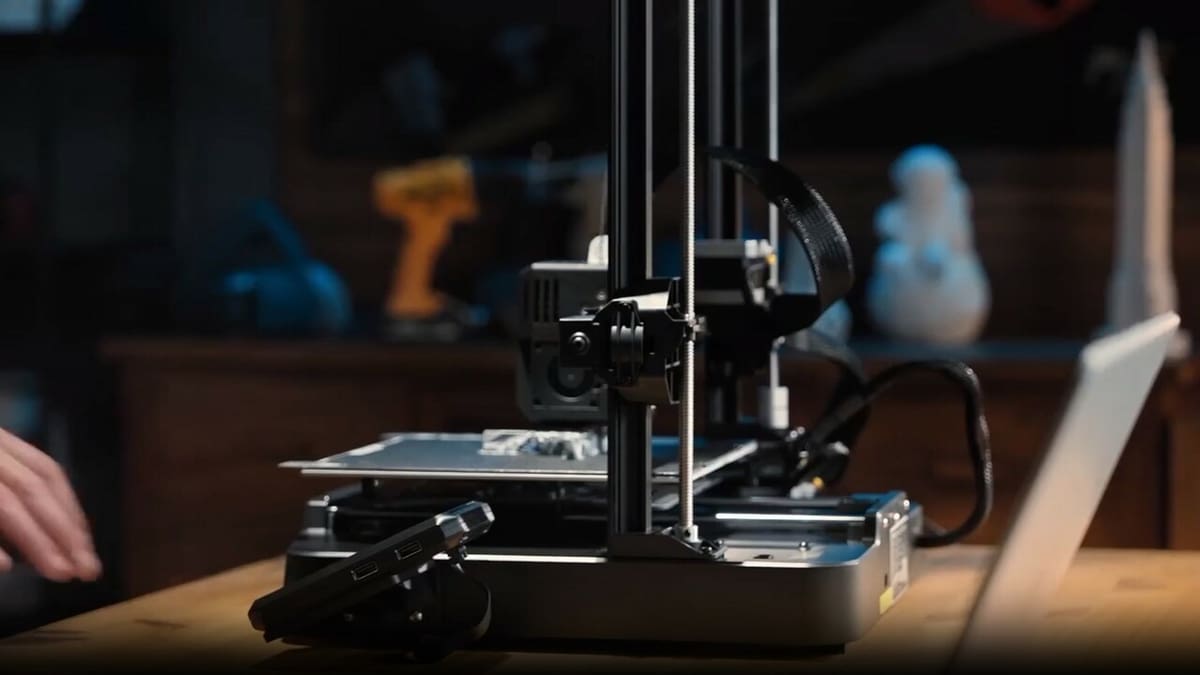
The SE and the KE are both well-built, sturdy, i3-style printers constructed with a combination of injection molded plastic and metal parts. Creality has utilized new T-shaped aluminum extrusions for a lighter and more efficient Z-axis gantry, which also sports dual belt synchronized leadscrews on both models to eliminate X-axis sagging. This results in uniform layer heights across the print surface.
While both printers utilize dual linear rods for their Y-axes, the KE employs a linear rail on its X-axis in contrast to the V-groove wheels used on the SE model. This grants the KE a notable precision advantage, which is crucial to meet the demands of its higher printing speeds.
Build Volume
Neither printer moves any mountains with their build volume. At 220 x 220 x 250 mm, the SE surprisingly has the larger build volume. The KE’s measures 220 x 220 x 240 mm.
These sizes put both printers at a slight disadvantage when compared to their closest rivals, such as the Elegoo Neptune 4 (225 x 225 x 265 mm) or the Bambu A1 (256 x 256 x 256 mm). Nevertheless, you can always split your model if you need to print bigger items on either the SE or KE.
Build Plate
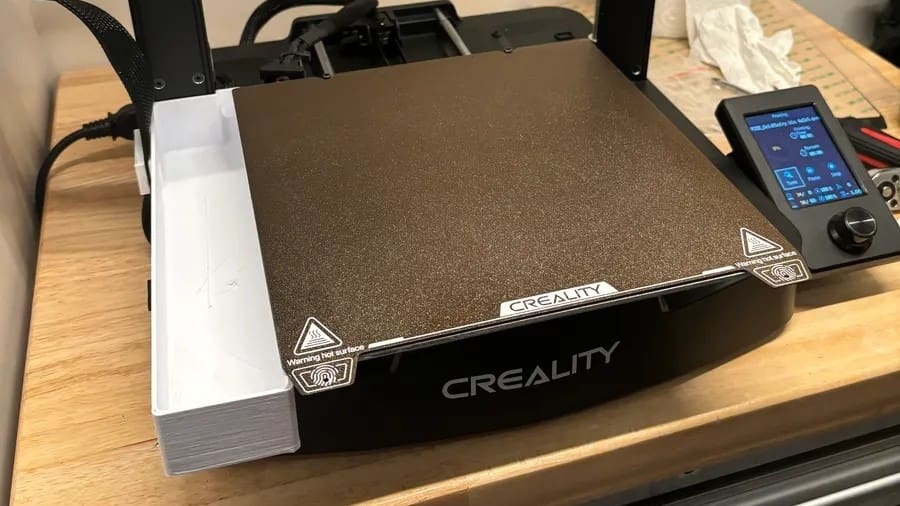
The print beds on both printers are capable of heating up to 100 °C, so users should have no issues with print adhesion regardless of supported filament type. However, the polycarbonate (PC) sheet that comes with the SE does tend to adhere excessively to higher temperature filaments. So, we suggest a quick upgrade to a PEI spring steel sheet similar to the one found on the KE.
Regardless, removing prints of these build plates should take less effort, as both build plates are flexible sheets that magnetically attach to a steel base plate. Creality has also thankfully added slots to both print beds, making proper alignment easier.
Bed Leveling
Anyone who has had to manually level a 3D printer’s print bed will notice the conspicuous absence of bed leveling knobs on both the SE and KE – and will be thankful for it. For the price point of these printers, Creality deciding to include automatic bed leveling as well as automatic Z-offset capabilities sets a new bar for the 3D printing community.
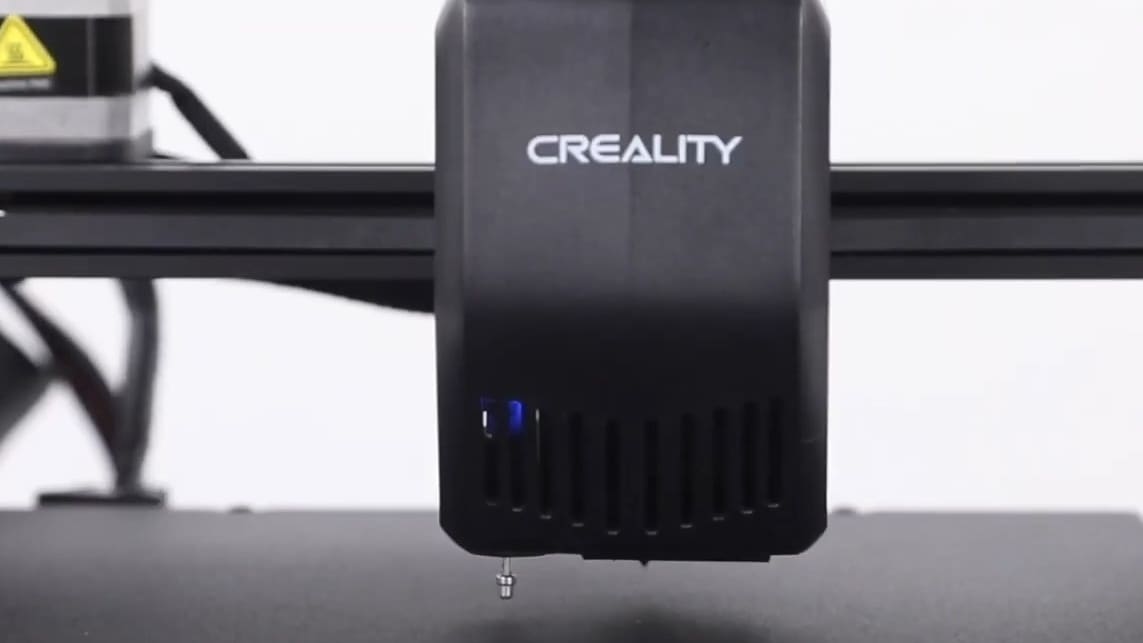
Both versions of the Ender 3 V3 utilize Creality’s robust CR Touch for bed leveling and a strain sensor for determining ideal Z offsets. This takes a lot of workload off of users, ensuring less time is spent trying to obtain a perfectly level bed and more time on printing.
Extrusion
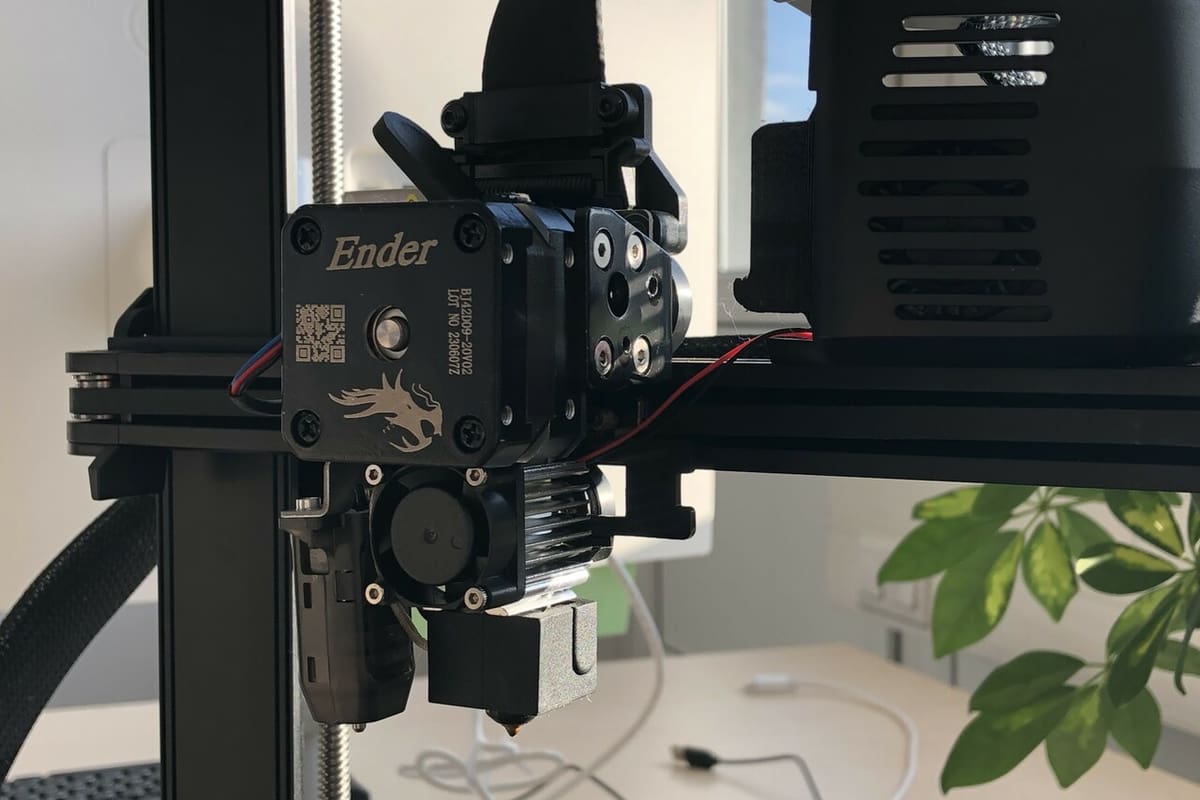
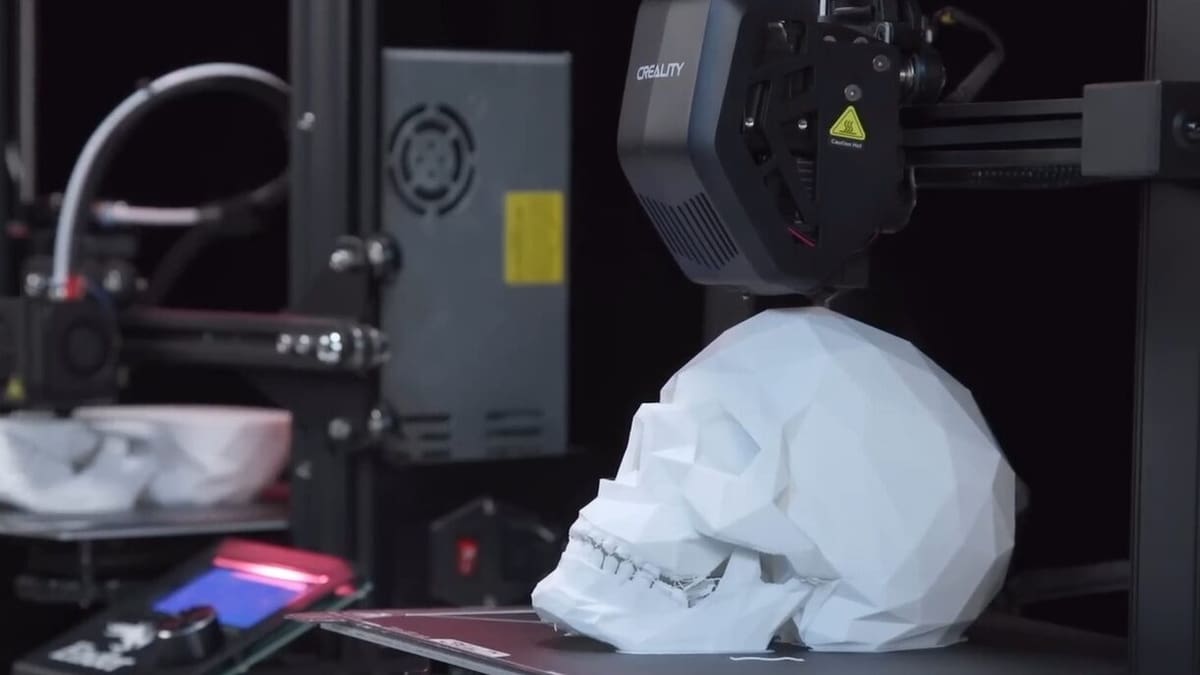
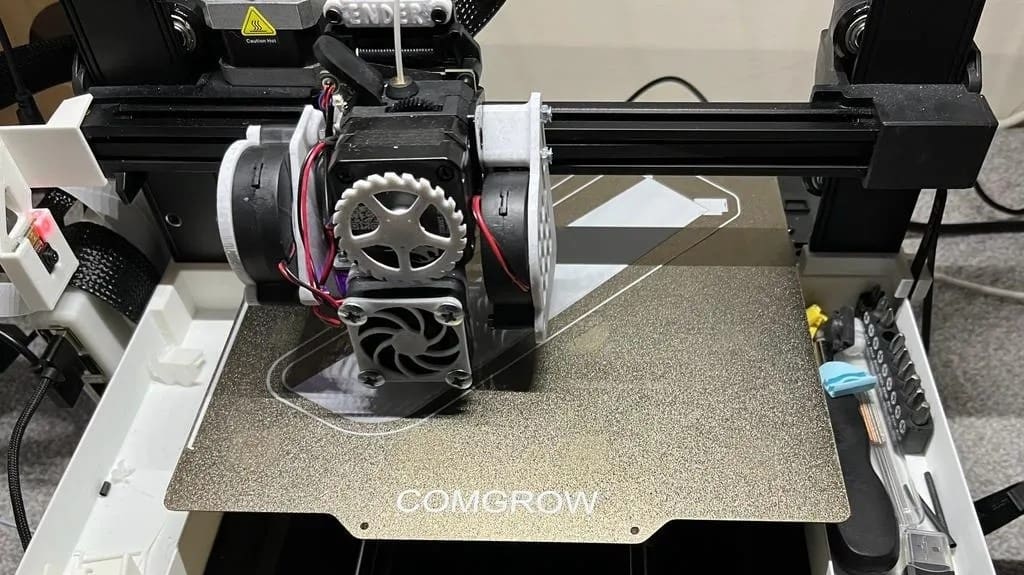
Creality’s much appreciated Sprite extruder takes center stage on both models, but that’s as far as these printers converge in terms of their extrusion systems.
The SE is fitted with a 40-W heater, can reach a maximum temperature of 260 °C, and features a PTFE-lined heatbreak. This limits users to printing common filaments such as PLA, ABS (with an enclosure), PETG, and TPU.
Conversely, the KE sports a 60-W ceramic heater that allows the printer to reach a maximum extrusion temperature of 300 °C, an all-metal bi-metallic heatbreak, and a copper Volcano-like nozzle with a larger melt zone – all ensuring consistent filament extrusion over the printer’s speed range. Thanks to the all-metal extrusion, KE users will be able to print high temperature filament likes nylon and PC as well as the common ones.
It’s also worth mentioning that the SE comes with only one part cooling fan compared to the dual cooling fans on the KE. This should offer KE users better print quality especially on overhangs.
Lastly, the filament runout sensor on the KE should also result in less failed prints for KE users, as this will pause the printer’s operation if the filament breaks or is exhausted during a print job. While absent on the SE, its addition should be an easy upgrade path for SE users.
Mainboard
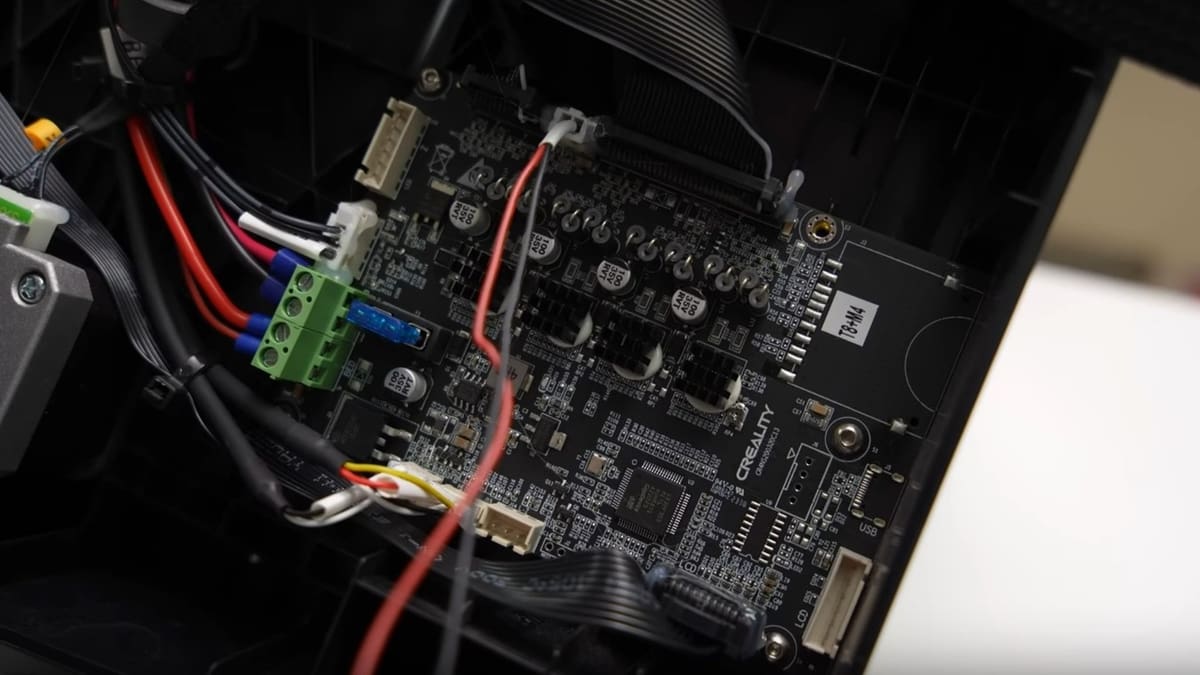
Both the SE and KE versions of the Ender 3 V3 come with 32-bit mainboards with silent stepper drivers. These mainboards offer upgrade paths for both printers, and you’ll be pleased at the low sound levels – with the fans being the primary generator of noise.
While Creality hasn’t marketed these boards like their 4.2.2 or 4.2.7 boards, they look well designed. Creality has also added a touch of glue to all board connectors to ensure no connectors unintentionally come loose during shipping or printer operation, thereby increasing the reliability of these printers.
It’s also worth noting that, as Nathan from the YouTube channel Nathan Builds Robots mentions in his review of the KE, the KE doesn’t run Klipper off its mainboard. Rather, it’s run off its touchscreen’s board.
Firmware
Creality has used Marlin as its 3D printer firmware of choice for years now, producing several high-quality printers and learning a lot of lessons along the way. This all comes to bear in the SE, which is capable of reaching a suggested top print speed of 180 mm/s (250 mm/s maximum) – about three times the average top speed of most other Marlin printers.
Creality released the KE with a closed derivative of the open-source Klipper firmware called “CrealityOS” but have since made the source code available to the 3D printing community. The KE takes advantage of Klipper to reach a maximum speed of 500 mm/s, although Creality recommends a 300 mm/s as typical.
Users, however, won’t get the full benefits of Klipper’s input shaping for best print quality at these speeds, as the KE only uses predetermined values for passive input shaping. To fully unlock the benefits of active input shaping, users can purchase the vibration compensation sensor from Creality as an upgrade option.
UI
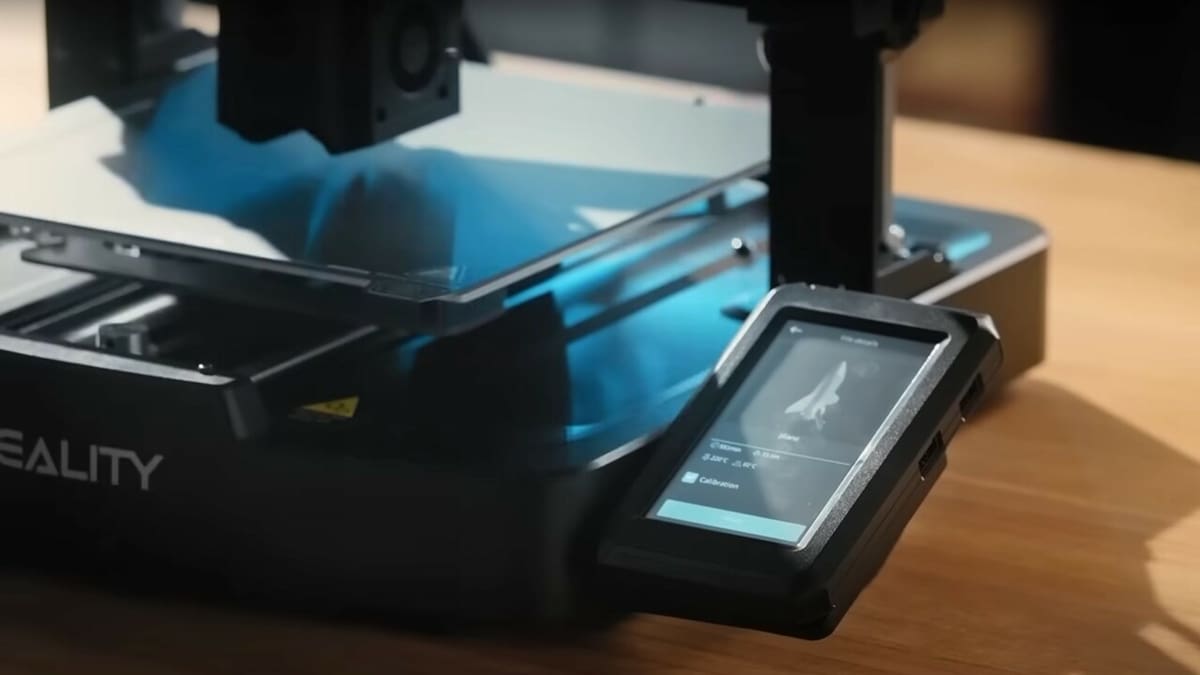
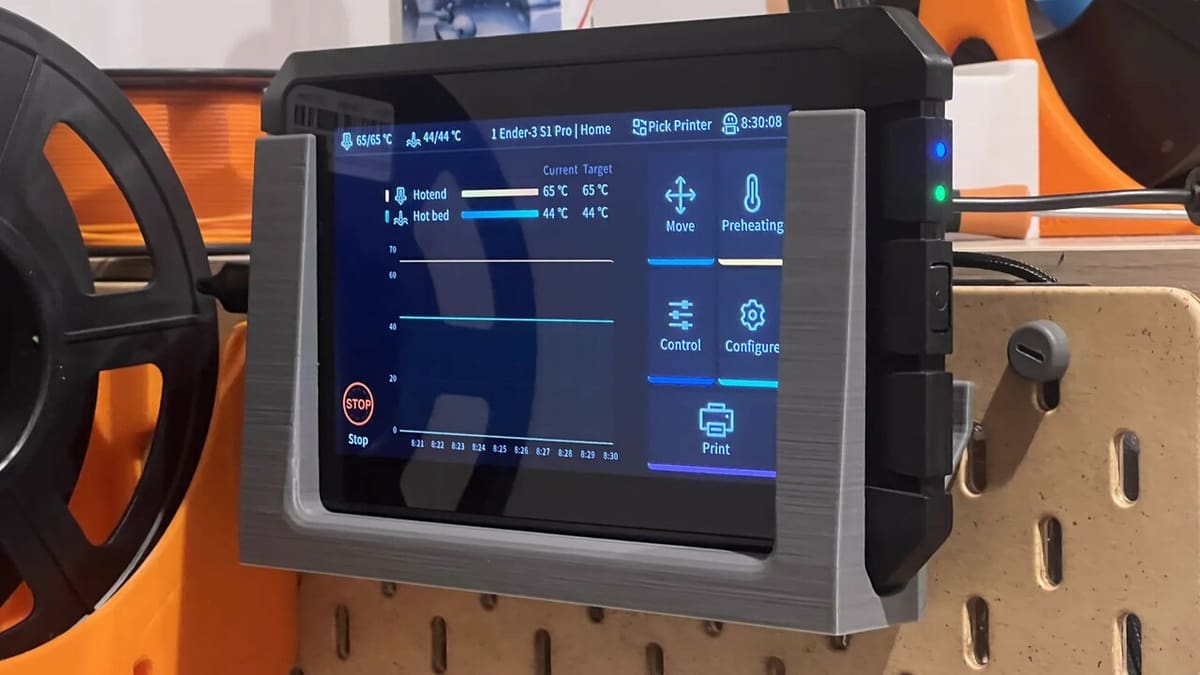
The SE gets a 3.2-inch knob-controlled screen for printer monitoring and control, while the KE comes with a 4.3-inch color touchscreen on which users can monitor and control every aspect of the printers operation.
When it comes to file transfer, the SE has a full-sized SD card slot and a USB-C port. In contrast, the KE initially offered users the choice of USB, LAN, or wireless transfer via Creality Print or the Creality Cloud mobile app. However, with the release of the KE’s source code, it’s now possible to connect to the printer via a Klipper interface such as Mainsail or Fluidd. Users may be better off using the web interfaces, which offer more robust control.
Software
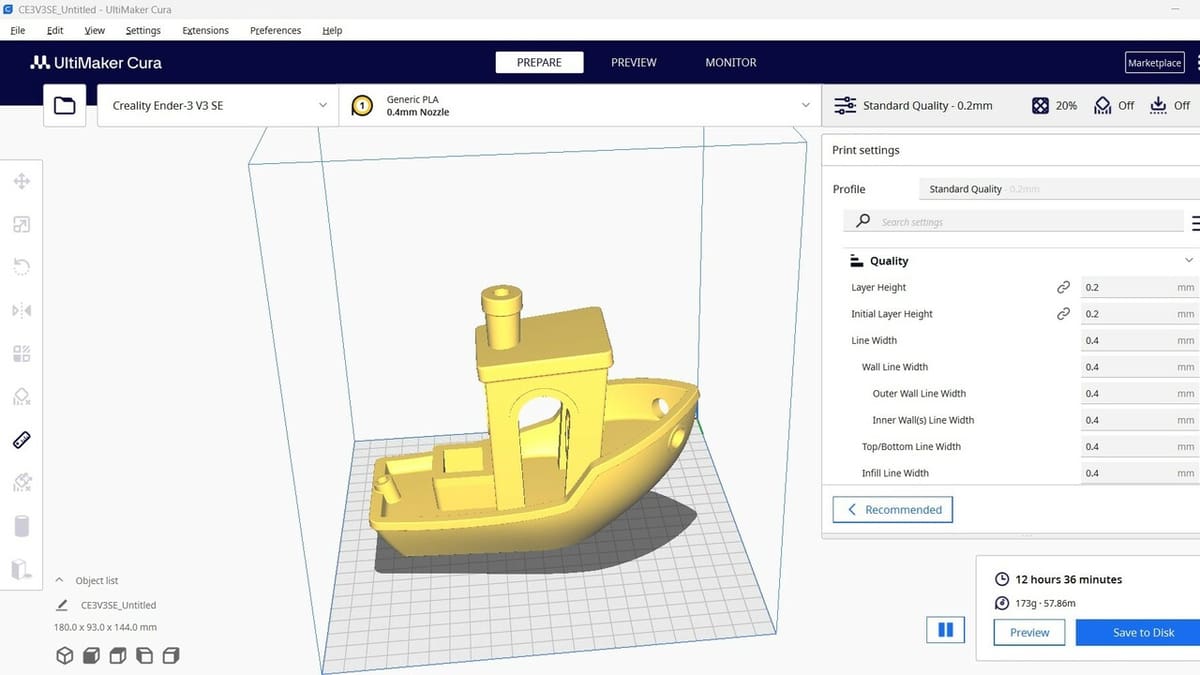
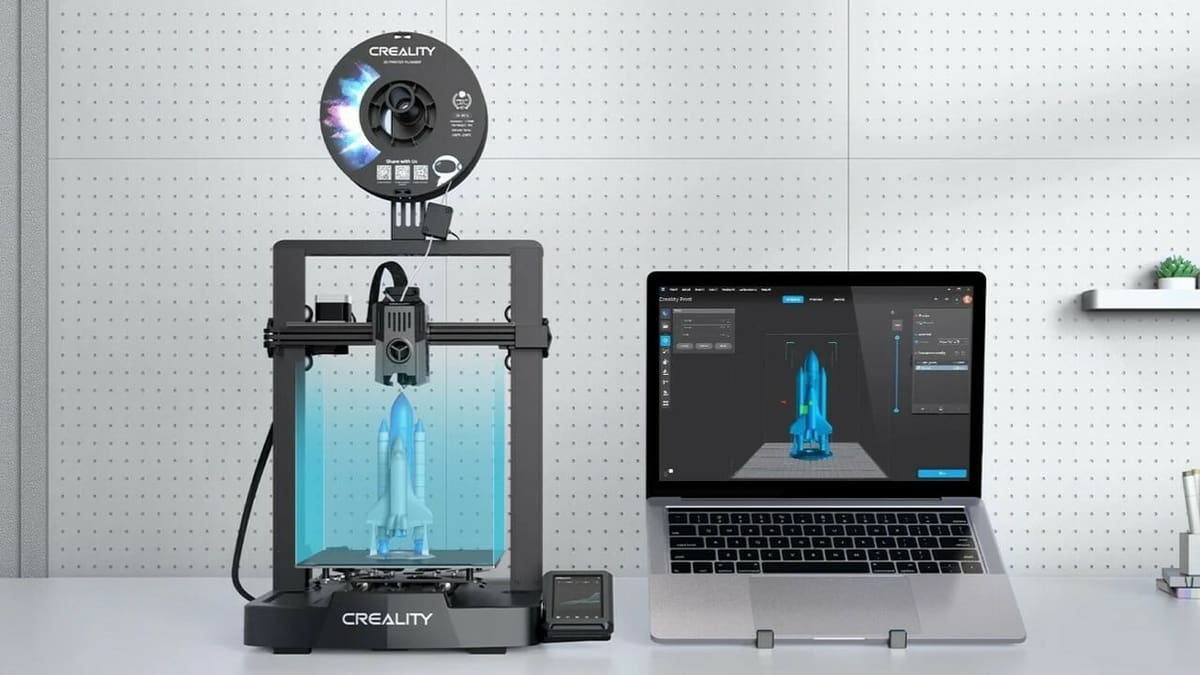
With Creality advertising Creality Print, Cura, and Simplify3D as supported slicers for both the SE and KE, users will be spoilt for choice as regards to what slicer to use with their printers – that’s before considering other alternatives like Orca, Super, and Bambu Lab slicers. As of the moment of writing, Creality has provided profiles for both printers in Creality Print as well as a profile for the SE in Cura, and users can also import the KE profile from Creality Print into Cura.
Similarly, Orca Slicer has introduced profiles for both printers in its latest version, and third-party profiles such as the PrusaSlicer profiles by jll8, KaminoKGY, and CptLuke are already being provided by members of the 3D printing community. Regardless of your preferred slicer, expect more profiles for these printers to be made available as their popularity continues to grow within the 3D printing community.
Price
At release, the SE retailed for $219, but it’s quite easy to pick one up on sale for under $200. The KE retailed at $299 initially but can also be purchased at a reduced price from Creality or a number of third-party retailers.
It’s worth considering that any upgrades will increase the cost of either printer. For example, upgrading the SE to Klipper would require a Sonic Pad or Nebula Smart Kit from Creality – currently priced at ~ $139 and ~ $85 respectively. A more DIY upgrade path would be using a Raspberry Pi. Throw in an extruder upgrade for nylon and PC printing (if you’d like to print either material) as well as a PEI sheet, and you’re well over the price of the KE – that is, unless you already have these parts lying around.
Verdict
So, the SE or the KE?
As both are excellent value for money, there’s no wrong choice here. The KE offers more advanced features and a higher maximum extrusion temperature, implying less restrictions in printing materials. The recent open sourcing of its code will also allow users to truly customize their printer according to their needs.
On the other hand, those new to 3D printing will find it really difficult to do better than the SE as a first printer. Its straight-forward assembly, user-friendly operation, and impressive print quality make it one of the most beginner friendly printers available on the market, while its price tag will also appeal to more experienced users on a tighter budget.
License: The text of "Creality Ender 3 V3 SE vs KE: The Differences" by All3DP is licensed under a Creative Commons Attribution 4.0 International License.
CERTAIN CONTENT THAT APPEARS ON THIS SITE COMES FROM AMAZON. THIS CONTENT IS PROVIDED ‘AS IS’ AND IS SUBJECT TO CHANGE OR REMOVAL AT ANY TIME.