Ender 3 V2 & BLTouch: How to Install It

If you love your Ender 3 V2, a BLTouch bed-leveling sensor might be your next upgrade. Find out how to install it!
The Ender 3 V2 is one of many revamped versions of Creality’s original Ender 3. The V2 was released in 2020 with a few notable upgrades, including a new mainboard that’s better equipped than its predecessors for upgrading your Ender 3 V2.
Despite the many improvements made to the V2, Creality kept the standard four knobs for manual bed leveling. The new mainboard, however, has specific ports for a Z probe, like a BLTouch, to automatically level the print bed.
In this article, we’ll go over what you’ll need and how to install a BLTouch sensor to add automatic bed leveling (ABL) to your Ender 3 V2. Note that this article will only be covering installation for an Ender 3 V2, which should also work for an original Ender 3 equipped with a V4.2.2 or V4.2.7 board.
How Does ABL Work?
Auto bed leveling is usually achieved with a Z probe, like a BLTouch sensor, attached to a printhead. The Z probe precisely and autonomously measures the distance between the sensor and the bed across different points on the print bed (usually nine). There are different types of sensors, including inductive and capacitive.
A BLTouch is a Hall-effect sensor that can be easily installed on a 3D printing mainboard using a 5-pin port, which the new V2 mainboards have. The mainboards of previous Ender 3s didn’t have this port, so BLTouch installation required adding a pin-27 board. With the new board, however, you’re ready to upgrade straight out of the box.
Materials
We’re happy to say, with the new mainboard, you’ll need neither an ISP to USB cable nor an external bootloader (like an Arduino) to install new firmware. That’s because the new board has a pre-installed bootloader (and no ISP port), so you can easily update your firmware using a microSD card. As previously mentioned, the board also has extra pins for a BLTouch, so you won’t need a pin-27 extension board.
To install a new mainboard on the Ender 3 V2, you’ll need the following items:
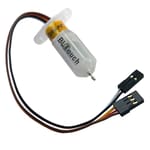
- BLTouch sensor
- BLTouch mount (this can be 3D printed)
- M3 screws (or other screws that fit your mount)
- MicroSD card
- Firmware compatible with your Ender 3 V2 and BLTouch (from Creality’s website)
As you can see, not too much is needed thanks to the Ender 3 V2’s new mainboard.
Advanced Customization
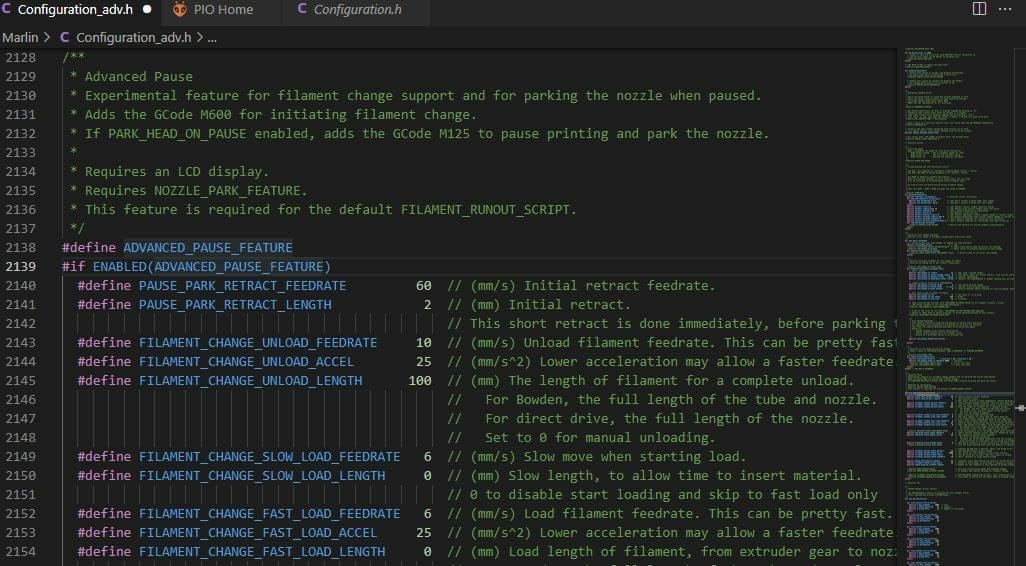
If you want to install other upgrades that require firmware alterations (such as a geared extruder or a filament runout sensor), you’ll need to change the source code. For this, you’ll have to have these additional items:
- A device with the VS Code application and the Platform.IO and Marlin Builder plug-ins installed
- Firmware compatible with your Ender 3 V2, BLTouch, and any other upgrades
You can download the editable source code from the Marlin GitHub repository. Make sure to download both the Marlin base file and the Marlin configurations file.
Step-by-Step
Now that you have all of the items and programs needed for this process, you can follow the steps below for installation. If you need a more visual guide to this process, Creality, Teaching Tech, 3D Printing Canada, and DrVax all have great guides on YouTube.
Important: Make sure that whatever wiring instructions you follow are meant for your firmware. Currently, Creality’s firmware configuration for the Ender 3 V2 with the BLTouch as well as the latest official releases of Marlin firmware use a single 5-pin wiring configuration. This is the specific method we’ve gone over in the steps below, but note that other versions and older releases may use other wiring configurations.
Now, let’s get started!
- Wipe your microSD card of all files.
- Download firmware (as a BIN file format) for the Ender 3 V2 and BLTouch from Creality’s website.
- Copy the firmware onto the microSD card.
- Turn off your 3D printer and unplug the power cord.
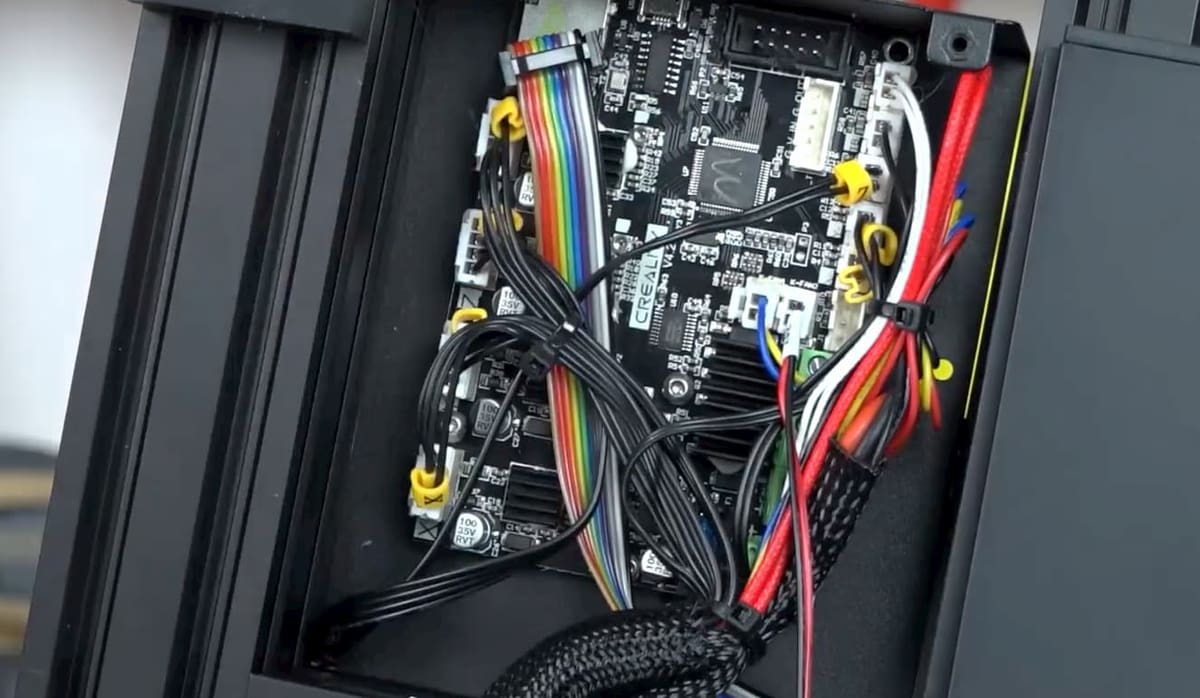
- Unplug and remove the Z-axis endstop from your printer.
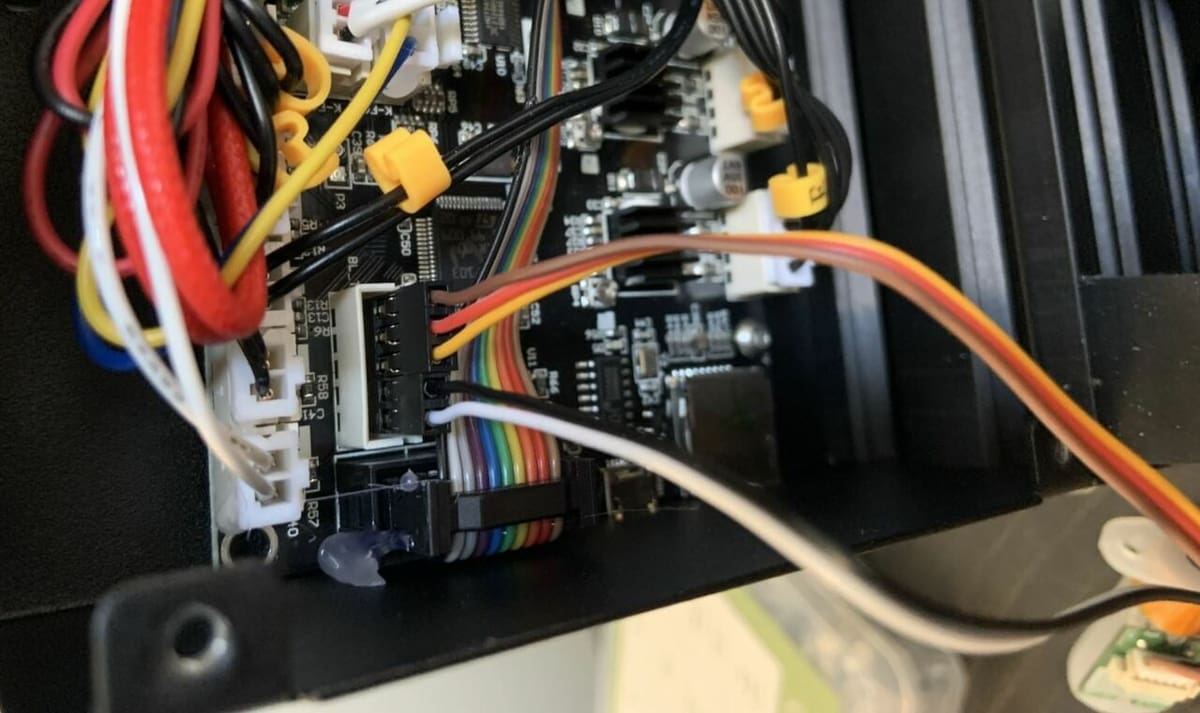
- Plug the BLTouch’s 3-pin connector and 2-pin connector into your Ender 3 V2 motherboard’s 5-pin ABL sensor port. Make sure that the wire connected to the ‘G’ port on the BLTouch sensor connects to the ‘G’ port on the motherboard. Do this for every cable, as shown in this Reddit post.
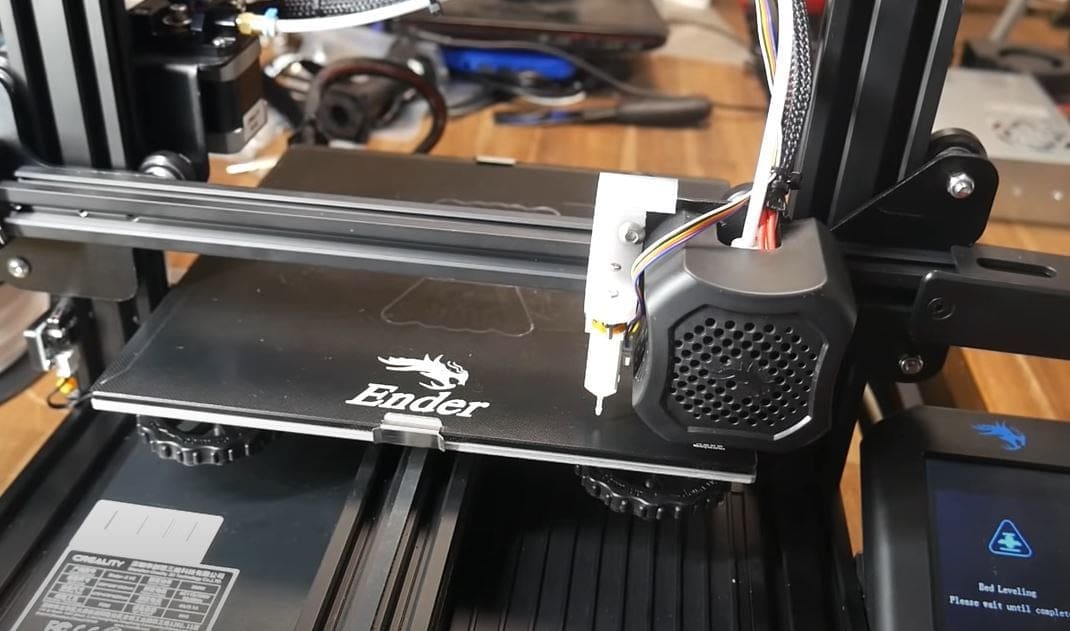
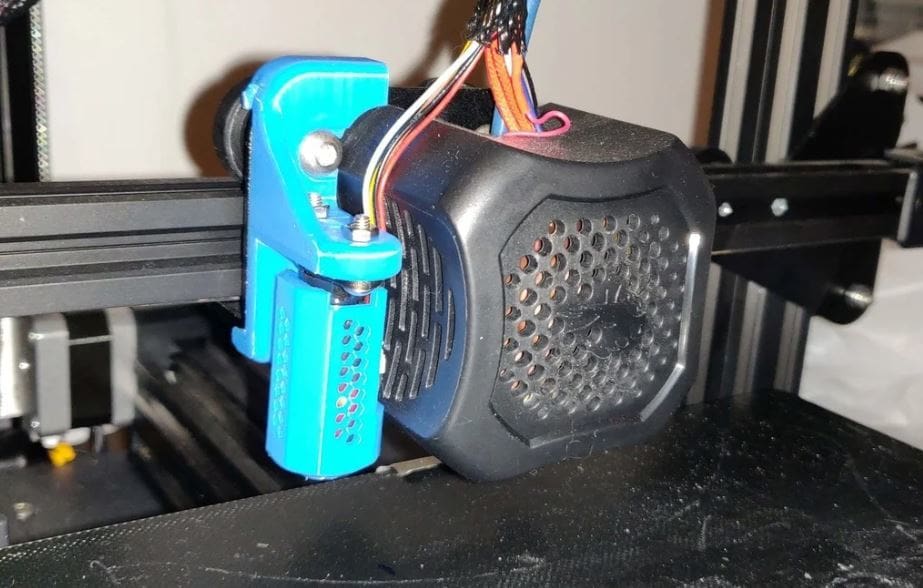
- Unscrew the printhead bracket so you can install your BLTouch mount.
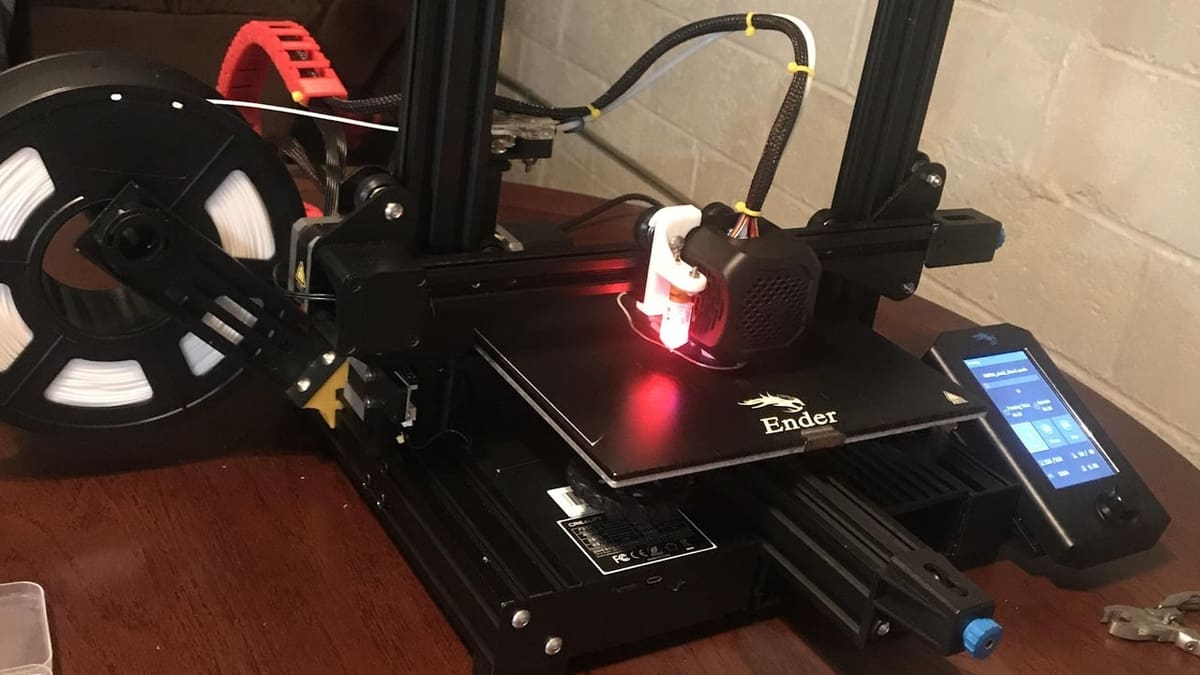
- Screw in your BLTouch mount with your BLTouch sensor mounted and plugged in.
- Install the microSD card and plug the power cord back into your printer.
- Turn your printer on and wait.
- Go to the level menu and click bed leveling.
And that’s it! You’ve now installed a BLTouch for your Ender 3 V2!
Tips & Tricks

If you’re having issues getting the BLTouch to work or achieving a level bed, here are some tips that should help:
- Activate the sensor by hand: To check that your BLTouch sensor works, set your extruder to home and activate the sensor by hand a few centimeters above the print bed. This way, you can see if the BLTouch stops as it should, and if not, at least it won’t destroy itself on your print bed.
- Calibrate your Z offset: Even if your BLTouch correctly measures your bed distance, you could (and most likely will, in the beginning) have a bad first layer. Try calibrating your Z offset using a piece of paper. To learn more about this process, check out our guide to calibrating the Z offset on an Ender 3.
- Screw your BLTouch on tight: Check the tightness of your screws. A secure BLTouch means less wobble, so you should get greater accuracy in your leveling process.
- Level manually before every print: Even though you now have an auto bed leveling sensor, it still helps to get at least a somewhat level print bed before each print manually.
- Check the microSD card: If you tried to flash new firmware and your Ender 3 V2’s motherboard didn’t recognize the initiative and change the firmware, it could be the microSD card. First, make sure that you’ve cleared and formatted (FAT32) the microSD card and have only added the desired firmware in the BIN file format on the card. Second, make sure to insert the card when the printer is powered off and don’t touch any buttons when you turn the power back on. If this doesn’t work, consider switching the microSD card, and if all else fails, contact Creality about your motherboard.
License: The text of "Ender 3 V2 & BLTouch: How to Install It" by All3DP is licensed under a Creative Commons Attribution 4.0 International License.
CERTAIN CONTENT THAT APPEARS ON THIS SITE COMES FROM AMAZON. THIS CONTENT IS PROVIDED ‘AS IS’ AND IS SUBJECT TO CHANGE OR REMOVAL AT ANY TIME.