Great Printers, Small Secrets
Creality’s Ender 3s (original, Pro, and V2) are great printers, especially considering their price points. However, if you’re looking to buy one, you may have heard mixed reviews on what the actual and advertised Ender 3s’ bed sizes are.
All three of the Ender 3s have an advertised and usable print area of 220 x 220 mm. However, the size of the build surface actually measures 235 x 235 mm. That means, in theory, an astonishing 14% of the print bed is going unused!
Keep reading to learn more about why this is and what you can do about it.
The Difference Explained

So why is the reported print area smaller than the actual bed size? Here are a couple of possible reasons:
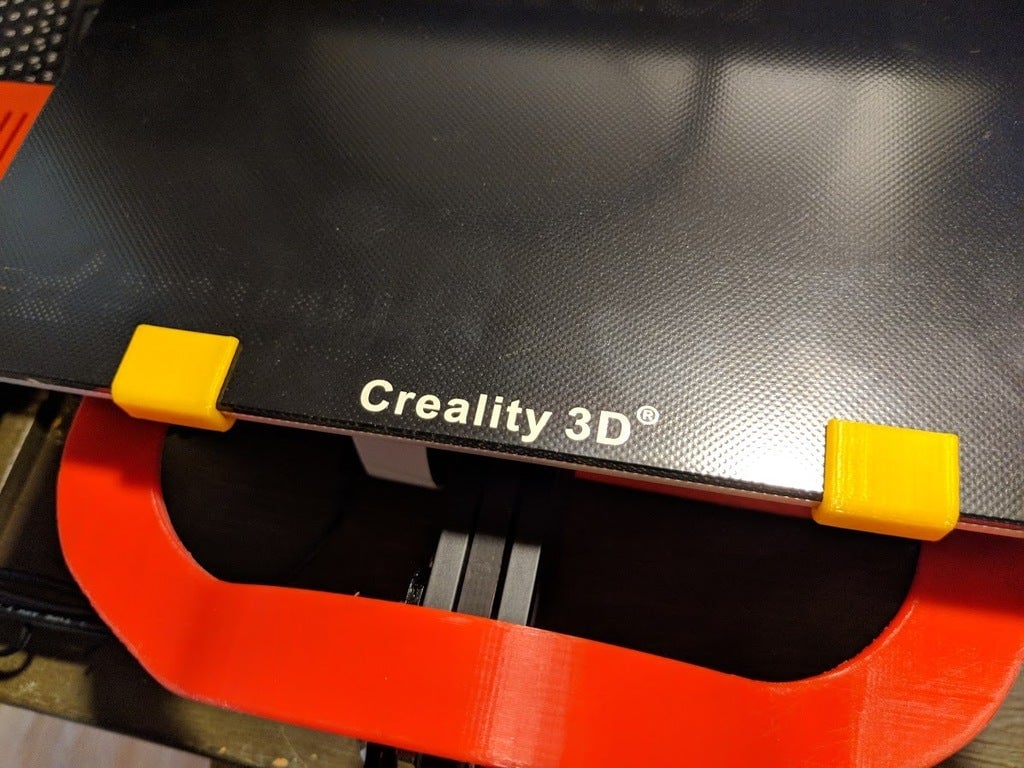
- Clips: Likely the main reason for the difference is to accommodate clips. Unless you’re using a build plate that’s magnetic or glued to the print bed’s carriage, it’s likely that you have a series of clips clamping the surface to the carriage. The clips that come with some Ender 3s are office binder clips and take up a good portion of space. Having that extra 7.5 mm on all sides of the bed ensures that the nozzle won’t interfere with these clips.
- Tolerance stack-up: The construction of the Ender 3s incorporates a framework of mechanical joints and connecting rods of various sizes. Each component of any mechanical system has tolerance associated with the operation used to create it. If you add all of the potential tolerances, you get what’s known as “tolerance stack-up”. While perhaps not as strong a reason as clip accommodation, the extra bed space may also allow for tolerance stack-up in the machine.
Other Considerations
An important point that emerges in the discussion of the Ender 3 print area are slicer settings, in particular those to do with build plate adhesion. Most slicers will by default add G-code to print a priming line and a skirt before starting to print a model. Because of this, the effective print area (when preparing your model for printing) may appear even smaller than whatever’s dialed in for your machine’s print area. Playing around with the relevant settings should therefore open up more space.
Some say that the smaller print area has in part to do with the print bed’s heating element, which doesn’t extend to the very edges of the bed. While this latter point may be true, it’s unlikely to be influencing Creality’s stated print area given that the space between the element and the edge of the bed isn’t significantly wider than the spaces within the heating element. (In other words, heat should easily disperse to all portions of the bed.)
The Solution
With the above in mind, we can think that the “safe”, printable area is 220 x 220 mm, while the actual bed area is 235 x 235 mm. That said, it is possible to make use of more than Creality’s stated print area, perhaps even up to the full 235 x 235 mm. To learn how, follow the steps below.
Alternatively, you can always directly extend your Ender 3’s capacity with one of the Ender Extender kits. These are hardware kits that allow you to reach 300 x 300 or 400 x 400 mm print areas. As you might expect, however, these impressive improvements will cost you significant money and time.
Step 1: Upgrade Your Hardware
First, if your setup uses clips, you’ll need to change how the print bed attaches to the frame. Towards this end, there are two options: change the clips or change the print bed.
Ditch the Clips
The simpler solution is to switch the binder clips with something else. Creativity and DIY spirit will help here, but one option might be to use photo frame springs, although they won’t relinquish the full print area.
Replace the Print Bed
The more complex but perhaps more obvious solution is to trade out the print bed for something that doesn’t require clamps. Creality’s magnetic bed, for example, is made to fit directly on the Ender 3’s build surface. The flexible build platform easily peels off the magnetic base and allows you to deform it to remove your print.

Step 2: Upgrade Your Firmware

Whichever Ender 3 you have (i.e. whatever the clip situation), the second step is to program your 3D printer to use the full build surface. To unlock your Ender 3’s true potential, you’ll need to update the mainboard computer’s firmware. There are two essential steps to opening a larger bed size:
- Swap the firmware: By default, Creality’s Ender 3 firmware only allows you to use 220 x 220 mm of print surface. However, Creality’s firmware is an older and more basic version of the official Marlin RepRap firmware. To change it, check out our article on upgrading your Ender 3 and Pro to the newest version of Marlin. For the V2, the process is slightly different and easier.
- Modify the code: Once you’re ready with the latest version of the firmware, you can make the necessary changes to the bed size in the Marlin code and flash it to your printer. Changing the Marlin code will require some experimentation on your part. (If you have a BLTouch installed on your Ender 3 or Pro, or your V2, try checking out this guide.) For safety, you may want to avoid dialing the values all the way up to 235 x 235 mm. For example, 230 x 230 mm is still a 9% increase and leaves you a 2.5-mm accident buffer on each side.
Final Thoughts
Creality decided to set the Ender 3s’ firmware with a print size smaller than the actual dimensions of the print bed. And when you consider bed fastening, tolerances, and safety precautions, this sounds logical. Yet, does it really need 7.5 mm on each side?
Technically, the answer is no, and there are ways to maximize your printer’s capacity, as detailed above. Still, it’s always a good idea to play things safe, so always make sure you fully understand any and all steps before making changes.
As always, happy printing!
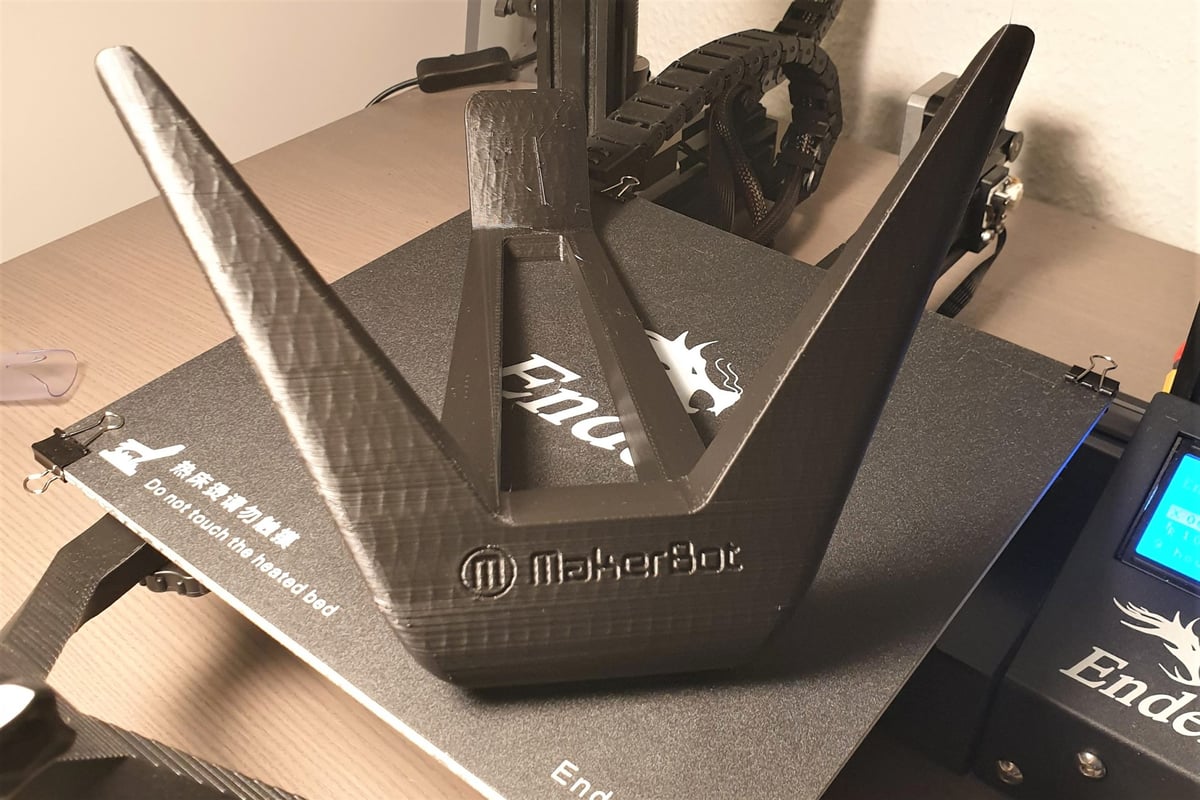
Lead image source: liem-salim via Reddit
License: The text of "Ender 3 (V2/Pro) Bed Size: What Is It Really?" by All3DP is licensed under a Creative Commons Attribution 4.0 International License.