The Best Ender 2 Pro Upgrades & Mods

The Ender 2 Pro is more robust than its predecessor, but there's room for improvement. Read on for the best Ender 2 Pro upgrades!
The original Ender 2 came out in 2018, and compared to the all-famous Creality Ender 3, it wasn’t very popular. However, Creality has come back to the old-timer and released the Ender 2 Pro, a souped-up version of the original with many of the same features seen in the newer Creality printers (e.g. Ender 3 S1).
At first glance, the Ender 2 Pro looks a lot like Prusa Mini, with an i3 frame design, a small build volume, and a single Z-axis gantry. But with a price tag under $175, the Ender 2 Pro costs a little more than a third of what the Prusa Mini costs.
As for the features, while the price is low, Creality has equipped the Ender 2 Pro with features that are becoming more standard on Creality machines. These include integrated belt tensioners on the X- and Y-axes, a decently high-temperature hot end (up to 260 °C), and a magnetic and flexible build plate.
Despite these upgrades, compared to the original Ender 2, the 2 Pro still isn’t perfect with its fair share of flaws.
Luckily, due to Creality’s large following and the easily-attachable frame design of the Ender 2 Pro, there are many upgrades you can make to the Ender 2 Pro. These modifications can improve the printing performance, usability, and other aspects of the machine. In this article, we’ll go over ten of the best upgrades you can make to the Ender 2 Pro, including adding automatic bed leveling, switching out the build plate, and more!
To DIY or Print
You should be able to create these on your own, either with your printer or with odd parts you may have lying around. If you’d like to use a new material or technique, try Craftcloud. Get parts professionally printed while you’re still tinkering with your Ender 2 Pro.
Z-Axis Motor Mount

One of the most notable features of the Ender 2 Pro is its one-sided frame along the Z-axis. While this gives the Ender 2 Pro a very minimalistic structure, it puts more physical stress on the Z-axis stepper motor because the X-axis carriage’s entire weight is leaning down on the motor. Additionally, some users don’t believe that the stock Z-axis motor mount holds the motor in place well enough.
For an even safer printing experience, you can 3D print and install this Z-axis motor mount for the Ender 2 Pro. The upgraded mount holds onto the Z-axis motor with four screws instead of two, like the stock mount, so there should be a less likely chance of print failures due to the motor moving (or detaching from the frame).
- What does it improve: Secures the Z-axis stepper motor to the frame of the printer
- Parts needed: 3D printed parts, screws (included on printer)
- Cost: ~$1
- Where to find it: pakkko via Thingiverse
Extruder Knob
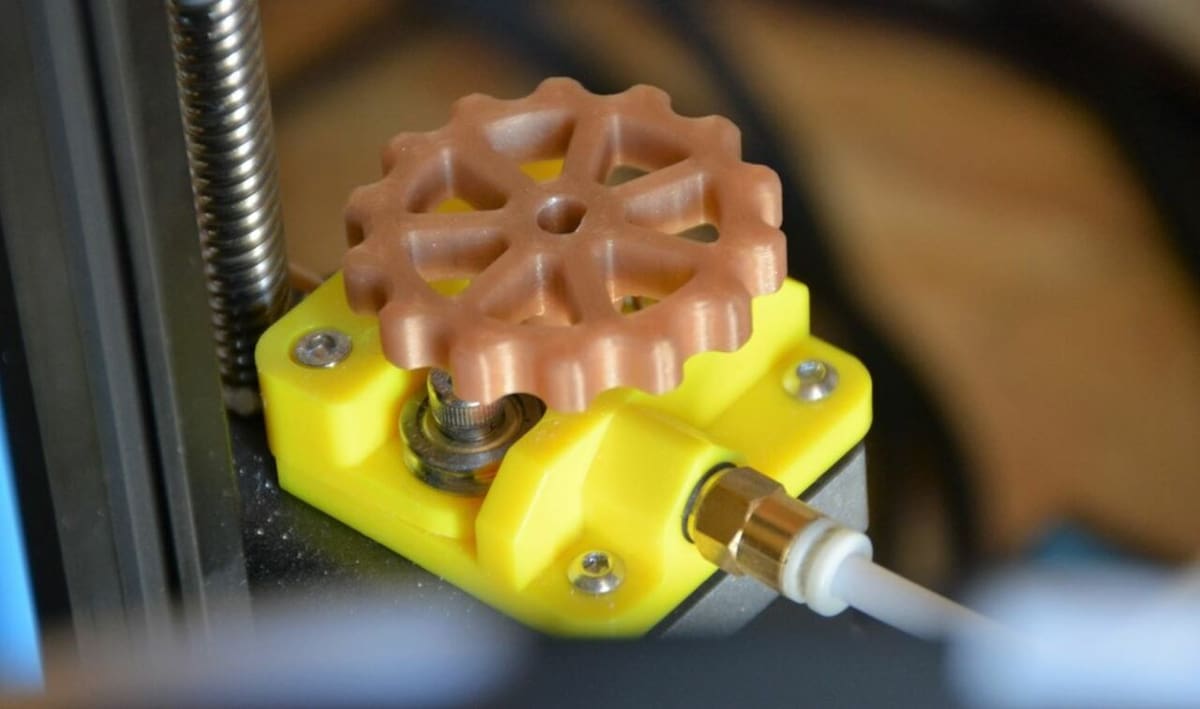
An extruder knob is a small knob that attaches to the extruder motor’s axle and makes it much easier (and safer) to manually push and pull filament through your printer. While it might not sound super useful, many users find that it saves a lot of time and hand strength when fixing your printer or swapping filaments.
You can 3D print your own extruder knob, but sadly, we couldn’t find an extruder knob meant for the Ender 2 Pro. But don’t worry because the Ender 2 Pro’s extruder motor is the same as those on the Ender 3 and CR-10, so you can use a design meant for these printers as a substitute. There are also many creative options for the extruder knob, such as this Yoda knob or Groot knob.
- What does it improve: Makes it easier to manually push or pull filament through the hot end
- Parts needed: 3D printed part
- Cost: ~$1
- Where to find it:
Lights
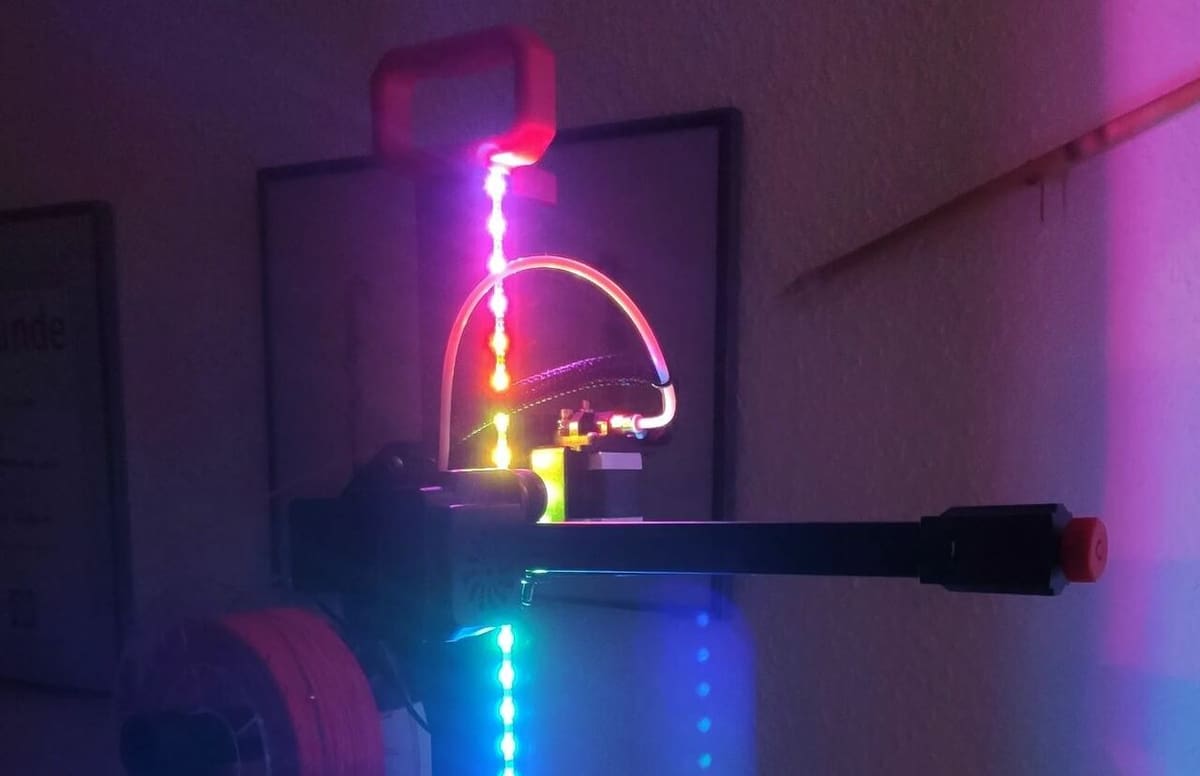
Next, it’s always a good idea to keep your print space properly illuminated as light makes starting prints, fixing your machine, and everything else so much easier. There’s no one right way to make this upgrade, but a few common ideas are using an LED bar on the top of the frame, LED strips along the sides of the printer, or attaching a light to the printhead. But as the Ender 2 Pro’s printhead is only supported by one Z-axis rail, we don’t suggest the last option because adding any more weight to the printhead could make it sag.
If you want to go with the LED bar option, you can purchase a small USB LED bar at Amazon for under $20 and 3D print a mount to attach it to the top of the frame of the Ender 2 Pro. For the LED strip, one designer has already made a project for the Ender 2 Pro that uses a few 3D printed parts, screws, a NeoPixel LED strip, and an Arduino Nano to control the lights.
- What does it improve: Illuminates the print space to make it easier to work on the printer
- Parts needed: LED lights (strips or bar), 3D printed mount
- Cost: ~$15
- Where to find it: Xmissile via Cults
To Buy
While it may not be outside your expertise to machine metal extruders or create motors, we usually find it much more convenient just to buy them.
Enclosure
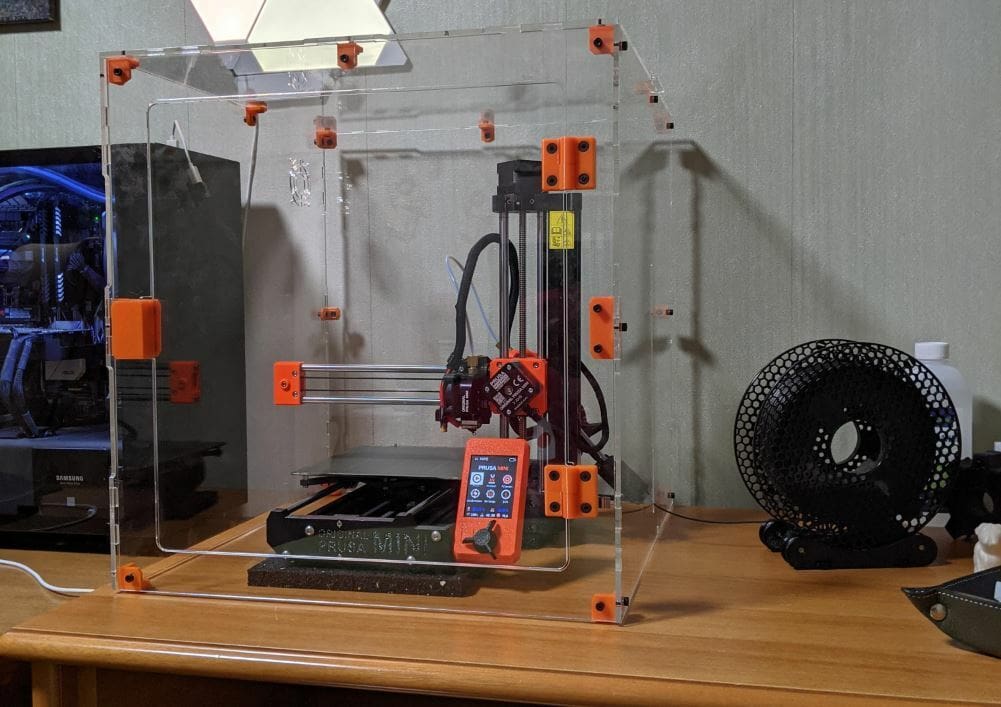
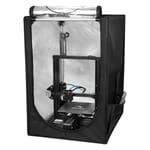
The Ender 2 Pro isn’t meant to be a powerhouse of a 3D printer, but you still may want to try printing some high-temperature materials such as ABS or ASA. For these materials, though, you’ll need an enclosure to get the best print quality, as these materials like to be surrounded by heat and away from air drafts. Although the Ender 2 Pro doesn’t have a built-in enclosure, there are many options for buying or building one for your printer.
If you want the most hassle-free option, the Creality Ender 3 enclosure or the Wham Bam HotBox V2 are two great options that have very minimal assembly and hold in heat very well. Alternatively, you can make your own enclosure for your Ender 2 Pro using materials such as acrylic panels, wood, PVC pipes, or even a trash bag. As a bonus, you can customize your enclosure to fit your needs, for example by including an access hole so you can reach the printer, some tool holders, or anything else you might want.
- What does it improve: Traps heat around the printer and keep air drafts out, enabling high-quality prints in ABS, ASA, and other temperature-sensitive filament materials
- Parts needed: Purchasable enclosure or DIY enclosure, including panels, hinges, screws, and other hardware
- Cost: $50 – $150

Automatic Bed Leveling
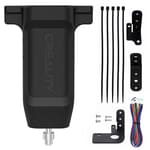
Automatic bed leveling (ABL) is one of the most popular upgrades for 3D printers, making it much easier to achieve a high-quality first layer for 3D prints. The Ender 2 Pro, unlike some of Creality’s newer printers, doesn’t come with automatic bed leveling, but you can add an ABL sensor to the printer to give it this ability.
Perhaps the easiest ABL upgrade for the Ender 2 Pro is the CR Touch, Creality’s bed leveling sensor that’s super easy to add to Creality printers running Creality-developed firmware. All you need for this upgrade is the CR Touch sensor as well as a compatible mount, such as this 3D printable option. Alternatively, you can add ABL to your Ender 2 Pro with a BLTouch sensor and this slightly different 3D printed mount.
- What does it improve: Improves the precision of the bed levelness and reduces the amount of time needed to prepare a machine for printing
- Parts needed: Automatic bed leveling sensor, sensor mount
- Cost: $30 – $45
Metal Extruder
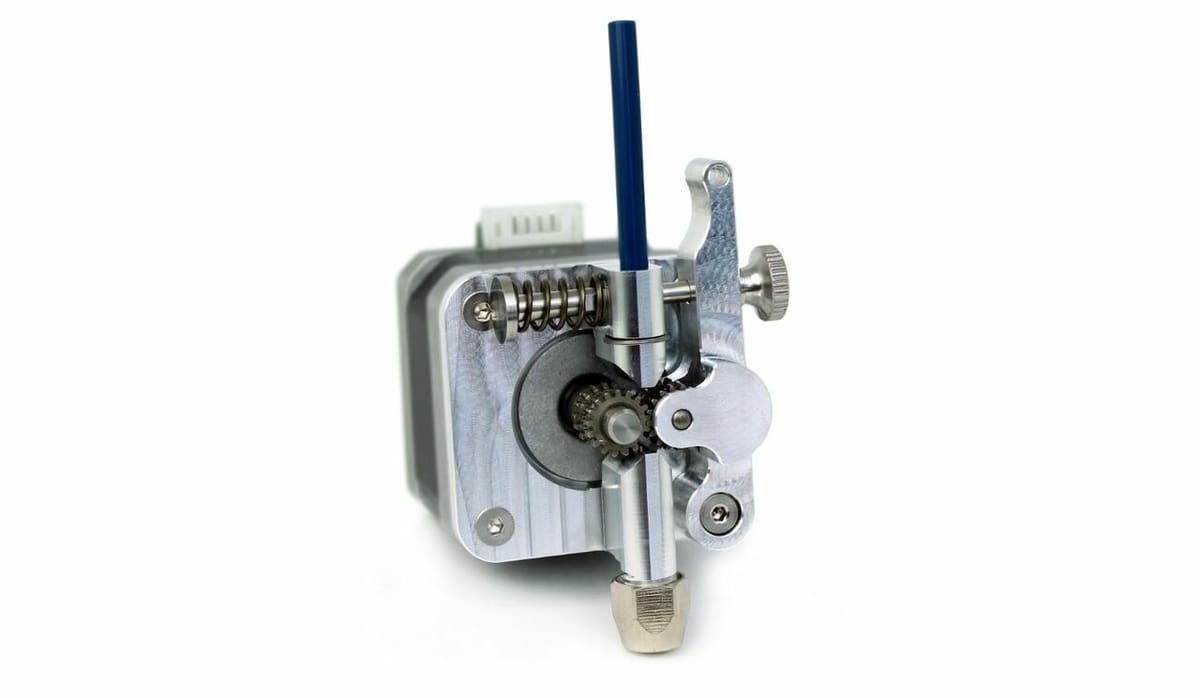
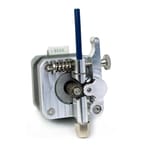
While Creality implemented many Ender 3 upgrades into the design of the Ender 2 Pro, the printer still features a plastic extruder assembly. Plastic extruders are known to wear down significantly after a few months of printing, and this can cause issues to arise around the printer’s extrusion. You can replace the original plastic assembly with a metal extruder that won’t degrade as easily to provide more reliable extrusion for the Ender 2 Pro.
Because the Ender 2 Pro’s extruder follows basically the same design as other Creality printers, you should be able to use one of the metal extruders meant for the Ender 3. There are many metal extruder assemblies you can choose from, most costing under $20. For a high-quality option, though, you can go with Micro Swiss’ all-metal dual gear extruder assembly that’s meant for the Ender 2 Pro.
Assembly should also be very easy for this upgrade. All you have to do is unscrew the four bolts holding the extruder stepper motor to its Z-axis carriage, remove the plastic assembly, and screw in the new metal one.
- What does it improve: Improves the reliability of the printer’s extrusion and makes the extruder more resistant to degradation
- Parts needed: Metal extruder assembly
- Cost: $10 – $50
Capricorn Tubing

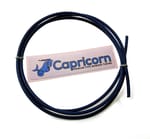
Our next upgrade is replacing the stock PTFE tubing on the Ender 2 Pro with high-quality Capricorn tubing. That’s because the original PTFE tubing that comes with the Ender 2 Pro, like all of Creality’s stock tubing, is known to degrade quickly and cause extrusion issues. Conversely, Capricorn Bowden tubing is known to be high-quality due to its tight tolerance around the filament, leading to more consistent extrusion on printers.
For the Ender 2 Pro, you’ll need to get Capricorn’s PTFE tubing meant for 1.75-mm filament (it’s usually blue). It’s also worth pointing out that most Capricorn tubing kits come with a few meters of tubing and a PTFE tube cutter. You’ll need to use the cutter to cut the long tubing to a length that fits on the Ender 2 Pro, reaching from the extruder to the hot end, with a little extra space.
- What does it improve: Reduces extrusion issues by providing a tighter diameter tolerance around the filament
- Parts needed: Capricorn PTFE tubing (1.75 mm), PTFE couplers (the stock ones work)
- Cost: $10 – $15
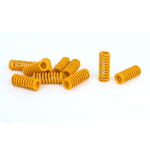
Stronger Bed Springs
In the reviews of the Ender 2 Pro, some people have mentioned that the stock metal springs on the Ender 2 Pro are too weak. On top of making it annoying to level the printer, weak springs also mean that the bed won’t stay level for long. To fix this, you can install some stronger bed springs.
Many users suggest using stronger, after-market springs from Amazon, such as these 8-mm yellow ones, as these are known to provide more bed force, leading to less frequent bed leveling adjustments. Another popular option suggested by 3D printing enthusiasts is silicone bed mounts, which are a lot better than the Ender 2’s stock springs at holding their bed position. Installing these springs should be super easy, and all you have to do is remove the build plate and the four attachment screws, change out the springs, and put it all back together.
- What does it improve: Ensures the bed stays level for longer
- Parts needed: 8-mm springs or silicone bed mounts (or both)
- Cost: $5 – $10
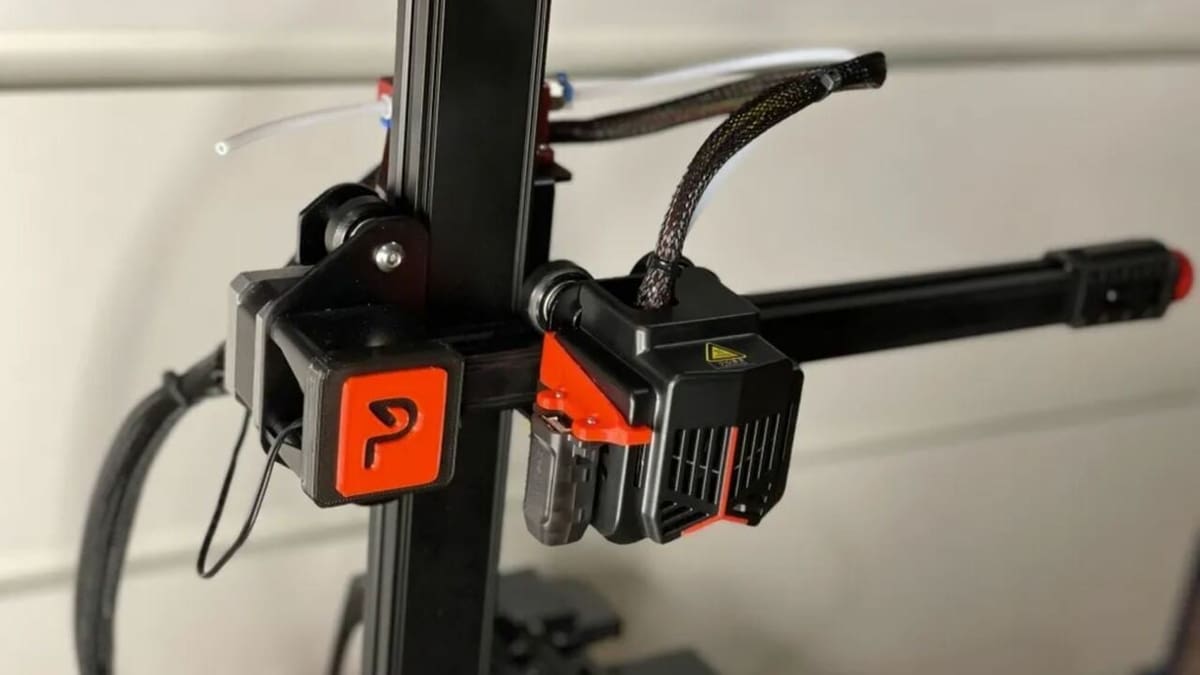
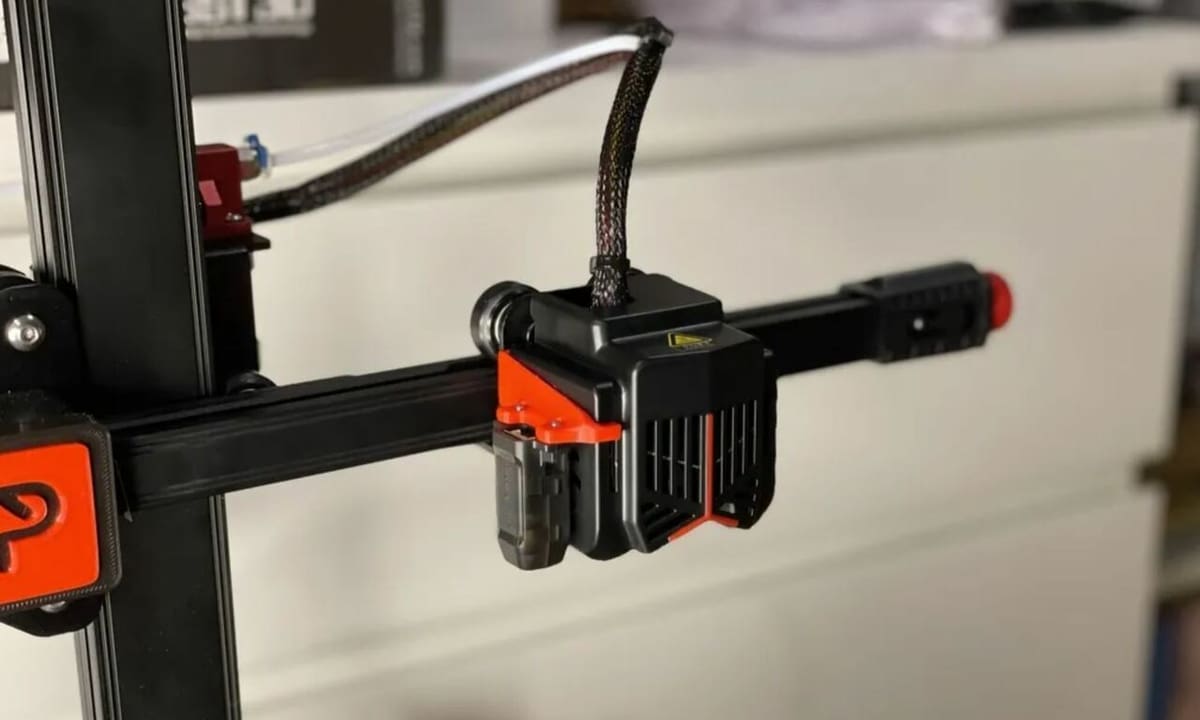
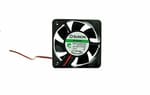
5015 Blower Fan
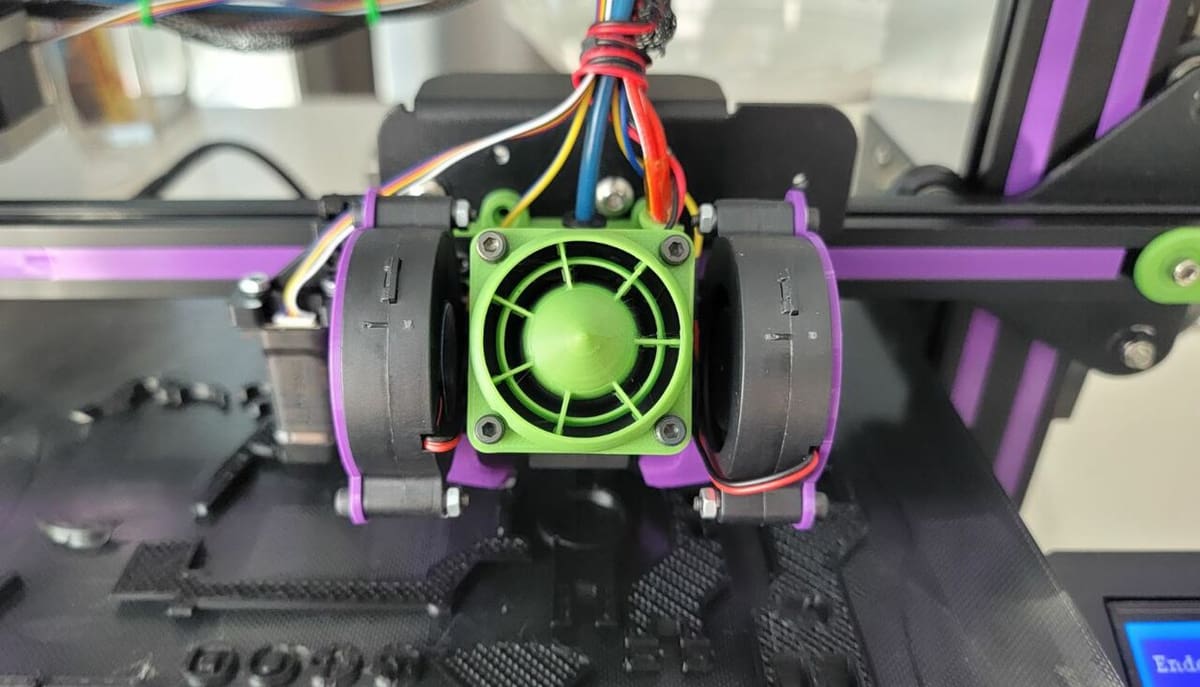
Cooling is a super important process for 3D printers, and if not enough airflow is getting to the nozzle, your prints may come out with poor details or run into other extrusion issues. While the hot end cooling system on the Ender 2 Pro isn’t terrible, it can be improved by replacing the stock fan with a 5015 blower fan.
A 5015 blower fan, as seen in the image above, makes the stock cooling fan look puny, and it also cools the hot end much better. As you might expect, a 5015 fan can be a lot louder than the stock fan on the Ender 2 pro, but you can quiet it by lowering the speed (on the slicer).
It’s also worth noting that, to add a 5015 fan, you’ll need to 3D print a printhead mount for the Ender 2 Pro. Unfortunately, we couldn’t find any printhead mounts that fit a 5015 fan and are meant for the Ender 2 Pro. However, you should be able to use printhead systems meant for the Ender 3, like the Hero, which can fit a 5015 fan.
- What does it improve: Cools melted filament better, potentially reducing noise output
- Parts needed: 5015 blower fan, compatible printhead mount (e.g. Hero)
- Cost: $10 – $20
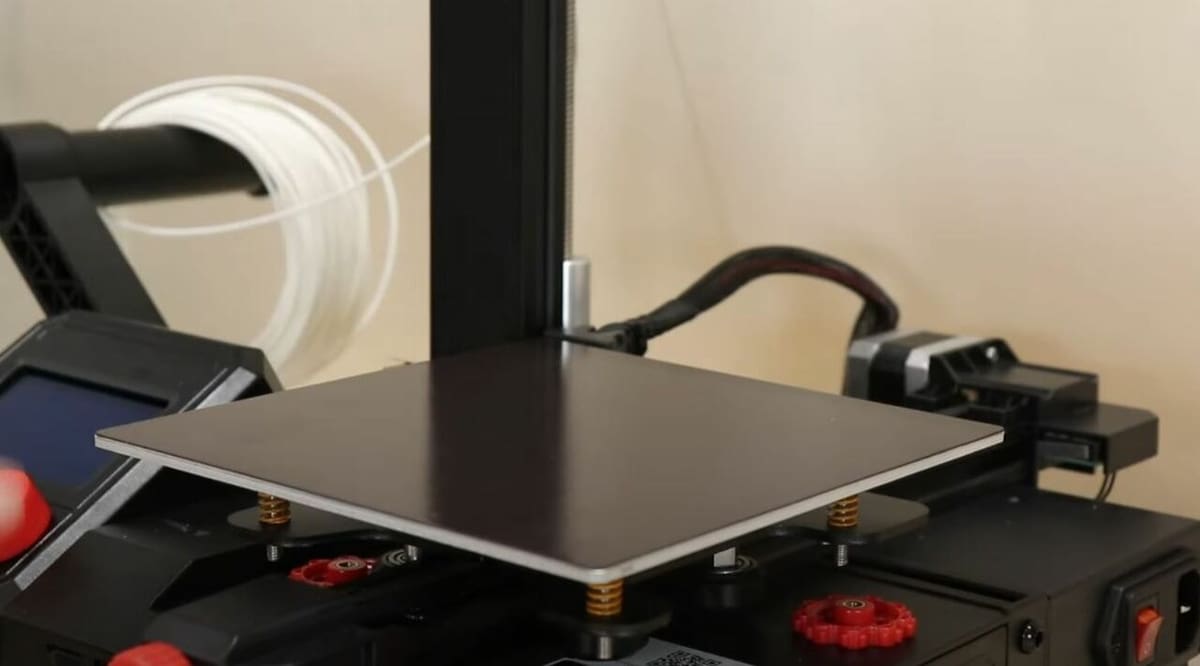
Glass Build Plate
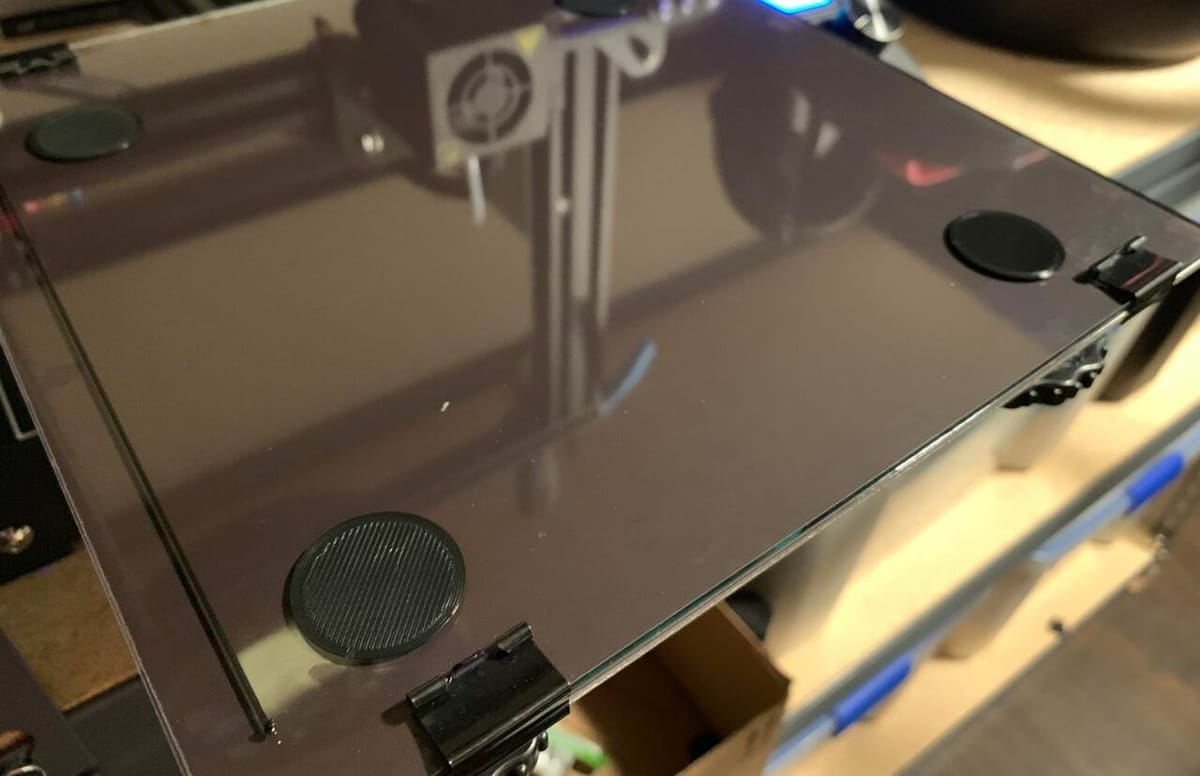
The Ender 2 Pro features a flexible magnetic PEI build plate, an increasingly popular style of bed. While flexible PEI beds provide excellent first-layer adhesion, the top surface of the bed is rugged, yielding a rough texture on the bottom of prints. For a smoother bottom surface on your Ender 2 Pro prints, you can switch to a glass build plate.
Of course, as glass build plates aren’t flexible like the Ender 2 Pro’s stock bed, it might be harder to pop off prints. But the bottom surface of prints will reflect the smoothness of the build plate, which, for glass, is very smooth.
Additionally, glass build plates can handle a wider span of filament materials than the Ender 2 Pro’s stock bed. That’s because the magnetic PEI options that come with the Ender 2 Pro can lose their magnetism (attachment to the printer) at high temperatures. A glass bed won’t do this, so you can use filament materials that require higher bed temperatures (e.g. 200+ °C).
It’s also worth pointing out that there are no glass build plates specifically made for the Ender 2 Pro. However, you can find a compatible option by looking for 165 x 165 mm glass beds, such as the ones offered by GO-3D Print and Ballitensen.
License: The text of "The Best Ender 2 Pro Upgrades & Mods" by All3DP is licensed under a Creative Commons Attribution 4.0 International License.
CERTAIN CONTENT THAT APPEARS ON THIS SITE COMES FROM AMAZON. THIS CONTENT IS PROVIDED ‘AS IS’ AND IS SUBJECT TO CHANGE OR REMOVAL AT ANY TIME.