Ender 3 (V2/Pro): How to Change Filament – 3 Easy Steps

New filament, new me! Read on to learn the quickest and smartest way to change the filament on your Ender 3, V2, or Pro in 3 easy steps.
Creality’s Ender 3 is the company’s hit 3D printer, offering customizable 3D printing at an affordable price. After the original Ender 3’s major success, Creality continued their line of Ender printers, creating the Ender 5, 6 SE, and more. However, Creality hasn’t left the Ender 3 in the dust and has also released other versions of the original printer, including the Ender 3 Pro and the recent Ender 3 V2.
If you’re new to 3D printing on the Ender 3, the first thing you may want to change is the filament. While a spool of filament can last a pretty long time, you may want to switch up the colors to better correspond with different prints.
Whether you’re simply changing the color of the filament or changing materials, the process for changing the filament on your Ender 3 is fairly simple. In this article, we’ll go over three easy steps to get you onto your next color in no time. Because there are three variations of the Ender 3, we’ll provide version-specific instructions when possible. Although the process doesn’t vary too much, the wheel on the V2 is a welcome upgrade.

Step #1: Remove the Old Filament
The first step is to remove the filament currently loaded. In order to do this, you have to heat up the nozzle to the melting temperature of the specific type of filament you’re using. If you’re not sure what the temperature is, typically the recommended temperature range is listed on the side of the spool or on the manufacturer’s website.
- To set the temperature, turn on your printer and click the control knob to bring up the menu.
- Scroll to Control Settings > Temperature > Nozzle.
- Use the LCD knob to dial the temperature up.
- Wait for the hot end to reach the desired temperature.
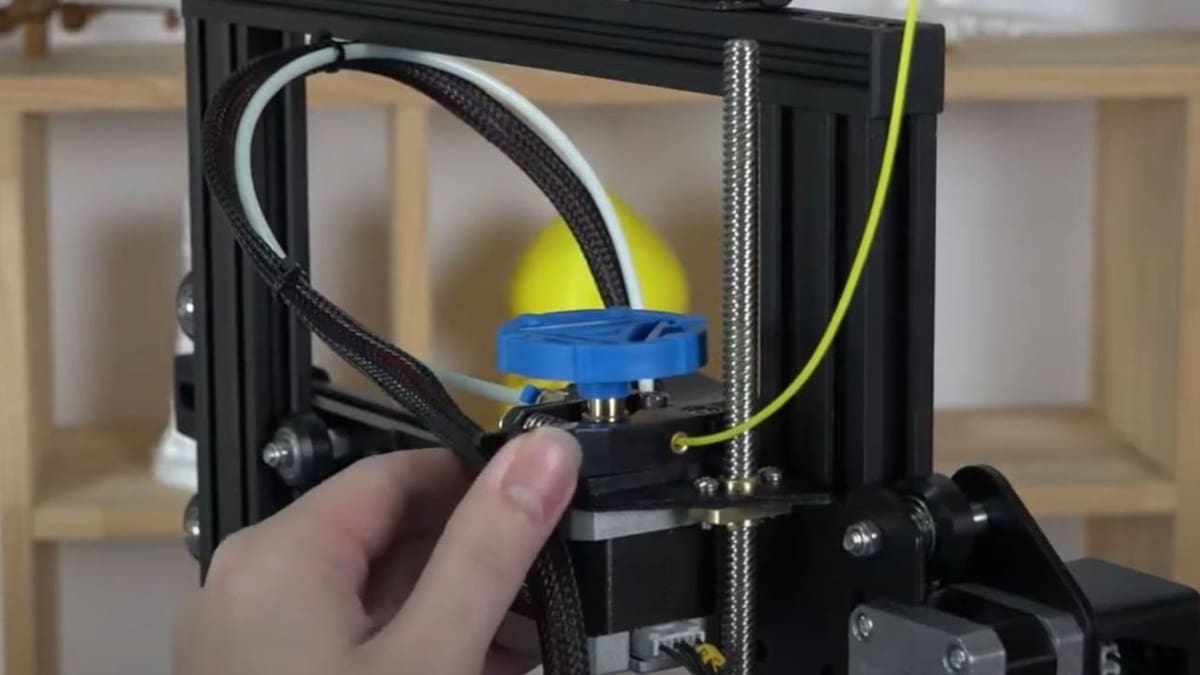
- Squeeze the extruder lever to release the grip on the filament, withdraw the filament, and remove the spool. If you have the Ender 3 V2 or are using an extruder knob, you should rotate the knob clockwise to take out the filament.
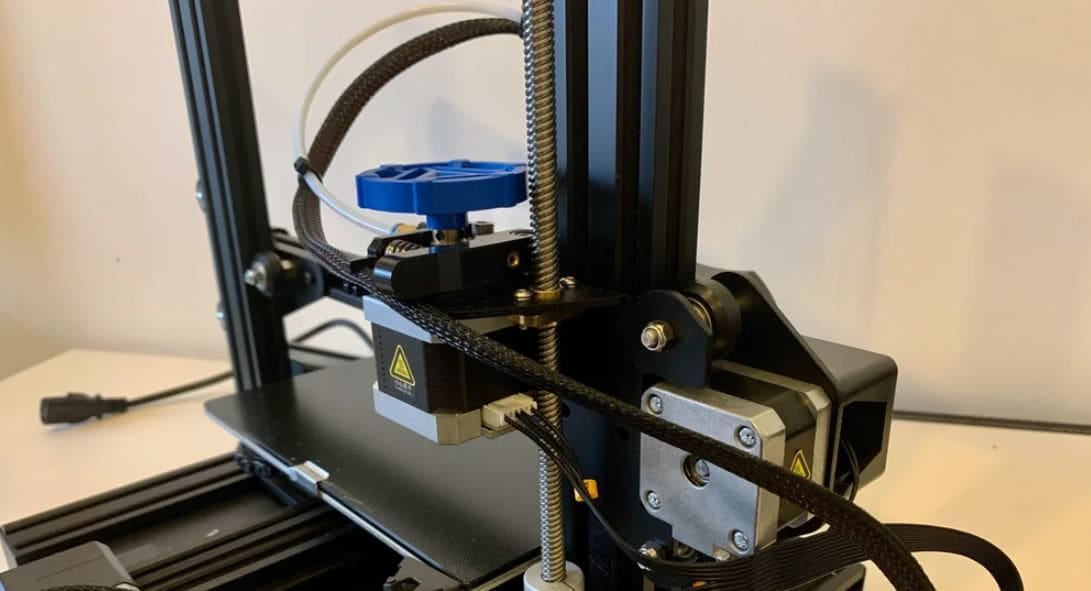
Now your hot end is free to accept a different filament.
As a good practice, if your filament spool allows for it, loop the end of the filament into one of the holes on the edge of the spool so that it’s held in place for storage.
Step #2: Install the New Filament
Now that you have a free and clear extruder, it’s time to load the new filament of your choice.
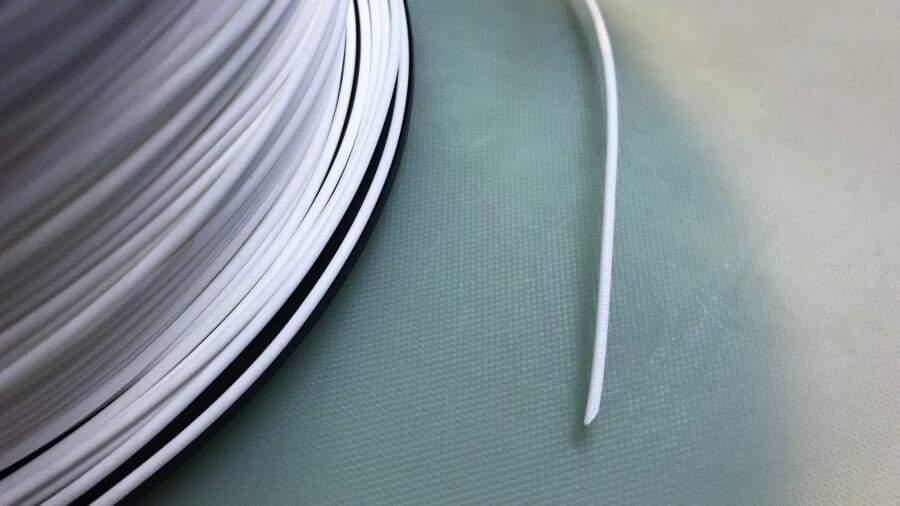
- Take your filament out and cut a sharp angle on the end of the strand to help it enter the extruder. You can do this by holding the filament and using scissors to cut the tip of the filament at a 45° angle.
- Feed the new material into the extruder. Note: Because the filament is coming off of a circular spool, it’s not going to be perfectly straight. Gently bend a two-inch section at the end of the strand so that it’s straight.
- To feed the filament in, squeeze the extruder arm lever and place the filament in between the toothed extruder gear and the idler pulley.
- While still pressing the arm, push the filament through, slowly by hand. If you have the Ender 3 V2, you can use the extruder knob and rotate it counter-clockwise.
- Push the new filament until you feel firm resistance. This means it has reached the nozzle.
Step #3: Purge the Nozzle
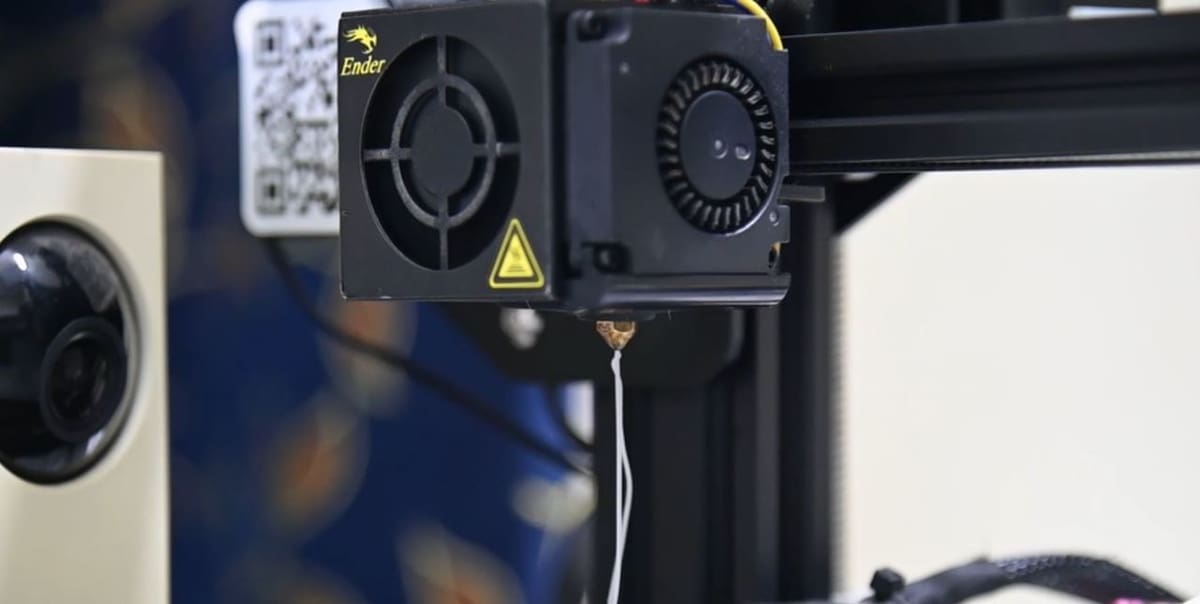
Now that your new filament is at the nozzle, it’s time to feed it through. But, before you can start using the new filament, you must purge the old filament from the nozzle. This will ensure that the old filament is gone from the hot end and you will be printing only the new filament.
It’s important to note that if you’re changing from a higher temperature material to a lower temperature material, you should set the nozzle temperature to the higher value until the purging is complete.
Ender 3 printers have some features in their software to help purge the old filament, so it’s an easy and quick process.
- Click the LCD knob to open the settings menu and scroll to Move Axis > 1 mm > Extruder.
- Use the scroll to move the extruder axis 15 to 20 mm. The extruder will start feeding material through the nozzle, which purges the old filament and feeds in the new filament.
- You may want to do this more than once to ensure all of the old filament is out of the nozzle.
The nozzle is purged once you see the new color or material flow out of the nozzle.

License: The text of "Ender 3 (V2/Pro): How to Change Filament – 3 Easy Steps" by All3DP is licensed under a Creative Commons Attribution 4.0 International License.