
Creality CR Touch: How to Get Started

Creality's CR Touch is an automatic bed leveling sensor that's similar to the popular BLTouch. Read on to learn more about it!
Automatic bed leveling (ABL) is one of the most popular upgrades for consumer 3D printers, as it allows users to skip the annoying process of manually leveling each point on their machine’s build plate. ABL is usually performed using an ABL sensor, and the most popular option is Antclab’s BLTouch. In recent years and after the BLTouch’s massive success, some 3D printing companies have developed their own ABL sensors in order to get in on the action.
Creality is perhaps one of the most well-known manufacturers of budget 3D printers, like the original Ender 3 and CR-10. In 2021, Creality released the CR Touch, their own brand automatic bed leveling sensor.
In this article, we’ll go over the Creality CR Touch, discussing how it works and the basic installation steps. We’ll also review the differences between the CR Touch and BLTouch so you can decide which one suits you – and your printer – best.

What Is It?
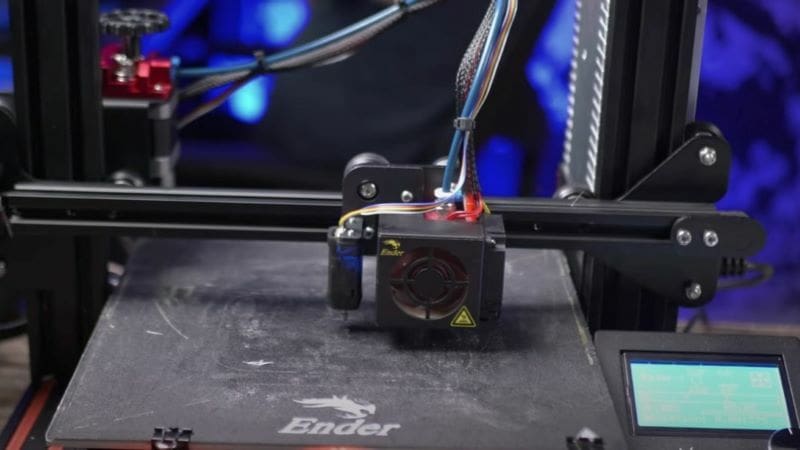
The CR Touch works on most Creality FDM 3D printers and simplifies the bed leveling process so you don’t have to fiddle with the bed screws. However, it’s important to mention that it’s usually best to do some manual leveling so that your bed isn’t completely lopsided. That’s because, even with an ABL sensor, any leveling discrepancy on the bed will appear on your print as well. So, a tilted build plate results in prints with an equally tilted base.
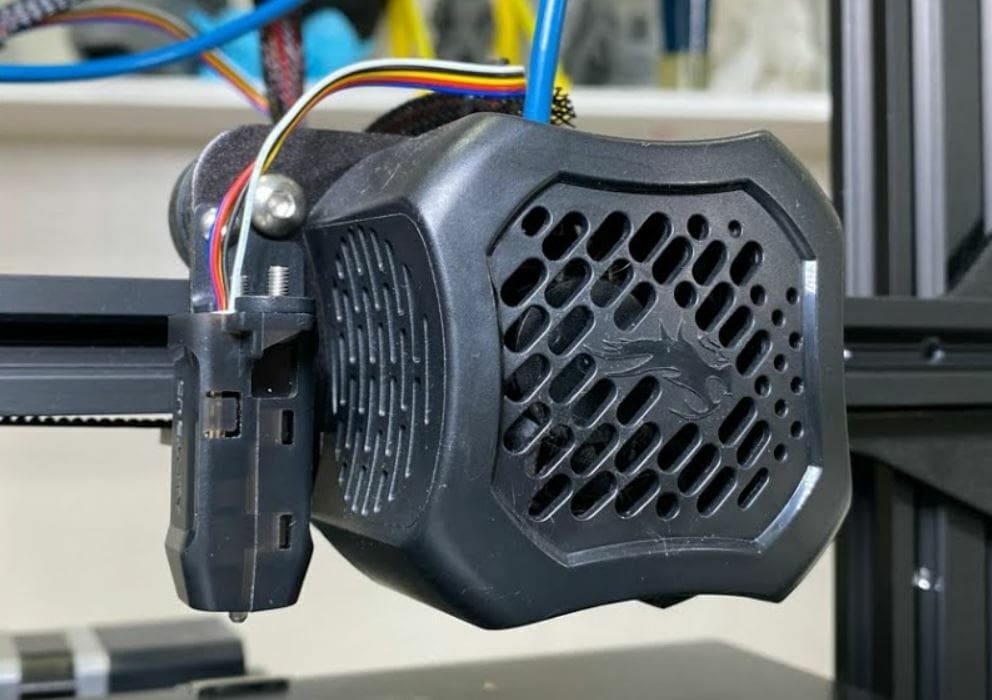
The CR Touch is an ABL sensor meant to attach to the printhead of an FDM 3D printer. It can probe different points on the build plate, measuring their distance from the nozzle to determine how it can stay an equal distance on all points.
It’s important to remember that the CR Touch doesn’t actually change your bed’s position to make the build plate lie flat. Instead, the device makes the nozzle an equal distance above the bed so that the first layer is laid down evenly on the bed, even if it’s tilted or not level.
How It Works
The CR Touch measures the distance from the printhead to the build plate at different points on the bed. The measurements are taken using the device’s retractable probe, which extends from the CR Touch and is lowered until it touches the build plate. Typically, the CR Touch takes measurements in a grid style (e.g. 3 x 3, 4 x 4).
These measurements are used to determine how the nozzle must move to stay an equal distance above the bed at all times. The specific way the measurements are used for the nozzle (e.g. matrix, mesh) depends on the leveling method you choose in your firmware. You can read more about the leveling method options in our article on automatic bed leveling.
After you’ve settled on a leveling method, the next consideration is how often you should level the print bed. In short, you can choose to perform the leveling whenever you want.
Some users prefer to perform a leveling sequence before every print, but this isn’t always necessary as the bed’s levelness doesn’t change that much after one print. Moreover, it’s more common to run a leveling sequence every few prints as this saves some time and usually still results in a high-quality first layer.
CR Touch vs. BLTouch
Now that you know how Creality’s CR Touch works, let’s get into how it differs from the more popular BLTouch. In this section, we’ll go over a few differences between the two products and discuss which one is a better choice for those looking for an ABL sensor.
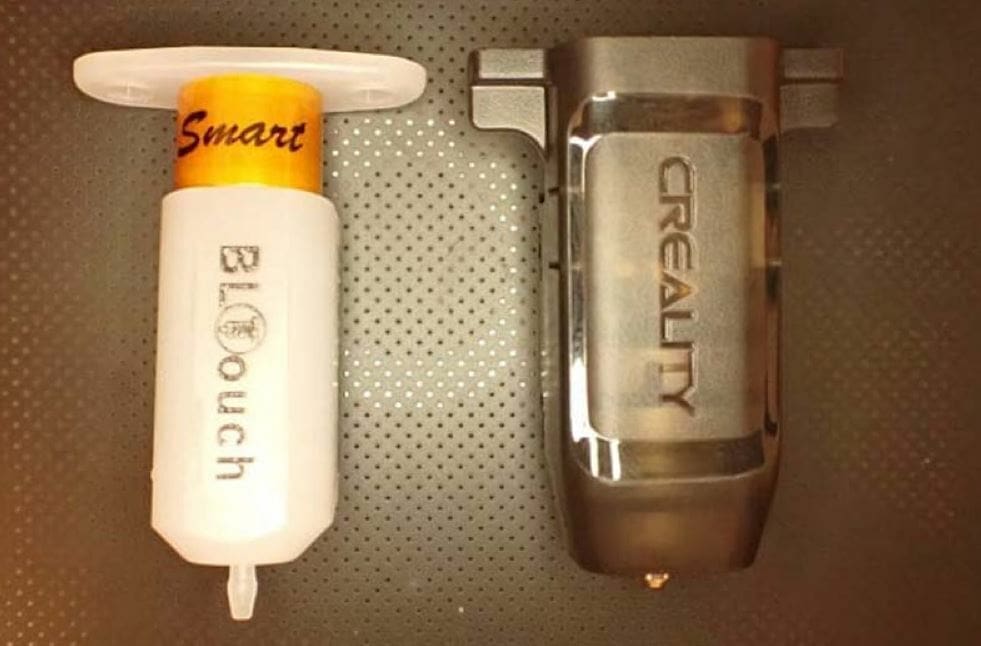
The first difference is the materials used for the two devices’ components. Both devices are packed into a plastic enclosure, but Creality’s CR Touch uses a metal retractable probe, while the BLTouch uses a plastic probe. As it’s more durable, the metal probe is less likely to break, but this doesn’t significantly impact the CR Touch’s performance over the BLTouch.
The second difference is the probe size, which is the length of the retractable probe. The CR Touch’s probe can extend up to 6 mm, while the BLTouch’s probe only extends to 4 mm. This provides more flexibility for the CR Touch, which allows you to mount the device higher up on the printhead.
Also related to size, in terms of dimensions the BLTouch is slightly smaller than the CR Touch. This means that the device takes up less space on the printhead, which shouldn’t matter too much as the difference is only a few millimeters but is still worth mentioning.
Both automatic bed leveling sensors are compatible with the same build plate materials (glass, PEI, metal, among others), but they’re not always compatible with the same firmware programs. As seen in the latest Marlin firmware release, BLTouch and CR Touch are two different devices in the firmware configuration. Many firmware programs support the BLTouch device because it’s very popular across many brands of 3D printers. The CR Touch, however, isn’t as well-known, so it might not work on as many firmware programs.

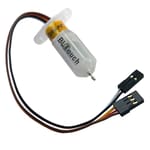
Another difference between the two devices is that the CR Touch doesn’t plug into the Z-axis endstop port at all but rather only uses a single five-pin port. This makes installation easier than the BLTouch, which, in some configurations of the mainboard and firmware, has to be plugged into a BLTouch port (three pins) as well as the Z-axis endstop port (two pins).
Overall, Creality might say the CR Touch is different from the BLTouch, but there are minimal differences that will impact their performance. The CR Touch costs around $10 more than the BLTouch (which costs ∼$36), though, so if you’re looking to save some money or don’t have a Creality 3D printer, the BLTouch may be the better option for you. On the other hand, if you have a Creality 3D printer and want a Creality-specific interface for your ABL sensor (and don’t mind the extra cost), the CR Touch is probably best for you.
Installation
If you decided to go with the CR Touch, you might be wondering how to install it. In this section, we’ll provide a high-level overview of the steps. The process is as follows:
- Shut off your printer and remove the power cord.
- Open the mainboard enclosure on your 3D printer.
- Locate the five-pin port for an automatic bed leveling sensor and plug the CR Touch’s female-side cable into the port.
- Unplug your printer’s Z-axis endstop cable from the mainboard and remove the endstop device from the printer. The CR Touch, or any traditional ABL sensor, is essentially the new Z-axis endstop for the printer, so the old one needs to be removed.
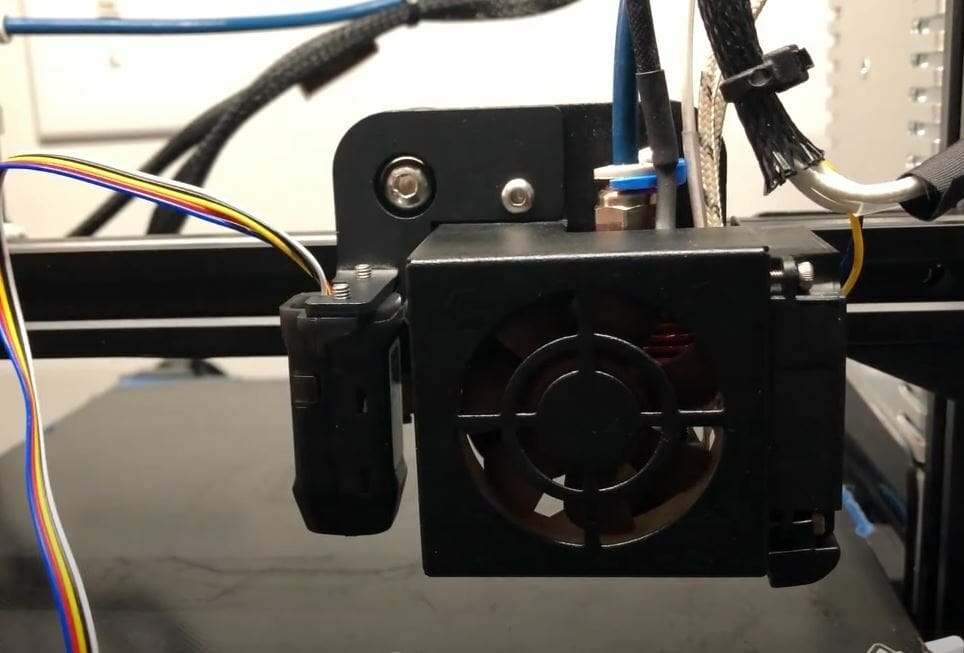
- Run the CR Touch wire from the mainboard to your machine’s printhead. You can use zip-ties or another type of cable tie to keep the wire out of the way of the print space or other components.
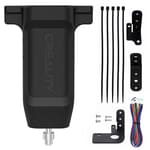
- Use one of the mounts included with Creality’s CR Touch kit to attach the sensor to your printhead.
- Once properly installed, close the printer’s mainboard enclosure.
- Unplug your Creality printer’s microSD card.
- Remove all the files from the card, especially any BIN files (which represent the current firmware on your board). If your microSD card has two BIN files on it, your printer won’t know which firmware to install and could use the wrong one. Therefore, it’s essential to remove the old BIN file. As for the other files on the card (e.g. G-code files), you can temporarily store them in a folder and add them back later.
- Go to Creality’s download page on their website and click the “Accessory Firmware” tab on the side.
- Click “CR Touch Firmware for 32-bit Motherboard” to see the list of options for the CR Touch.
- Choose the firmware that corresponds to your printer and download the .zip file.
- Open the downloaded file (or extract it), then navigate through the series of folder options to find the desired BIN file.
- Move the downloaded BIN firmware file to your empty microSD card.
- Insert the microSD card into your printer’s 32-bit mainboard while it’s still turned off.
- Plug the power cord into the printer, turn it on, and wait for the firmware to flash to the board.
And that’s it!
Once the firmware installs and loads on the LCD, you can remove the microSD card again and add your temporarily-removed files back onto the card. You can also keep the current BIN file in the card, but note that it won’t reinstall to the board unless it’s the only file on the microSD card.
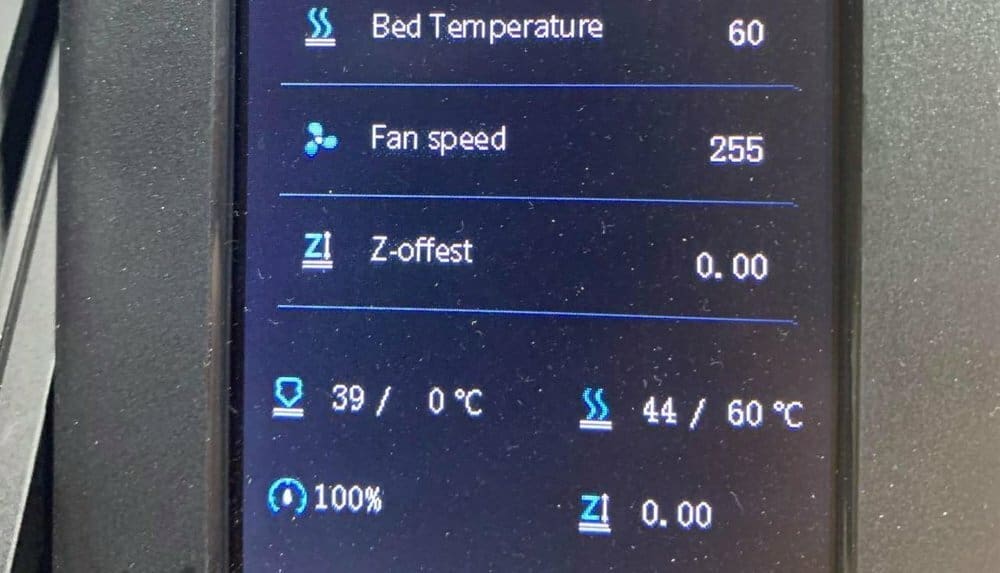
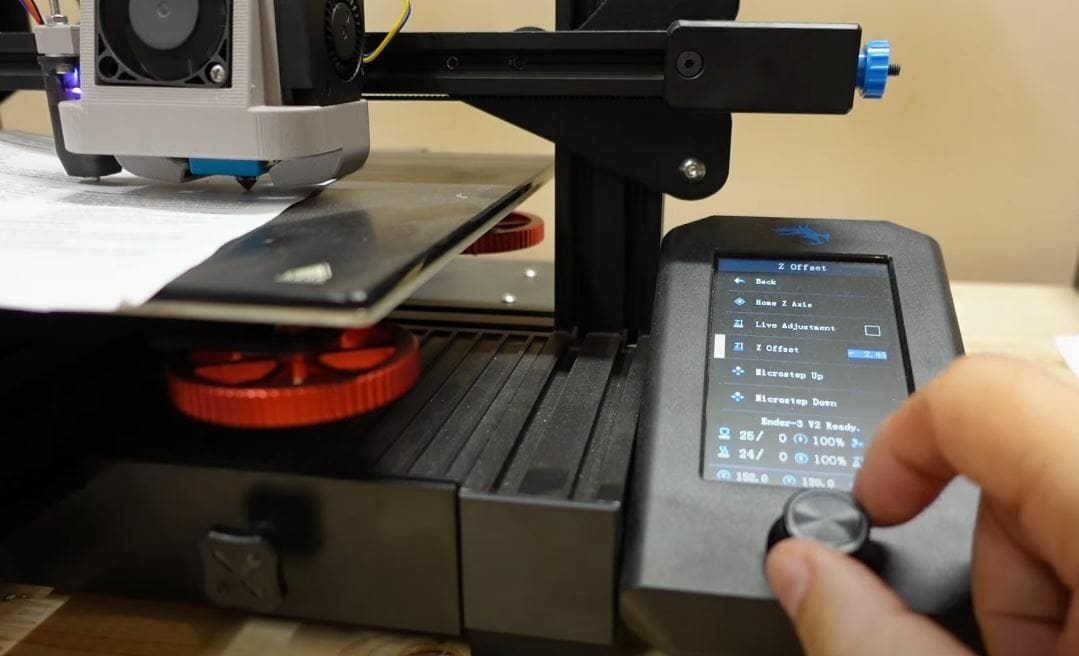
As for using the device, you can start leveling sequences to probe points on your bed to help ensure a consistent distance between the nozzle and the build plate during printing. However, for an excellent first layer, you need to also properly set your Z offset, the distance your nozzle is offset from its zero position.

License: The text of "Creality CR Touch: How to Get Started" by All3DP is licensed under a Creative Commons Attribution 4.0 International License.
CERTAIN CONTENT THAT APPEARS ON THIS SITE COMES FROM AMAZON. THIS CONTENT IS PROVIDED ‘AS IS’ AND IS SUBJECT TO CHANGE OR REMOVAL AT ANY TIME.