CR Touch & Ender 3 V2: How to Install It

If you have an Ender 3 V2, CR Touch may become its new BFF. Read on to learn how to install the CR Touch on the Ender 3 V2!
Automatic bed leveling (ABL) is one of the most popular upgrades and features for 3D printers, as users can skip the annoying manual bed leveling process. ABL is usually added to an existing 3D printer through an attachable sensor that measures the distance from the printhead to the build plate. These measurements are used to ensure that the nozzle stays an equal distance above the bed at all points.
Perhaps the most popular automatic bed leveling sensor is Antclab’s BLTouch, known for its wide compatibility across different brands of 3D printers and firmware packages as well as its reliability. The BLTouch, however, it’s not the only ABL sensor product out there. Creality, a manufacturer of hobbyist 3D printers, released their own ABL sensor called the CR Touch in 2021, and it’s quite similar to the BLTouch.
In this article, we’ll go over how to install the CR Touch on the Ender 3 V2, the latest version of Creality’s popular Ender 3 printer. We’ll also discuss a few tips and tricks to installing and using the CR Touch.

Step by Step
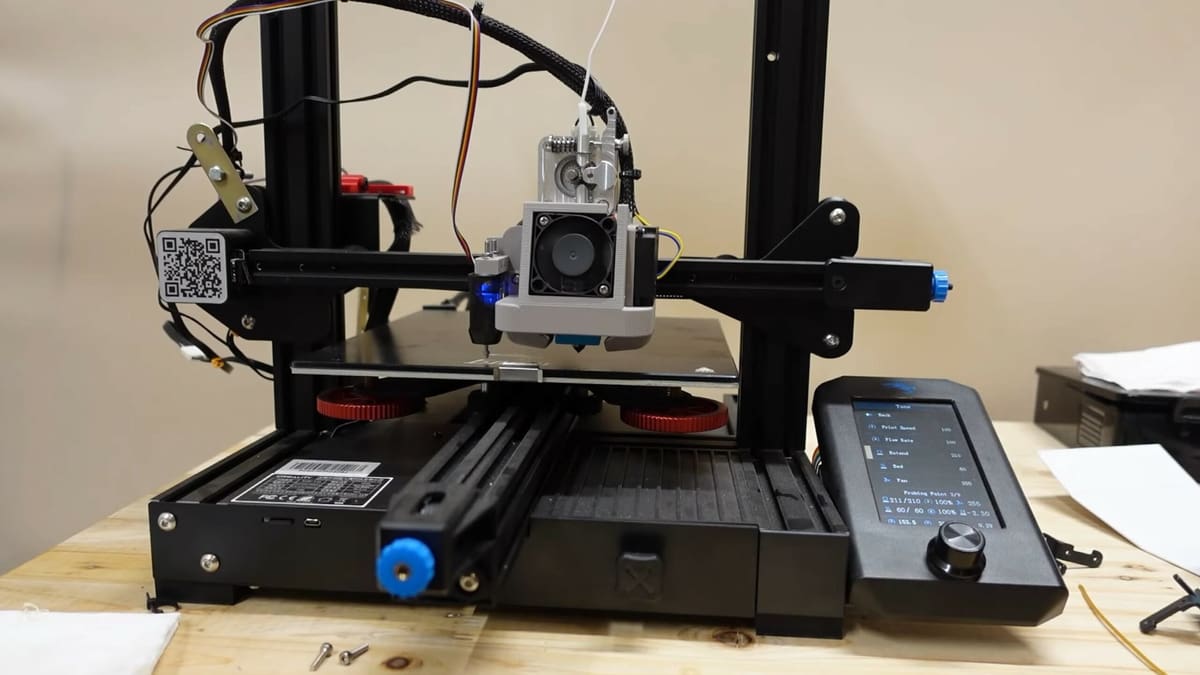
In this section, we’ll walk you through the process of connecting the CR Touch to the Ender 3 V2’s mainboard and mounting it to the printhead carriage. It’s worth noting that this process should be the same for the original Ender 3 and Ender 3 Pro if they’re equipped with the V2’s stock mainboard, the V4.2.2 board.
- Turn off your Ender 3 V2 and unplug the power cable.
- Tilt your 3D printer down and use an Allen key to remove the mainboard’s aluminum cover.
- Locate the port for the Z-axis endstop on the mainboard and remove the cable.
- Unscrew and remove the Z-axis endstop from the side of the printer. The CR Touch, as well as any traditional ABL sensor, is essentially the new Z-axis endstop for the printer. So, the old one needs to be removed.
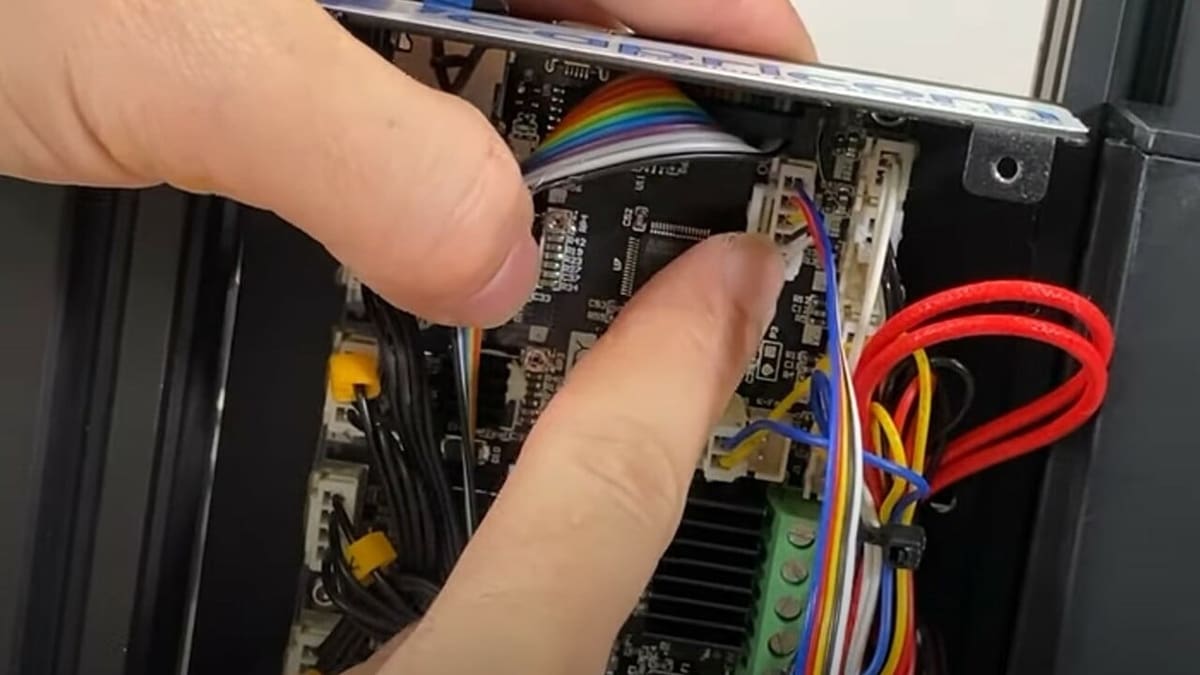
- Locate the five-pin port for an automatic bed leveling sensor, and plug the CR Touch’s female-side cable into the port.
- Feed the other side of the CR Touch’s cable out the back of the mainboard enclosure.
- Route the cable up the Z-axis gantry, across the extruder, and to the printhead. Use zip-ties or another form of cable management to secure the cable and keep it out of the way of the print space. Make sure to give the cable some slack, so it doesn’t unplug or break when the printhead moves.
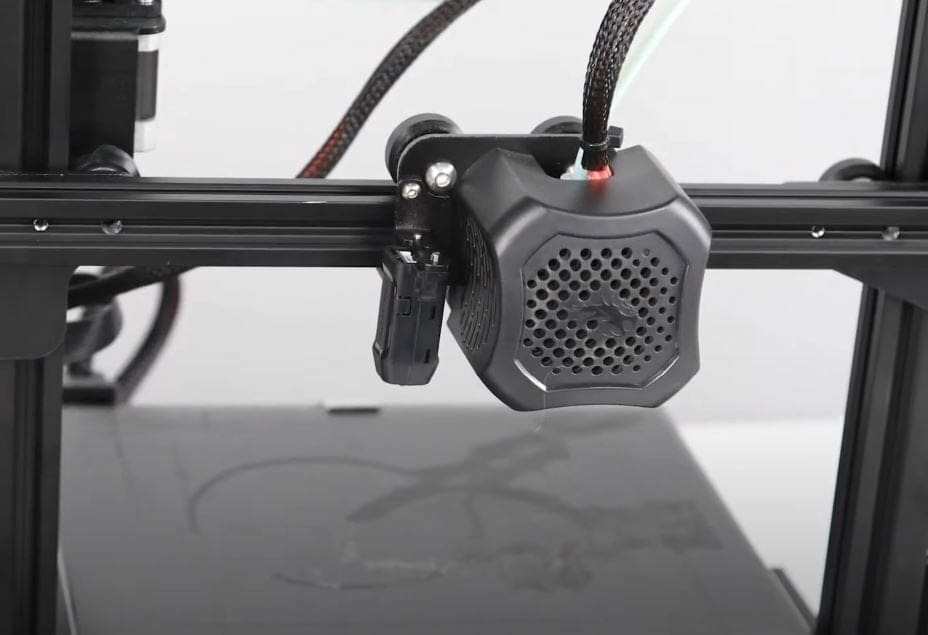
- Attach one of the mounts provided in Creality’s CR Touch kit to the printhead carriage using screws and an Allen key. There should be a few options, and at least one of them will be compatible with the Ender 3 V2.
- Attach the CR Touch device to the mount and make sure that the device is secure and doesn’t shift a lot. If it’s loose, try tightening the mounting screws.
- Close your printer’s mainboard enclosure and reinsert the corresponding screws.
Firmware Update
Now that the CR Touch is properly mounted, let’s update the V2’s firmware:
- Remove the microSD card from your printer’s mainboard.
- Insert the microSD card into a computer and clear out any files stored on the card. You can put them in a folder to bring back later, but the card needs to be clear for the firmware installation.
- Go to the download page on Creality’s website.
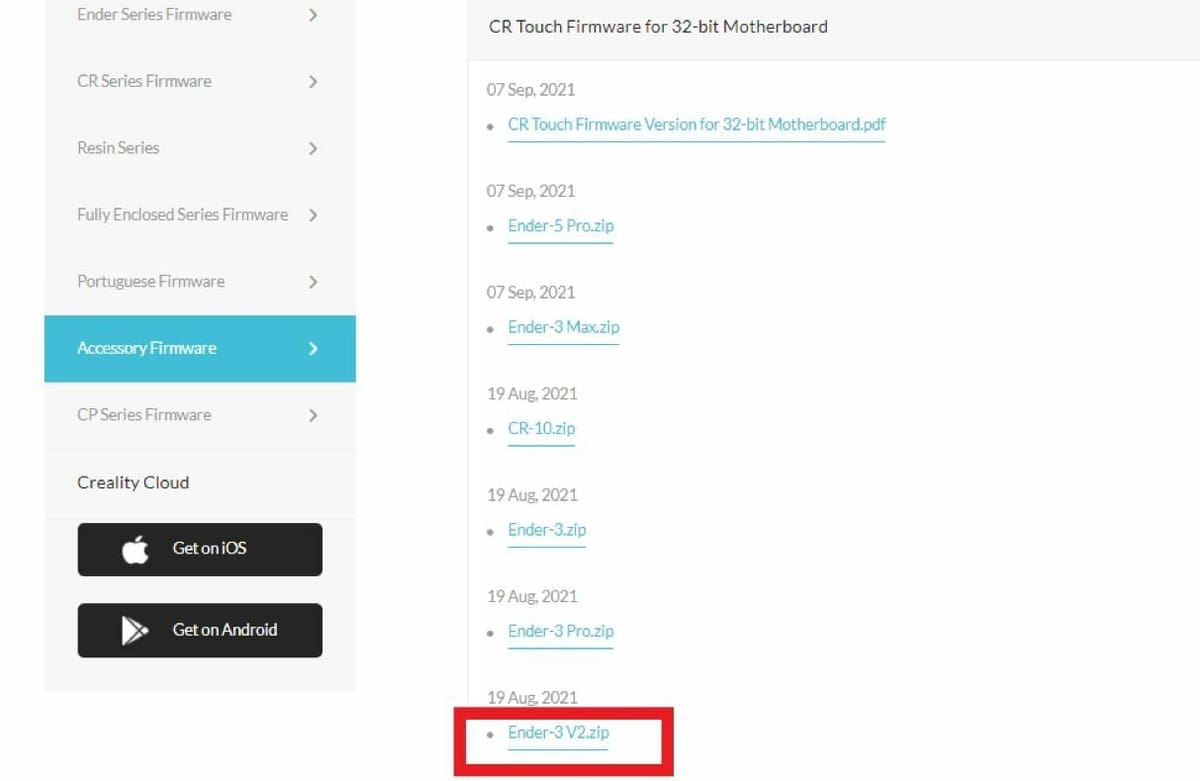
- Click the “Accessory Firmware” tab on the side, then open the list of options for the CR Touch.
- Locate the option labeled “Ender-3 V2.zip” and click it to download the folder.
- Open the downloaded file, then open the “Ender-3 V2” folder. In here, you’ll find two more folders, including one containing firmware for the Ender 3 V2 with the stock V4.2.2 mainboard and another for the V2 with the V4.2.7 board.
- Open the folder that corresponds to your Ender 3 V2’s mainboard, then you’ll see two more folders for the firmware version (currently, Marlin 2.0.8 or Marlin 2.0.1). The folder labeled with the latest version of Marlin will usually offer more features, while the older version offers more stability.
- Open the folder for your desired firmware version and copy the included BIN file.
- Paste the BIN file onto the cleared microSD card that’s inserted into your computer.
- Eject the card and reinsert it into your V2 while the power is off.
- Plug the power cord into your printer, then turn it on. The screen will likely be blank while the firmware updates but should soon load with the default interface.
That’s all there is to it! You’ve now successfully installed the CR Touch on your Ender 3 V2!
Tips & Tricks
Now that you’ve installed the CR Touch, you may be wondering how to use the device. Below are a few tips and tricks:
- Run a leveling sequence: It’s a good idea to run a leveling sequence after every few prints because the level of the bed slightly changes after each print. When you run a leveling sequence, the CR Touch goes around to different points on the bed to take measurements to ensure a level bed. The ABL sensor only helps keep the nozzle an equal distance above the bed when you run a leveling sequence.
- Adjust Z offset: The Z offset is an adjustable offset that you can set from the zero point on the Z-axis to ensure the first layer comes out clean. Even if you use your CR Touch to run a leveling sequence, you won’t have a high-quality first layer if you don’t set a good Z offset.
- Manual leveling: Even though a CR Touch can ensure the nozzle stays an equal distance above the build plate, prints may still come out with a distorted bottom if the build plate is not level. Therefore, you should manually level your bed even with an ABL sensor, as this can further ensure a high-quality first layer and level prints.
License: The text of "CR Touch & Ender 3 V2: How to Install It" by All3DP is licensed under a Creative Commons Attribution 4.0 International License.