
Blender for VR: How to Make It Work

With the increasing popularity of virtual reality, Blender has stepped into the VR space. Read on to learn all about Blender VR features!
Over the years, virtual reality (VR) has expanded the reach of the human mind by creating environments that feel very real but aren’t. Such environments are simulations, controlled by the user’s movements using VR equipment, including a headset and controllers, among other accessories. While the simulation hypothesis proposes that our existence is, in fact, a simulation, we can say for sure that emergent VR technologies have allowed us to create, explore, and interact with our own simulated worlds.
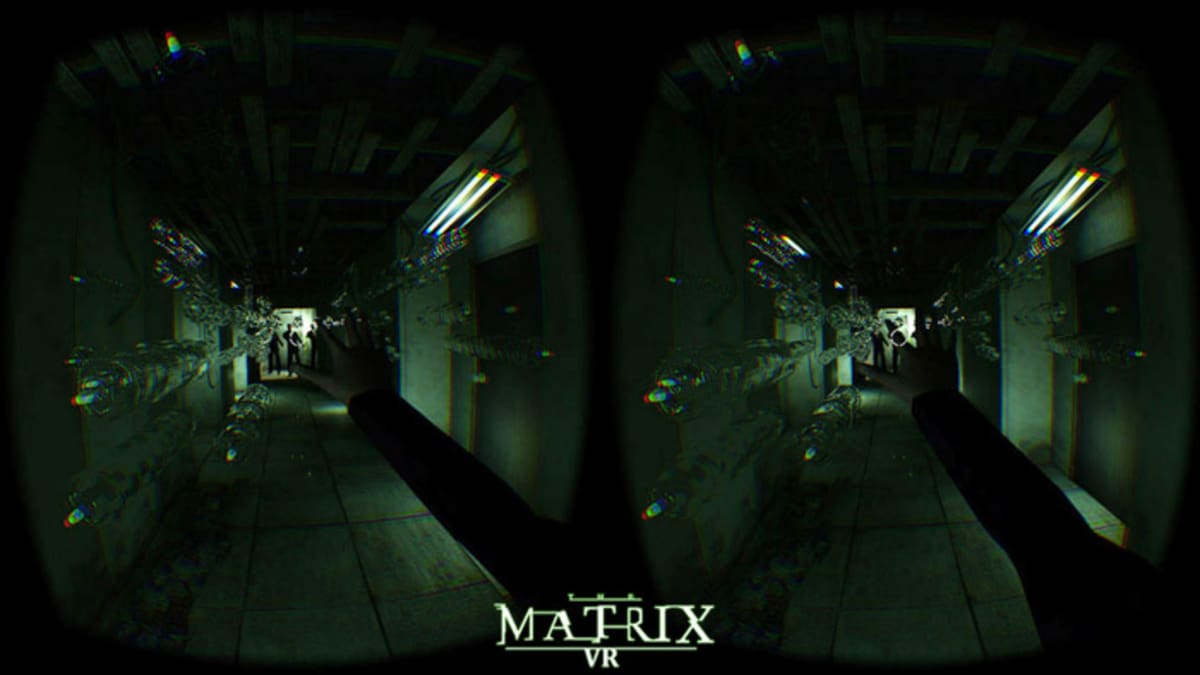
Recently, the gaming industry has benefitted from VR. Games like Beat Saber and Farpoint became immensely popular, especially during the pandemic as they give players freedom of movement and a sense of thrill. Beyond gaming, VR can now be found in the education industry, theme parks, and movies (we all know how The Matrix made us question our reality at least once). Further, it has been used extensively in the medical field for therapeutic purposes, physical rehabilitation, and even creating surgical environments.
Given the increasing popularity of VR, it should come as no surprise that VR features are being incorporated into 3D creation software tools. In this article, we’ll look at Blender’s VR features and how can they be used. Let’s get started!
Stepping into VR
As a platform offering 3D modeling, motion tracking, rigging, animation, rendering, video editing, and much more, Blender has reached just about every corner of the design world. It’s free, open-source software that has a sizeable user community and a variety of helpful resources like a comprehensive user manual, forums, and even a store!
Since the Blender 2.83 update, users can inspect created environments using VR technology. Creating and interacting with objects in VR is still under development, but there are workarounds such as third-party plug-ins like Blender XR, which allows users to create 3D designs in a VR environment inside of Blender.
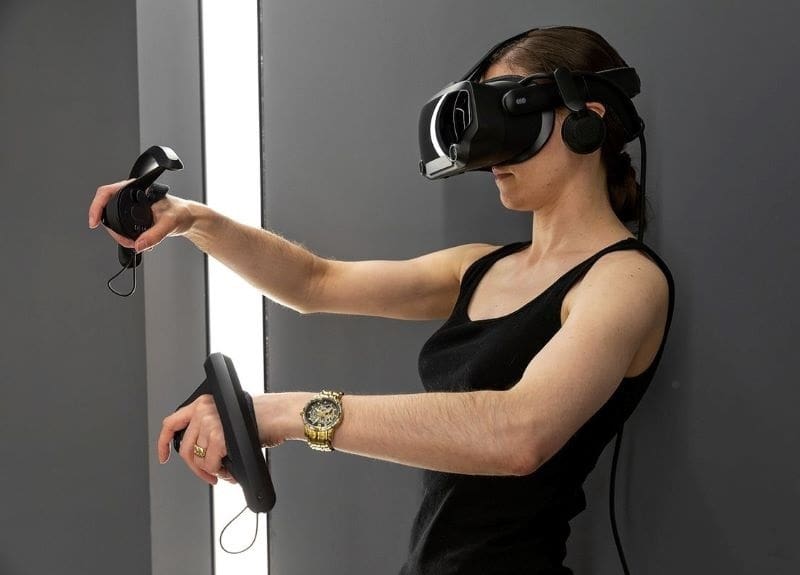
To use VR in Blender, a head-mounted display (HMD) is required. An HMD is a device that follows the user’s head movements and displays the VR environment on a display screen in front of the user’s eyes. Along with an HMD, Blender has an add-on called VR Scene Inspection, which needs to be enabled in order to use the VR features in Blender. This will be discussed in the coming sections.
VR in Blender is supported by the OpenXR standard, which provides access to AR (augmented reality) and VR on devices. Therefore, it’s important to check whether a device is an OpenXR-compatible platform.
Now, let’s dive into how to use VR in Blender!
Step 1: Setting up the HMD
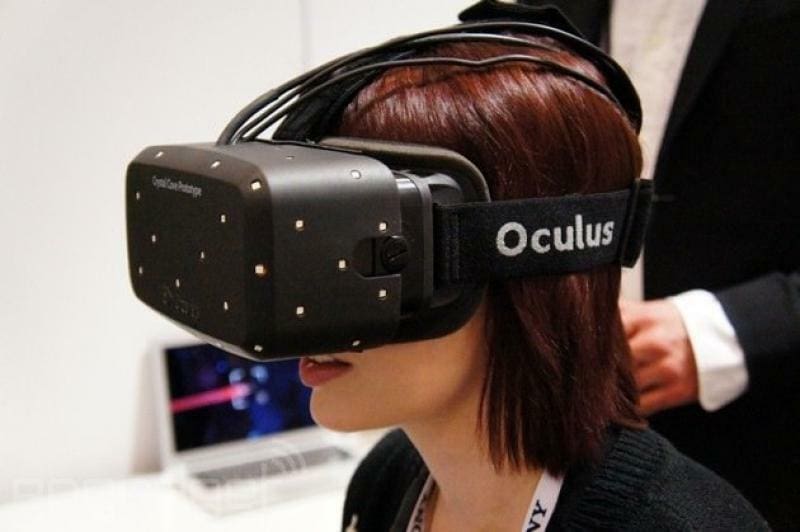
As we said before, OpenXR supports a number of platforms, including Oculus and Windows Mixed Reality headsets. The SteamVR headset is also supported, but it displays the developer’s preview. It’s recommended that Linux is used for SteamVR and Windows for either Oculus or Windows Mixed Reality.
The HMD setup varies depending on the platform you’re using. Blender’s user manual outlines the specific steps that should be followed for Oculus, SteamVR, Windows Mixed Reality, and Monado devices.
Step 2: Enabling VR Scene Inspection
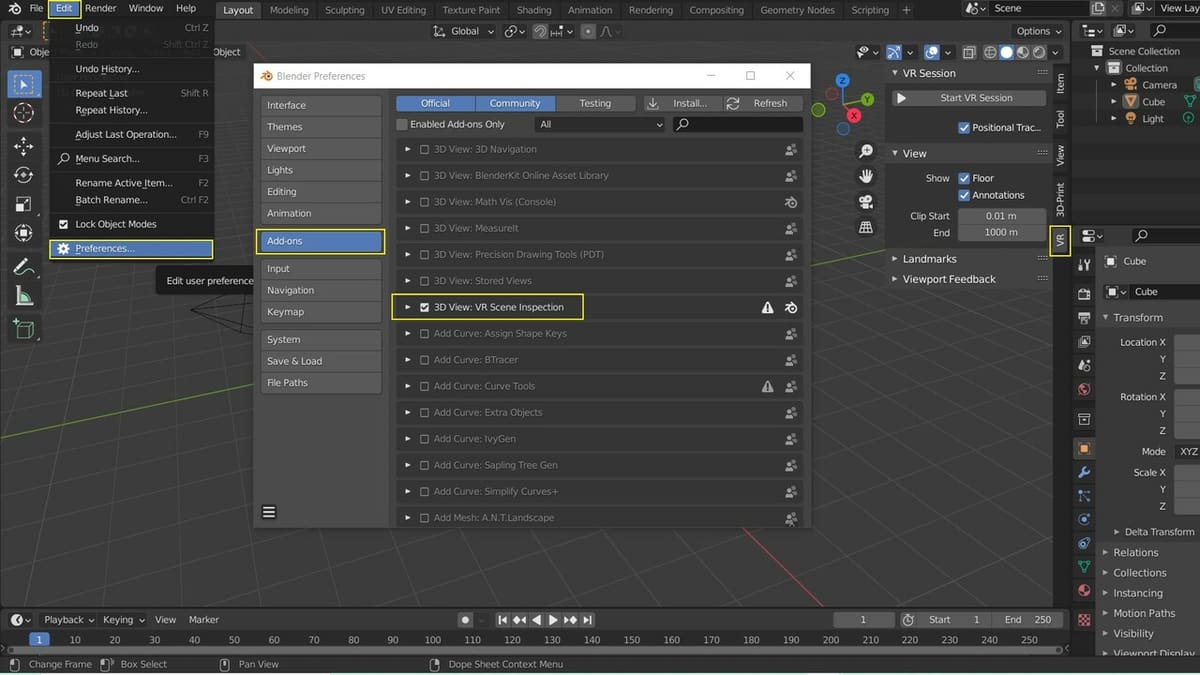
After setting up the preferred HMD, we need to enable the VR Scene Inspection add-on in Blender:
- Launch Blender and click on the “Edit” dropdown menu.
- Select “Preferences” to open the Preferences window.
- Click “Add-ons” on the left side of the window.
- Scroll down to “3D View: VR Scene Inspection” and enable it.
After enabling the add-on, a new tab named “VR” will be available in the 3D Viewport’s sidebar. It can be accessed by hitting the ‘N’ key. The VR Scene Inspection tab includes a number of settings which we’ll discuss in detail below.
VR Session
- Start VR Session: After setting up the OpenXR platform, this option is used to start viewing the VR environment in your headset. If the system does not detect any headset, it will show an “OpenXR runtime” error.
- Positional Tracking: When enabled, this option locks the HMD display to follow the user’s head movements only. The user’s position in the virtual space will not be changed.
View
- Floor: When enabled, this option displays the ground plane of the VR environment in the headset.
- Annotations: If the user makes any annotations in the virtual space, enabling this option will show the annotations in the headset.
- Clip Start and End: These values set the beginning and end of the visibility range of the user in the VR view.
Landmarks
This section of the tab displays a list of the landmarks – the positions from which the user views the VR environment – in the virtual space. With the ‘+’ and ‘-‘ sign on the right side of the list, landmarks can be created or deleted.
- Type: Here, users can select the camera that will be used to view the scene. The scene’s active camera can be selected, or users can add custom cameras to specific places in the scene.
Viewport Feedback
- Show VR Camera: The camera used for viewing the scene is shown in the scene when this option is enabled. We’ll discuss cameras in more detail in the next step.
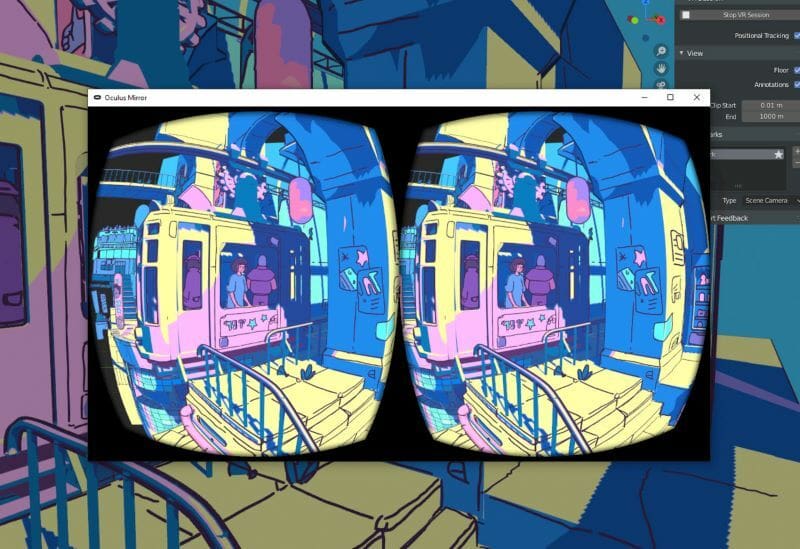
- Mirror VR Session: The 3D Viewport mirrors the VR view when this option is enabled.
Step 3: Configuring the Scene
Now that the HMD is set up and the add-on enabled, let’s view the scene in your headset:
- Open the Blender scene.
- Go to the VR tab settings by hitting the ‘N’ key and enable “Show VR Camera” and “Mirror VR Session”.
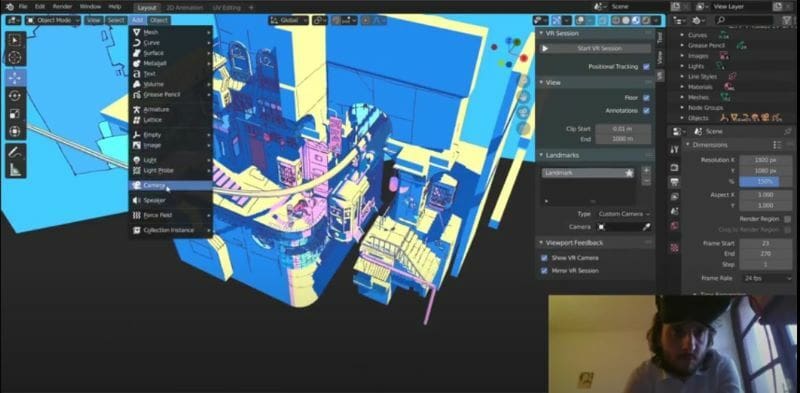
Next, we have to decide the position from which we want to view the scene. The position can be inside or outside the main scene. You can use the default camera that’s present when you open Blender if that view works for you. You could also set up custom cameras in the scene.
Setting up a custom camera is pretty easy:
- Hit ‘Shift + A” while in the 3D viewport, then select “Camera”.
- Hit ‘G’ and drag the camera to the preferred position. The camera can also be rotated by hitting ‘R’ and rotating accordingly.
Once the cameras are positioned in the scene, it’s time to view the scene in VR:
- Select your camera type in the “Landmarks” section of the VR tab. If you use the default camera, set the Type to “Scene Camera”. If you want to use use a custom camera, set the Type to “Custom Camera” and use the dropper to select the added camera.
- Click on “Start VR session” at the top of the tab.
Now, you should be able to view the scene in your headset and navigate through it based on the camera you’ve set up!
Lead image source: PlayStation via YouTube
License: The text of "Blender for VR: How to Make It Work" by All3DP is licensed under a Creative Commons Attribution 4.0 International License.