Blender: Texture Painting – Simply Explained

Textures are crucial for achieving photorealistic renders in Blender. Discover Blender texture painting to make those cubes look as life-like as possible!
What Is It?
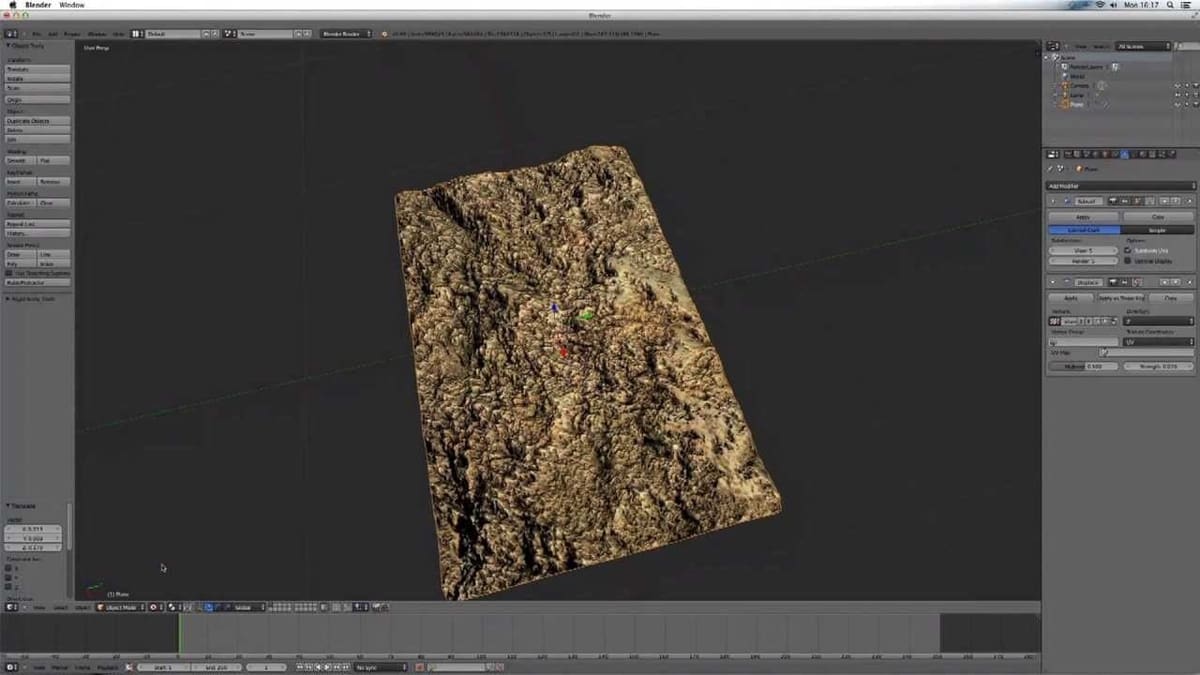
Probably you’re already familiar with the term “texture”, but in terms of 3D asset creation, it usually refers to the skin of a 3D object, taking the form of a 2D image projected onto a 3D model.
Imagine a normal sphere that you can then turn into a tennis ball, golf ball, football, and more simply by changing the outside looks and not touching the 3D model itself. That’s textures at work. As the name implies, texture painting is usually the process through which you paint a new texture or make changes to an already-made texture.
In this article, we’ll guide you through the process of texture painting a model in Blender 2.8, with a brief explanation of the most common tools to use while doing so.
Step 1: Preparing the Model
Before we start texture painting a 3D object, we’ll need to make Blender’s workspace more adequate for the task:
- Open Blender 2.8 and import the 3D model you want to texture paint. If you don’t already have a 3D model to test this on, simply add a new default monkey head model by hitting “Shift + A” on your keyboard and selecting the monkey model.
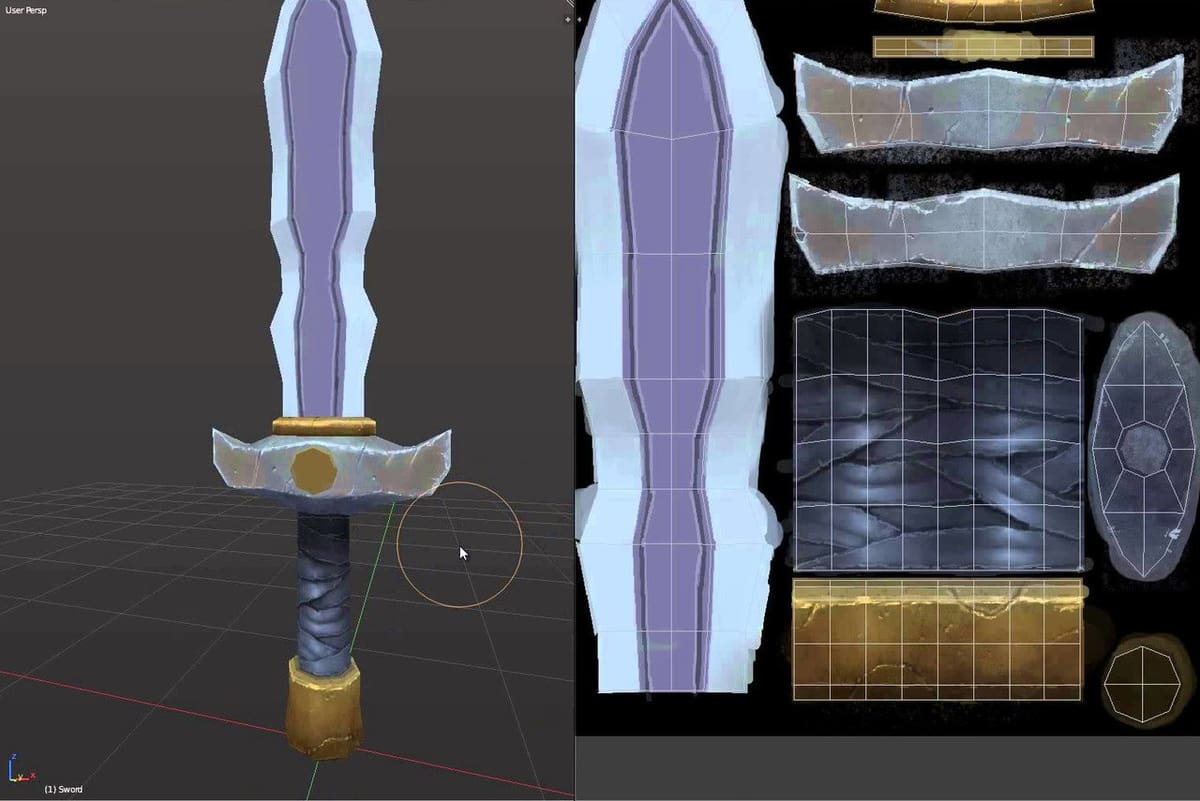
- At the top, click the “Texture Paint” sub-menu. You’ll notice that your interface now has two viewports. One will let you see the 3D model, and the other, the UV textures.
- UV unwrap the model. To do this, go to edit mode in the viewport with the 3D model, select all the vertices of the model by pressing ‘A’, then at the top, click the “UV” sub-menu and select “Smart UV Project”. Leaving all the default settings as they are, the model should have successfully been unwrapped.
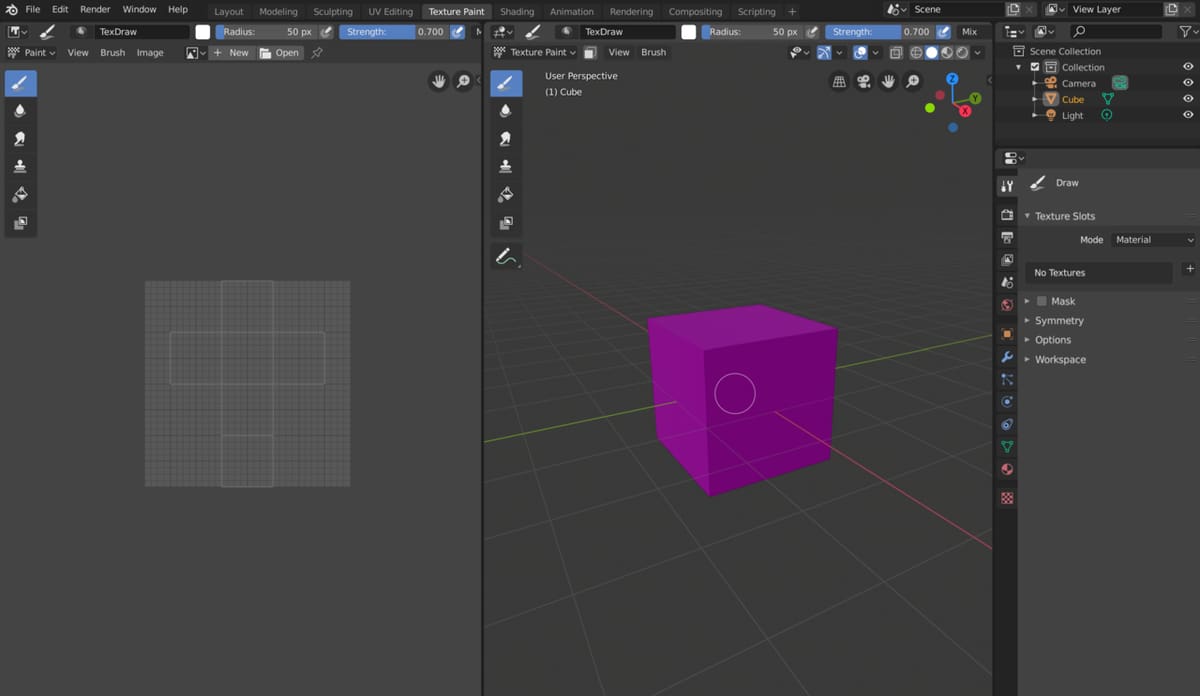
Step 2: Applying the Texture
If you managed to successfully unwrap the object, it should now appear purple in the 3D viewport, meaning that it has no textures applied. Furthermore, it should show a warning saying, “Missing textures detected.”
To solve this, follow these steps:
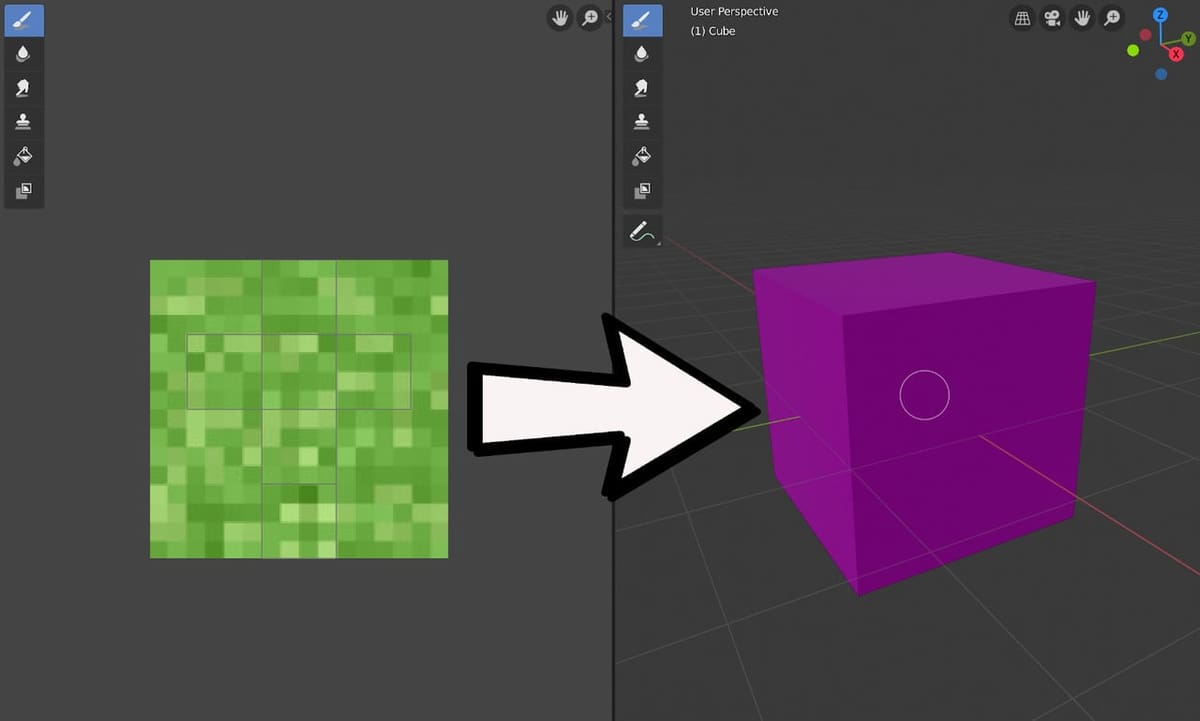
- Go to the right menu, where the “Draw” sub-menu should be opened, and click on the “Material” box.
- Choose “Single Image”. Blender will now allow you to create an image from scratch or import one from your computer.
If you already have the image texture you want to put onto the 3D model, simply click “Open” and choose the texture image file. If done correctly, it should then display on the 3D model. To apply more complex textures, check out our article on UV mapping.
Relevant Tools
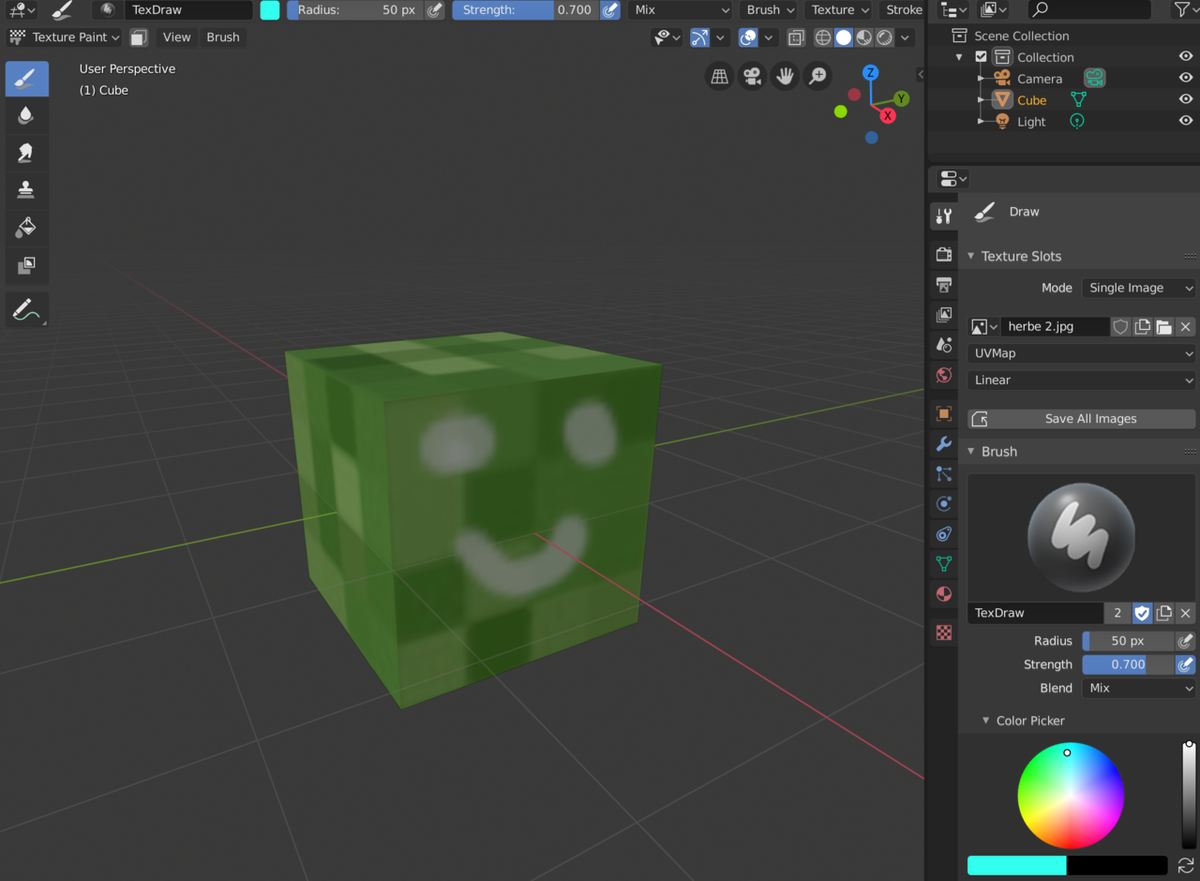
The main tool for texture painting is called “Draw“. It basically allows you to draw on top of the texture you applied to the 3D object before. This can be used to draw entire textures from scratch or edit small mistakes.
The other tools are the following:
- Soften: Softly blurs the texture.
- Smear: Distorts the texture.
- Clone: Clones parts of the texture.
- Fill: Fills the entire texture with color.
Depending on your workflow or what type of work you need to do with texture painting, you’ll be using some tools more others.
Tips & Tricks
Here are some basic tips you might find helpful once you get started:
- Choose the “easier” viewport. There’s no right or wrong viewport to draw or edit the textures in, but depending on your workflow, you might find one more comfortable to work in than the other.
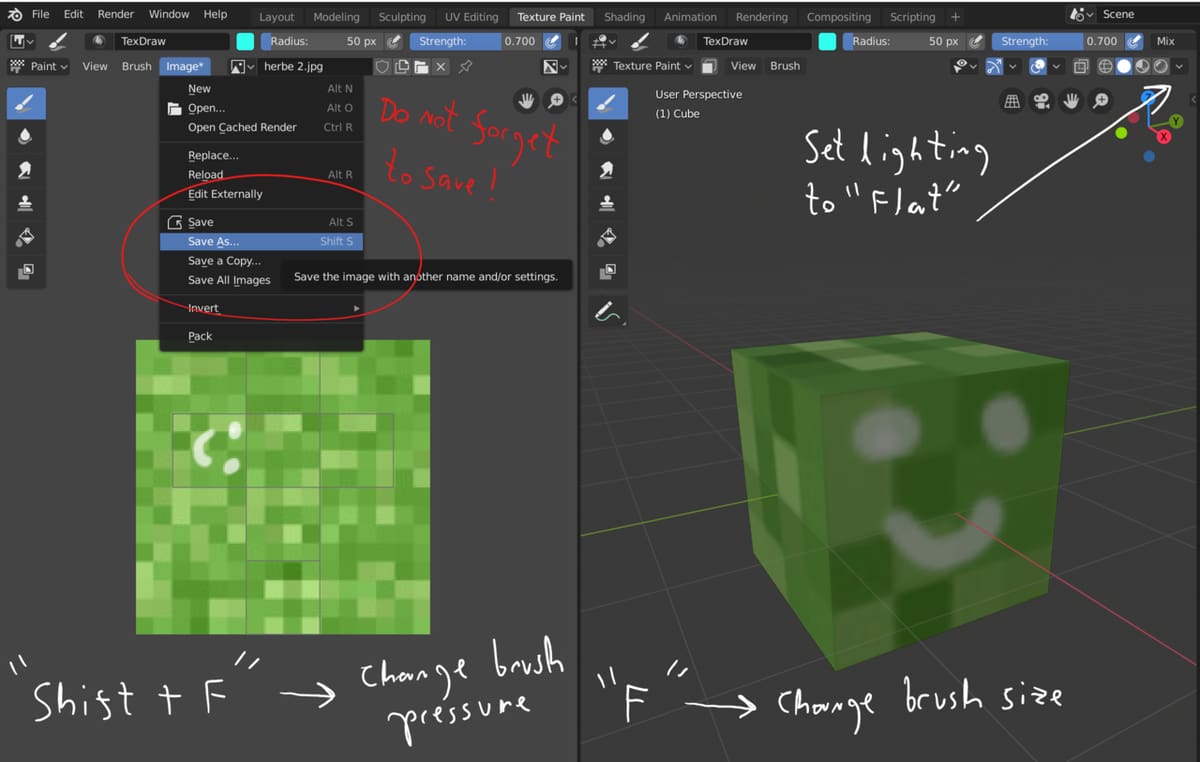
- Save the image file. Blender doesn’t save the image texture file even if you save the actual project, so make sure to save it manually by clicking the “Image” tab and then “Save as”, choosing a destination on your computer.
- Use flat lighting. When working with textures, and especially texture painting, you won’t want the lighting in the default scene to affect how the texture looks like. To change this, click on the shading menu located in the top right (the one with four different spheres), and under “Lighting”, choose “Flat” instead of “Studio”.
- Remember the shortcuts. Although they’re a bit hard to memorize at first, learning the most common shortcuts will greatly improve the efficiency of your work. We recommend learning the two simplest ones:
- ‘F’ to change the size of the paintbrush
- “Ctrl + F” to change the hardness of the brush
(Lead image source: DigitalExposureTV via YouTube)