Blender & Substance Painter: How to Use Them Together

Want to apply textures to create high-quality, photorealistic 3D models? Learn to integrate Blender and Substance Painter into your workflow!
Creating realistic-looking textures can be a challenge. However, there are powerful tools that can help streamline the process. For example, Substance Painter is a powerful 3D painting program that allows artists to texture and paint 3D models in a highly interactive and visually stunning way. When combined with Blender, it can greatly enhance texturing workflow and results. Textures can even be exported back into Blender in a variety of different formats.
Blender is free and open-source software for creating, animating, and rendering 3D models. Just like Substance Painter, you can find it commonly used in the video game, animation, and film industries. Textures are a crucial part of the rendering process. Without it, 3D models would look rather unrealistic and flat or would inaccurately represent objects.
Whether you are a professional or are new to 3D modeling and texturing, this article dives into some valuable tips to help you improve your workflow and create amazing models! We’ll be exploring Substance Painter and how to use it with Blender to add texture to your 3D models, although note that the guide will work on the assumption that you already know how to navigate both programs.
Let’s start blending and painting!
What Is Substance Painter
The release of Substance Painter, 3D painting software, in 2014, offered a traditional, paint-based workflow to creators. Developed by French company Allegorithmic, it has since become one of the most popular texturing tools in the visual effects and gaming industries. In 2019, Adobe acquired Allegorithmic (Substance Painter included) and the program is now part of the Adobe Creative Cloud suite. The program continues to improve, with new features and updates regularly released.
Textures are images or patterns applied to the surface of a 3D object. These can be seen in many video games that have used Substance Painter, such as Forza Horizon 4 and Cyberpunk 2077. In video games, Substance Painter is used to create textures and materials for environments, characters, and props. It can be easily applied to 3D models within game engines like Unreal Engine and Unity. Similarly, in the film and VFX industry, Substance Painter can be used to create textures and materials for films and visual effects, allowing artists to create realistic-looking textures for environments and characters, seamlessly blending with the footage.
To download the program, you can start by signing up for a free trial or you can opt for one of two subscription plans (∼$50/monthly, ∼$550/yearly) on the Adobe website. Then, follow the instructions to install Substance Painter on your computer.
Why Use Substance Painter with Blender
With Substance Painter, you can create textures and materials using procedural masks and smart materials. This is important as textures can be used to create realistic materials for product models, such as leather, plastic, and metal. For 3D modeling, textures can add details like a character’s face or fur on a cat.
Substance Painter is a good way to add textures to your Blender 3D models because it has the ability to create procedural materials, real-time previewing, and non-destructive layering. Procedural materials are created using mathematical algorithms, rather than an image. They can be versatile and useful for creating wood and metal appearances, for example. Non-destructive layering enables you to create interesting materials by layering multiple textures on top of each other, without modifying the ones underneath.
While textures can be added in Blender, there are several advantages to using Substance Painter. Firstly, it lets you create and edit textures by using a layer-based system that is non-destructive. This is to say, changes can be made without causing any damage to the texture underneath. Additionally, there is a library of materials and procedural textures available right in Substance Painter by default. This saves time and improves the workflow.
Plus, Substance Painter also supports physically based rendering (PBR), creating realistic-looking textures that behave in a physically accurate way under light.
Finally, there are loads of free materials for Substance Painter available online that you can add to your Blender creations.
The Workflow
The following steps provide a guide on how to create a UV map for use in Substance Painter.
UV mapping, simply put, is the mapping of a 2D texture on a 3D object. We begin by creating a basic mesh in Blender, and then make a texture map using Blender’s built-in Smart Unwrap tool. All this is then exported from Blender and imported into Substance Painter, where texturing is applied.
You can download Blender on the official website, with options for Windows, Mac, and Linux. Once you have downloaded it, double-click on the installer file. Follow the instructions to install the program on your computer.
Preparing the Model
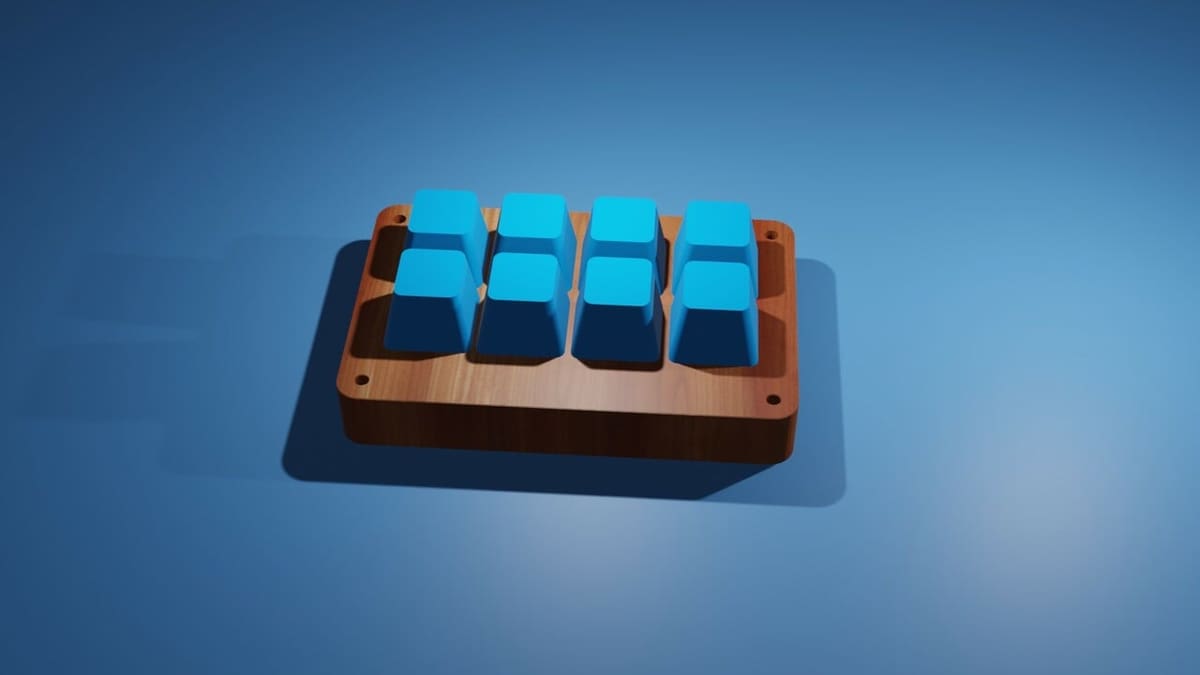
Once you’ve got Blender up and running, begin by preparing a 3D model by adding basic meshes. Then, use a variety of modeling and sculpting tools, such as modifiers and sculpting brushes, to add fine details to the model. In this example, we’ll use an existing model of a macro keypad from Thingiverse.
Next, before exporting the model into Substance Painter, ensure that there is a properly UV mapped model in Blender. This will create the 2D representation of the 3D model used by Substance Painter for texturing.
In Blender, there’s a built-in UV mapping tool called Smart Unwrap. Using this, you can quickly and efficiently unwrap the 3D model’s surface into a 2D texture map. This can then be exported and used in Substance Painter. The process is as follows:
- Make sure that the Mode selector in the top-left corner of the screen is showing “Object Mode”; if not, choose it from the drop-down menu or click Tab until it does, and then select the 3D model you want to UV map.
- In the Properties panel, select the “Object Data Properties” tab. Scroll to the UV Maps section, expand it, and click the ‘+’ button to add a new UV map.
- Select the “UV Editing” tab at the top of the viewport. Then, in the 3D viewport, press Tab or select Edit Mode from the Mode selector.
- Next, select the faces you want to UV map. Unless you want to select vertex by vertex, you can click on “Face select” next to the Mode selector (third symbol from left). Hold Shift to select more than one face, and you’ll see the faces, as mapped in 2D. To use the Unwrap tool, press ‘U’ and select Smart Unwrap. This will unwrap the selected faces using Blender’s default algorithm.
- Once you’ve created your UV map, you can adjust and edit it in the UV Editing window using the provided tools.
Importing, Texturing & Exporting
You can now export the 3D model with the UV map into Substance Painter. You can start by navigating to “File > Export > FBX (.fbx)” in Blender. Then, in the Export FBX settings, under “Include”, choose “Limit to > Selected Objects”. Under the Geometry section, select “Tangent Space” and click “Export FBX” to save the file.
Now to begin painting and texturing in Substance Painter, go ahead and open up the program.
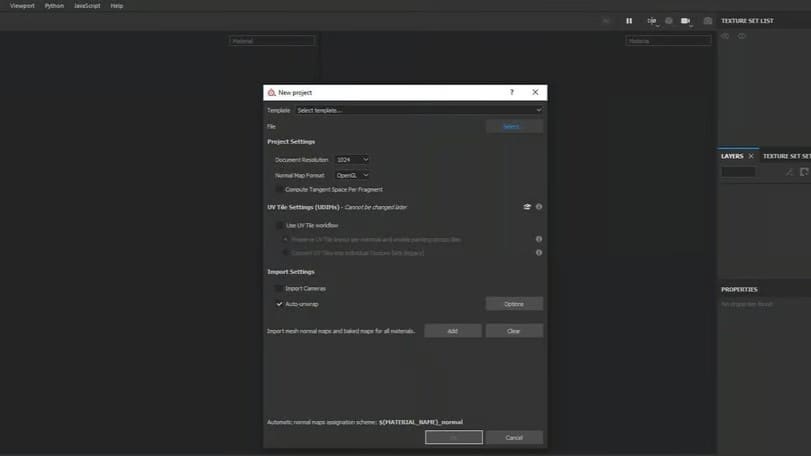
- Once Substance Painter is open, navigate to “File > New”. Click on the “Select…” button and navigate to your FBX file.
- Make sure Auto-unwrap is selected under Import Settings and then click the “OK” button.
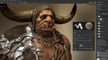
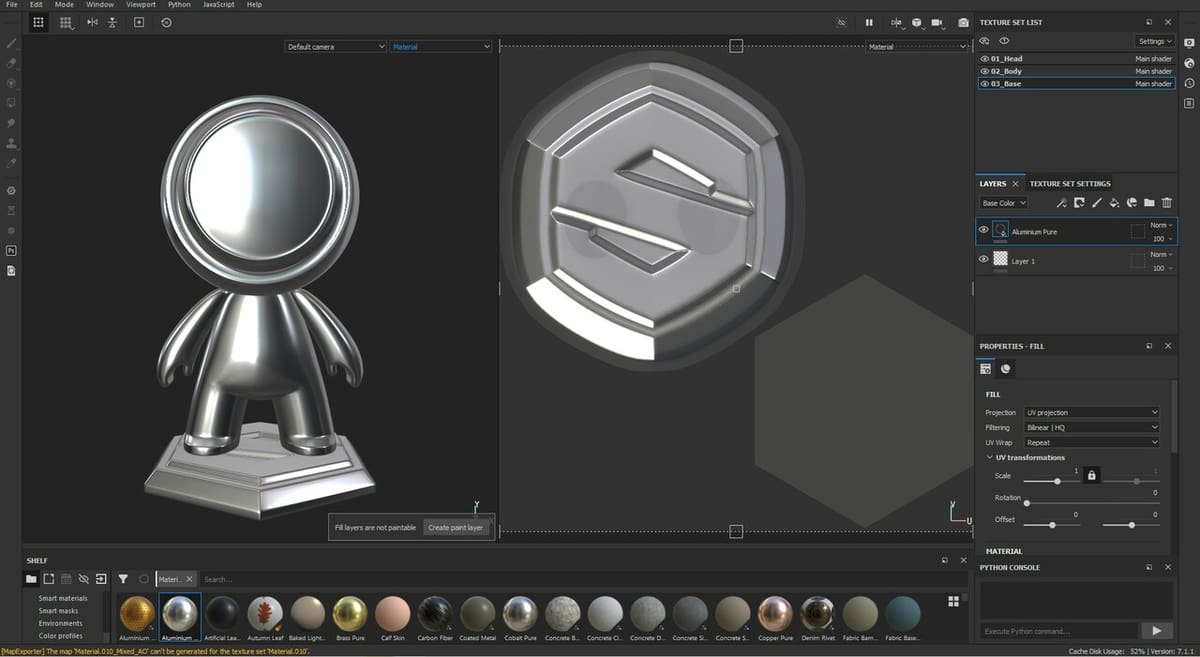
- Choose a material and apply it to the model. You can do this by dragging it onto the part of the model you want to add texture to. You can also use the painting tools (such as brushes, stamps, and stencils) to paint textures onto the model.
The next step is to import the model back into Blender for rendering. Follow these steps:
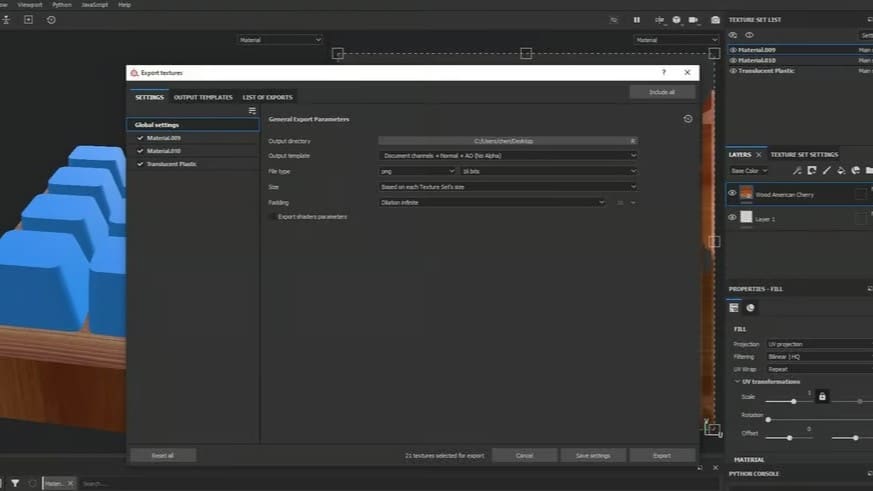
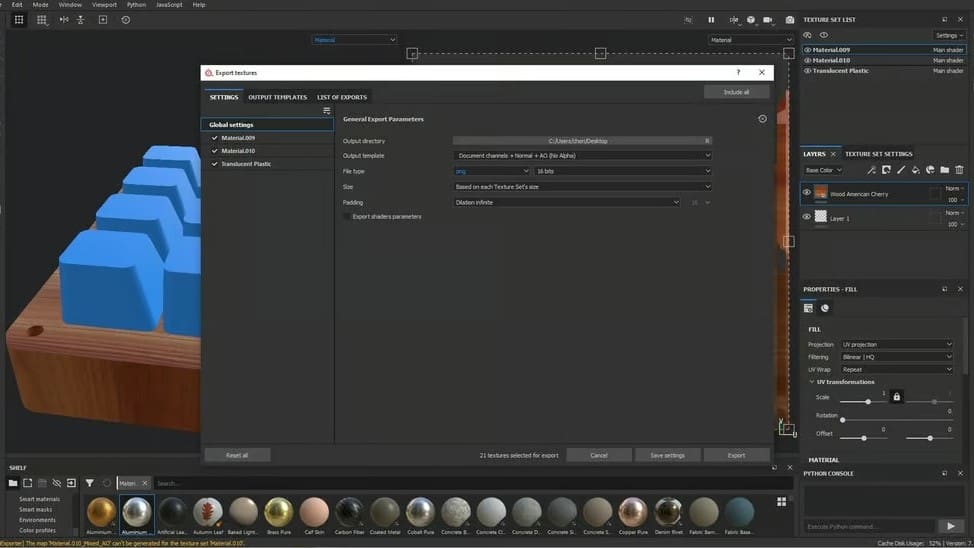
- Go to “File > Export Textures” and select the file format to export the textures. PNG and TIFF are recommended, as they’re common formats compatible with Blender.
- Select a file path and name for the exported texture maps and click on the Export button.
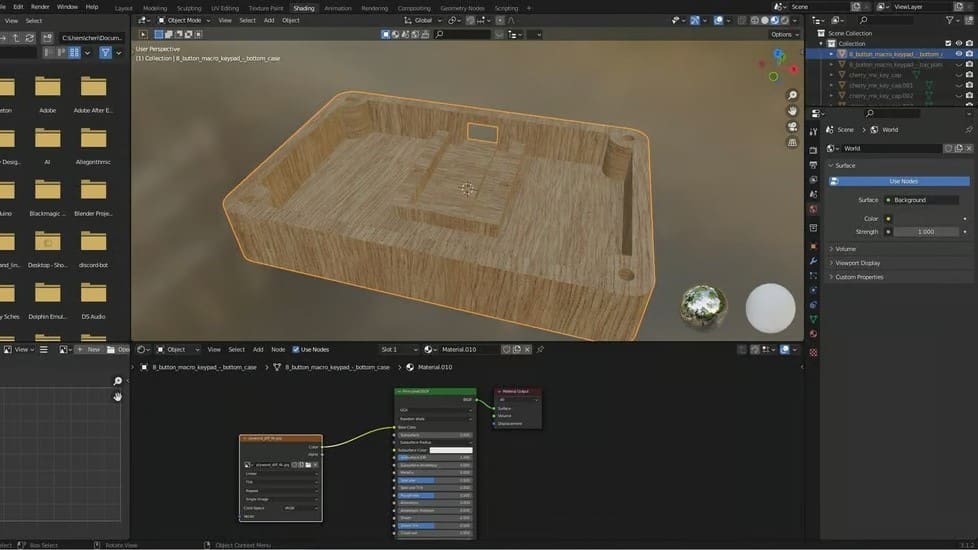
- In Blender, navigate to “File > Import” and choose the file format that the model is saved in. In this case, it’s FBX.
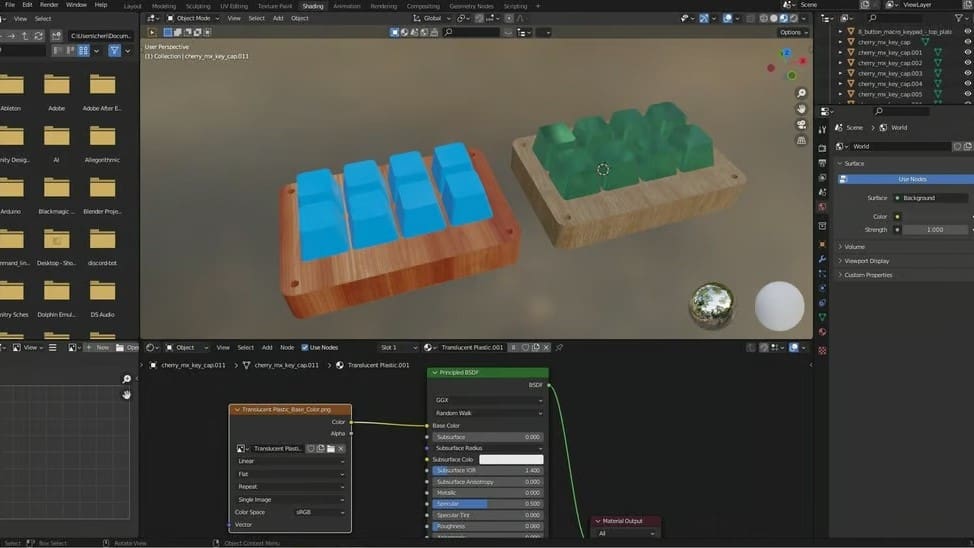
- Next, select the Shading tab and create a new material for the newly added model. Select the Image Texture node and add the texture maps you exported from Substance Painter.
- Finally, connect the Image Texture’s Color output to the Principled BSDF’s Base Color input.
Tips & Tricks
There may be some potential issues that crop up when using Substance Painter with Blender. Let’s take a look at a few:
- Check that you are using compatible versions of both software. There may be times when an update can cause issues, so it’s best to double-check the latest information from the official documentation.
- Make sure you choose the correct settings when exporting your model from Blender to Substance Painter. Firstly, check that you applied all modifiers in Blender before attempting to export. The recommended file type is OBJ or FBX, with triangulate and normal options checked.
- Pay attention to any overlaps in UVs in the UV mapping of your object in Blender. This can cause problems when applying textures in Substance Painter.
- It’s recommended to export your textures in Substance Painter with the TGA format for the base color, normal, and roughness maps. Besides being widely used in the graphics industry, from older game engines to modern ones, TGA also provides alpha channel support.
- Alternatively, you can use the PNG format. It has a better compression algorithm, resulting in a smaller file size while maintaining high image quality. It also supports more color spaces, including sRGB, Adobe RGB, and grayscale. Ultimately, whichever you choose depends on the requirements of your application, software, and hardware constraints.
Alternative
With all that said, while Substance Painter is a great choice, there are other alternatives you may want to consider.
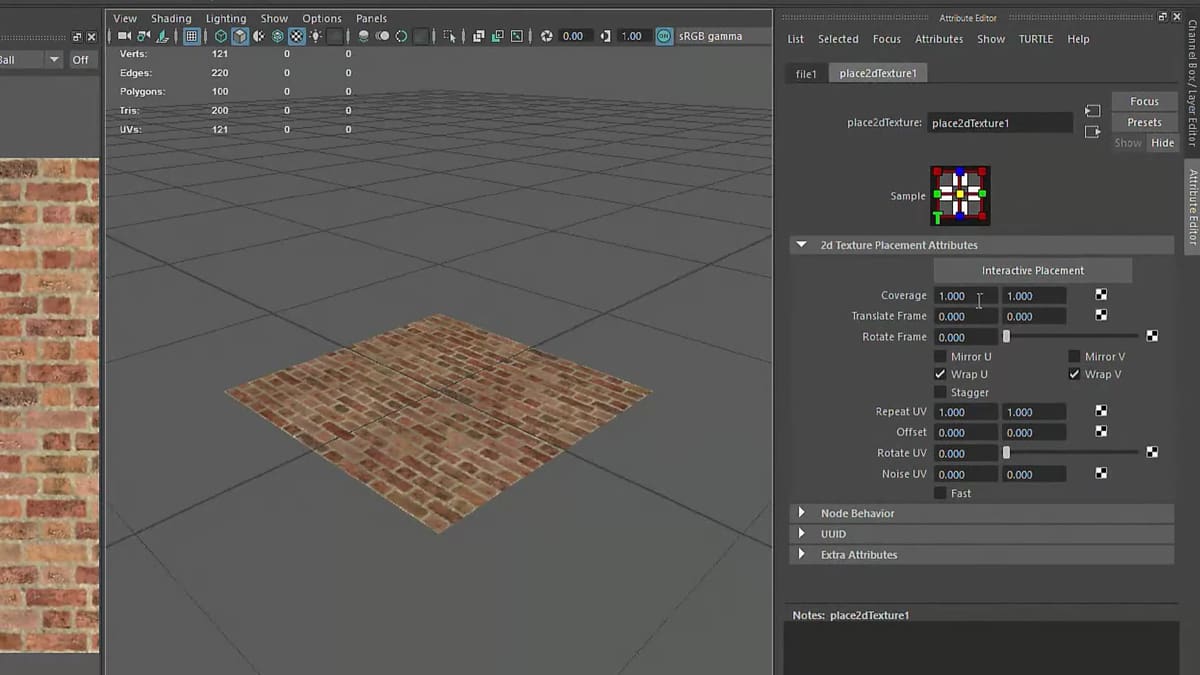
For example, Maya is another popular 3D modeling and animation software. It offers powerful character creation, rigging, animation, and simulation tools. It’s also a paid program, but there are alternatives in terms of free versions for students, and a variety of subscription plans that address different needs. While it is a more general-purpose tool than Substance Painter, it has the advantage of active community support and resources, as it has been around for a longer amount of time.
That said, information from online forums like Reddit for Substance Painter is also available, not to mention a community page over on the Adobe website.
If you need to create high-quality textures quickly and easily, and you don’t mind the accompanying price tag, Substance Painter is a solid choice!
License: The text of "Blender & Substance Painter: How to Use Them Together" by All3DP is licensed under a Creative Commons Attribution 4.0 International License.