Blender: Reduce Polygons – Simply Explained

An undesirable level of complexity usually means too many polygons. Read on to learn how to reduce polygons in Blender.
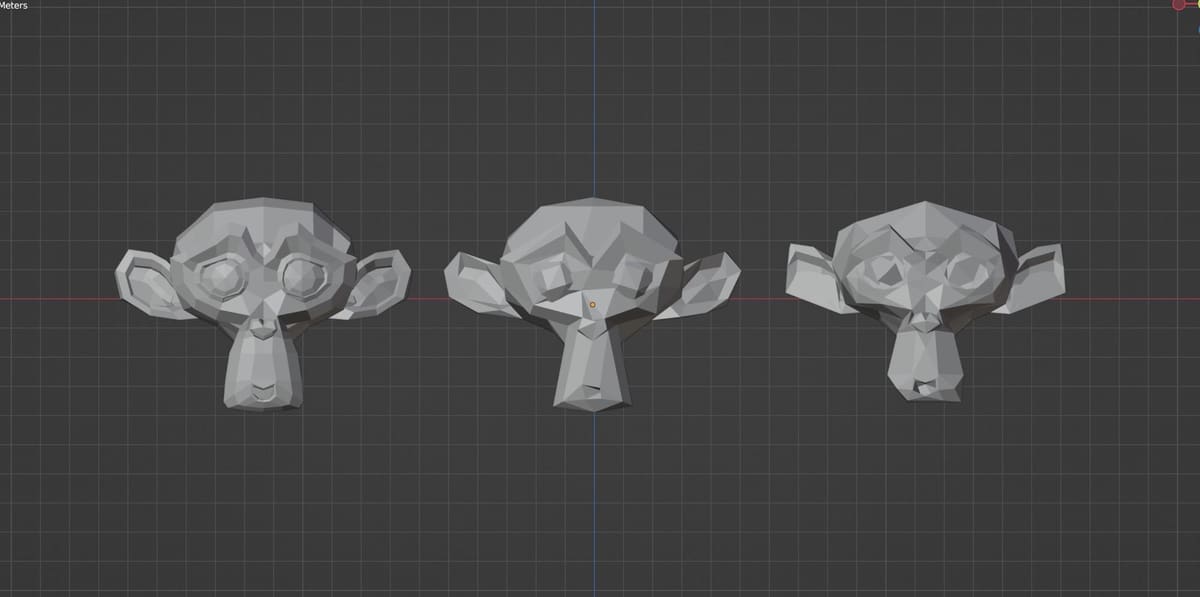
Most 3D models, if not all, are made of polygons. You may be familiar with the term “low poly“, which refers to models with a low polygon count, resulting in a very angular shape. In contrast, realistic-looking models have a very high polygon count to achieve smoother looks, but this comes at a cost: performance.
The trick is to have 3D models look as realistic as possible with the least number of polygons. The good news is you can modify models’ polygon counts in Blender. In this article, we’ll show how to do it with object modifiers.
Let’s break it down!

Object Modifiers
Object modifiers in Blender are properties that can be applied to an object. What makes them different from a tool or an add-on is that they change objects without permanently modifying them. That’s because a modifier acts as a feature on top of the base mesh. Then, you can either delete the modifier to remove the changes or apply it to integrate the changes into the mesh.
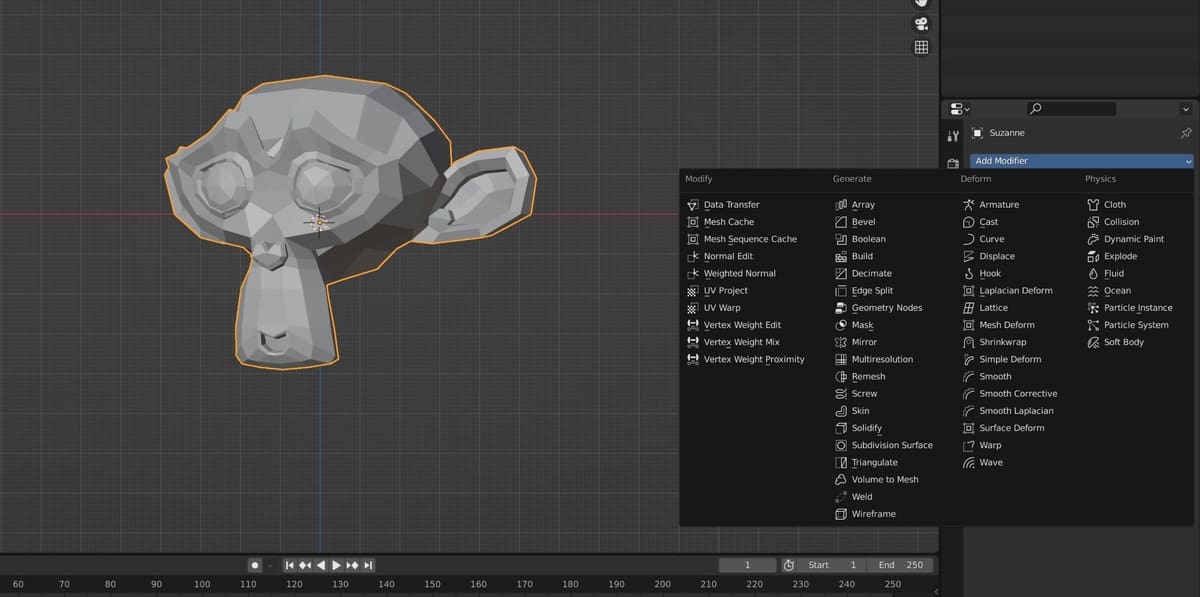
For example, in the image above, the Modifier Properties (with the wrench icon) has already been selected in the Properties editor. With Suzanne (the monkey mesh) selected, a modifier can be added to change her.
If you work on modifying the object and you’re not happy with the results, instead of deleting the object and starting over, simply delete the modifier. The object will go back to its original state. This means that, if you do want the modifier to definitely change the object, you’ll have to apply it.
Next, let’s see how to reduce the polygon count with the Decimate modifier.
Adding the Decimate Modifier
The easiest and most common way of lowering an object’s poly count is using the Decimate modifier. To do this, follow the simple steps below:
- Select the object you want to apply the modifier to by left-clicking on it.
- Go to the Modifier Properties tab by clicking on the wrench icon, located on the bottom right of Blender’s Properties editor.
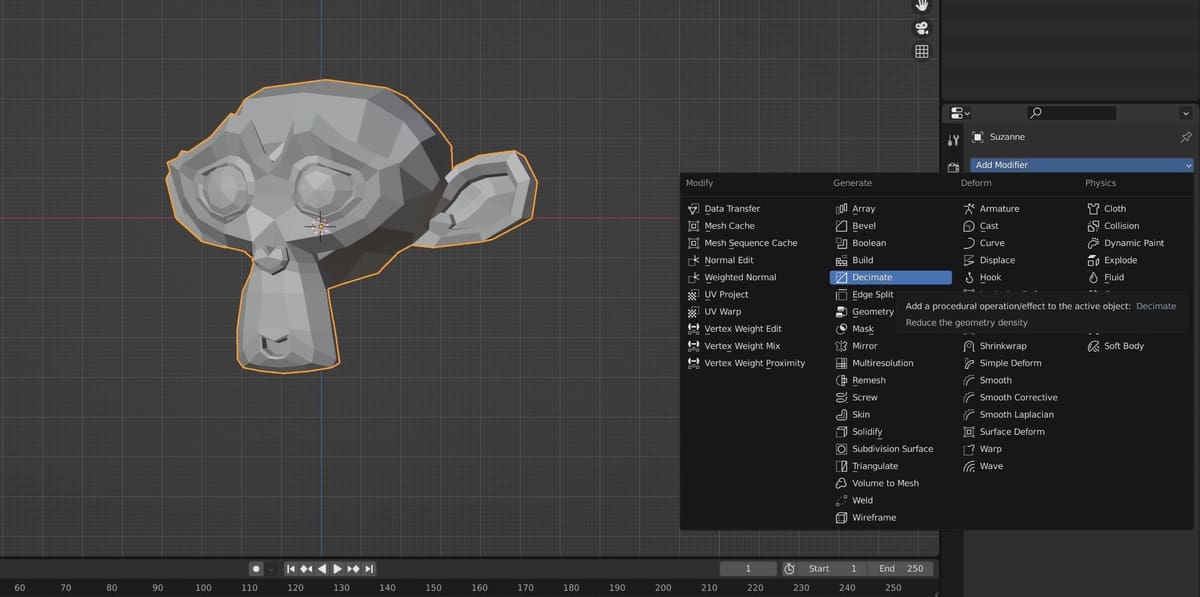
- Click on “Add Modifier” and select “Decimate” from the list.
Now, we’re ready to start changing the values. Using the Decimate modifier, there are two methods to reduce polygons in a mesh: collapsing or un-subdividing.
Method 1: Collapsing
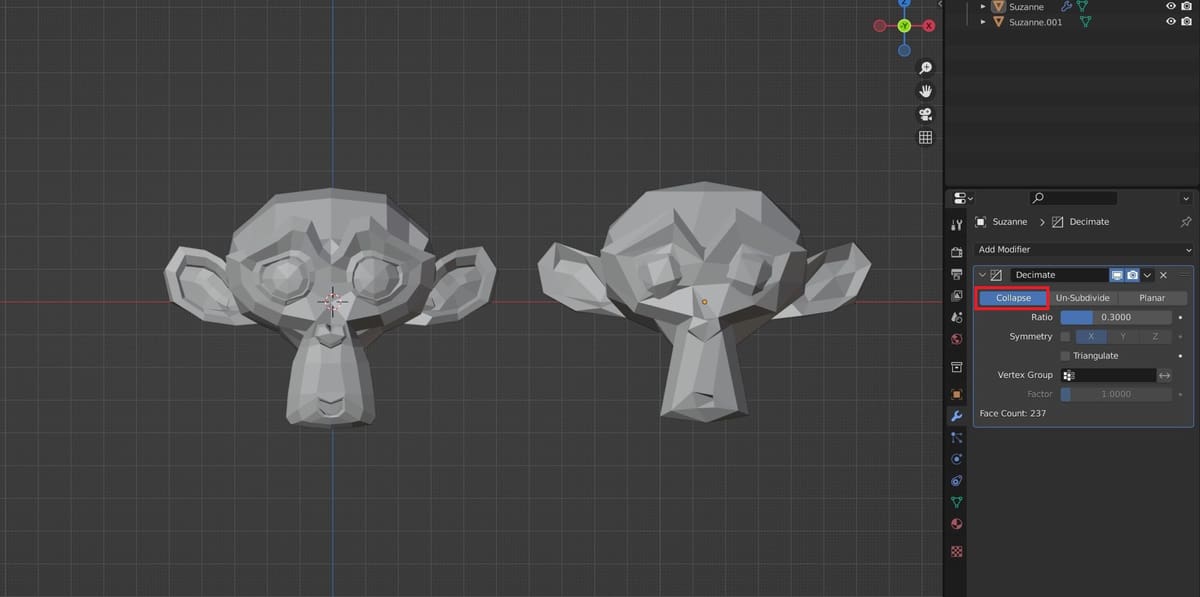
According to Blender, collapsing works by merging “vertices together progressively, taking the shape of the mesh into account.” To use this method, look at the Decimate modifier. Just under its name, you’ll find the different method tabs.
Ensure that “Collapse” is selected before continuing. Here are the most relevant tools:
- Ratio slider: This controls how many edges will be collapsed. It operates in decimals, where 1.0 means that 100% of the edges are left unchanged, and 0.0 means that no edges are left intact. Naturally, 0.0 is almost never used, as it makes any object look terrible.
- Triangulate: When checked, any edges that are collapsed become part of a new triangle. This is especially useful for cases where the object needs to maintain an accurate size, not just an accurate look. However, it can also modify the object in ways that might make it look different than it did before.
- Symmetry: When checked, this feature ensures that opposite ends of the object remain exactly alike. You can choose on which axis the object should be symmetrical using the button to the right of the checkbox.
This method is best employed if your main goal is to get rid of extra polygons of a complex object. However, it’s not the best way to keep the object’s original shape.
Method 2: Un-Subdividing

This is perhaps the easiest method to reduce polygons in Blender due to its one and only control: the iteration count.
As the name implies, iteration is the opposite of subdividing. Put simply, un-subdividing does two things: It deletes an edge between two faces and makes a new face where the previous two used to be.
Because Blender simultaneously performs several other operations to keep the shape of the object, this method works best if you want to keep the initial shape as accurate as possible but with fewer faces and edges. On the other hand, this method doesn’t effectively reduce vertices, if at all. If that’s your goal, use the previous method, preferably with the triangulate option enabled.
Applying Your Changes
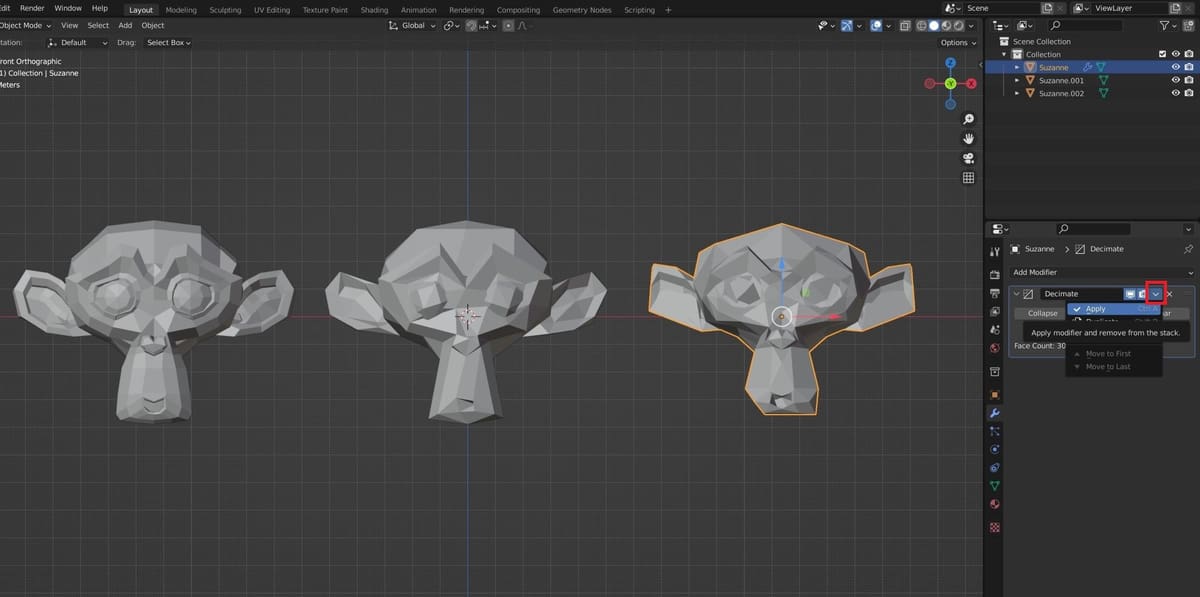
After you’ve used either method, and you’re content with the result, click on the dropdown menu next to the name of the modifier as seen in the image above and simply click “Apply”.
This rebuilds the mesh, using the settings you customized, and deletes the old mesh. Once the apply button is clicked, the modifier disappears, because the changes are integrated into the object. Of course, if you hit “Apply” accidentally, or if you change your mind, the “Undo” command will still work, provided you didn’t do anything in Blender after clicking “Apply”.
If you decide that you don’t like the results of your object before you apply the modifier, you can simply click the ‘X’ in the top-right corner of the modifier to delete it.
You should now have an object with fewer polygons to fool around with, allowing you to do more with the object in a simpler way. Plus, it takes up less storage space and RAM. It’s a win-win situation, both for you and your computer!
License: The text of "Blender: Reduce Polygons – Simply Explained" by All3DP is licensed under a Creative Commons Attribution 4.0 International License.