
Blender: How to Move the Camera – Simply Explained

In Blender, moving the camera and moving the viewport are simple tasks once you know how. Here's how to find your way around.
When working in Blender, it’s easy to become confused about the difference between the 3D Viewport and a camera object. This is understandable because the Viewport can be thought of as a virtual camera, and a camera object can be used as a viewport. So, let’s clear some doubts.
The Viewport is the main view that the user sees when they start Blender. The Viewport isn’t an object; rather, it’s a window that allows you to look around the scene that contains your model. It’s part of the Blender interface and is only there for the development and viewing of the model. It doesn’t serve any major purpose in rendering.
The camera is something that must be added to the scene. It’s an object within the scene and is responsible for rendering the image. Specifically, anything it’s pointed at will be part of the rendered image. Camera objects, however, aren’t designed to be moved as easily as the Viewport and, therefore, aren’t suitable for development purposes.
If you simply want to navigate your model and aren’t interested in rendering an image from it, a camera object isn’t necessary. But if you’re going to render your scene and want to compose the image in a particular way, a camera is essential.
In this article, we’ll show you two ways to move and position a camera, but first, let’s review navigating the Viewport and adding a camera for those of you just getting started in Blender.
Viewport Controls 101
There are three main motions that one would use in the 3D Viewport: move, orbit, and zoom. Move pans the entire scene across the Viewport in any direction. Orbit rotates the view around the center of the scene. Zoom moves the Viewport closer or further from the center of the scene. Here’s how to do each motion:
- Move the view: Hold down the Shift key and the middle mouse button while moving your mouse across the Viewport. Just like orbiting, panning requires that your cursor be inside the Viewport before you hold down the keys.
- Orbit the view: Hold down the middle mouse button while moving your cursor around the Viewport. Be sure to start holding down the middle mouse button while your cursor is inside the Viewport.
- Zoom in/out in the view: Simply scroll the mouse wheel up or down while the cursor is over the Viewport. Alternatively, you could hold down the Ctrl key and the mouse wheel button while moving your cursor up or down on the screen.
If you don’t have a scroll wheel or scroll wheel button, see the Blender manual for instructions on emulating the scroll wheel, also called the third mouse button.
Note that these methods only work to navigate around the Viewport. The same terms are used to describe moving the camera, but a different method is needed, which we’ll discuss in just a bit.
Adding a Camera (Optional)
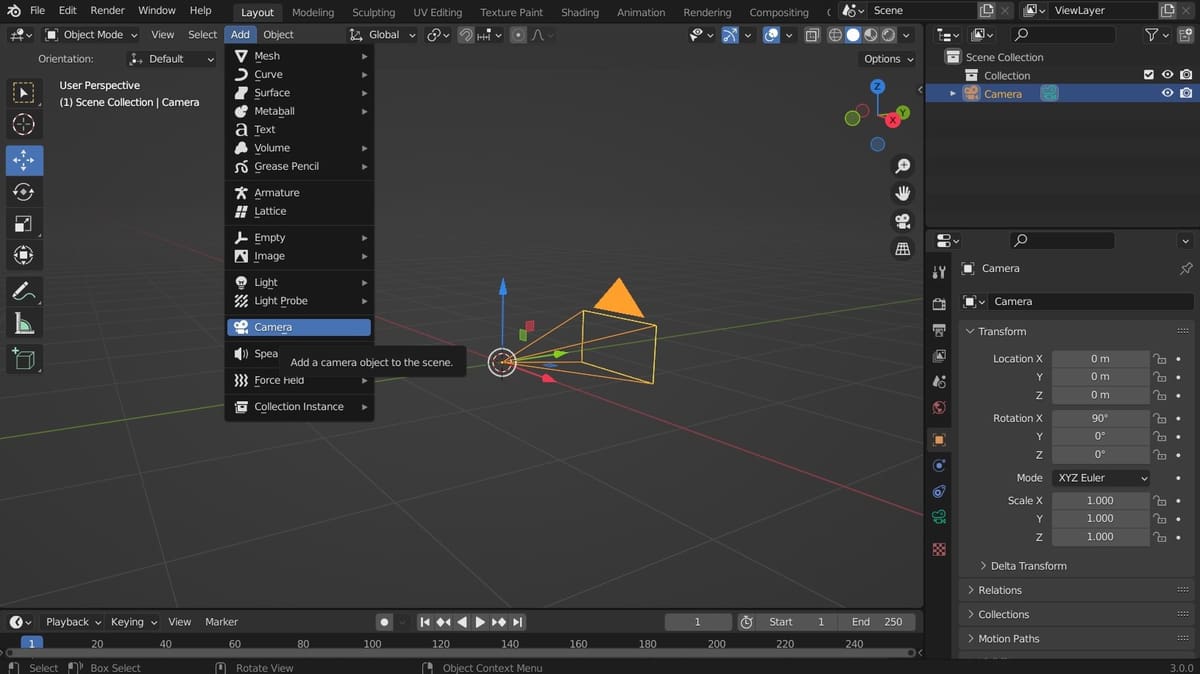
Cameras in Blender appear as pyramid-like objects, with a hat-like arrow pointing away from the base. The point of the pyramid is the rear of the camera, the base is the lens, and the arrow indicates which edge of the lens is the top edge.
Adding a camera object is easy:
- Press “Shift+A” to bring up the Add menu, or click the Add dropdown on the Viewport’s header.
- Left-click “Camera” to create a camera at the location of the 3D cursor.
Now, with your camera placed, press ‘0’ on the numpad to toggle in and out of camera view.
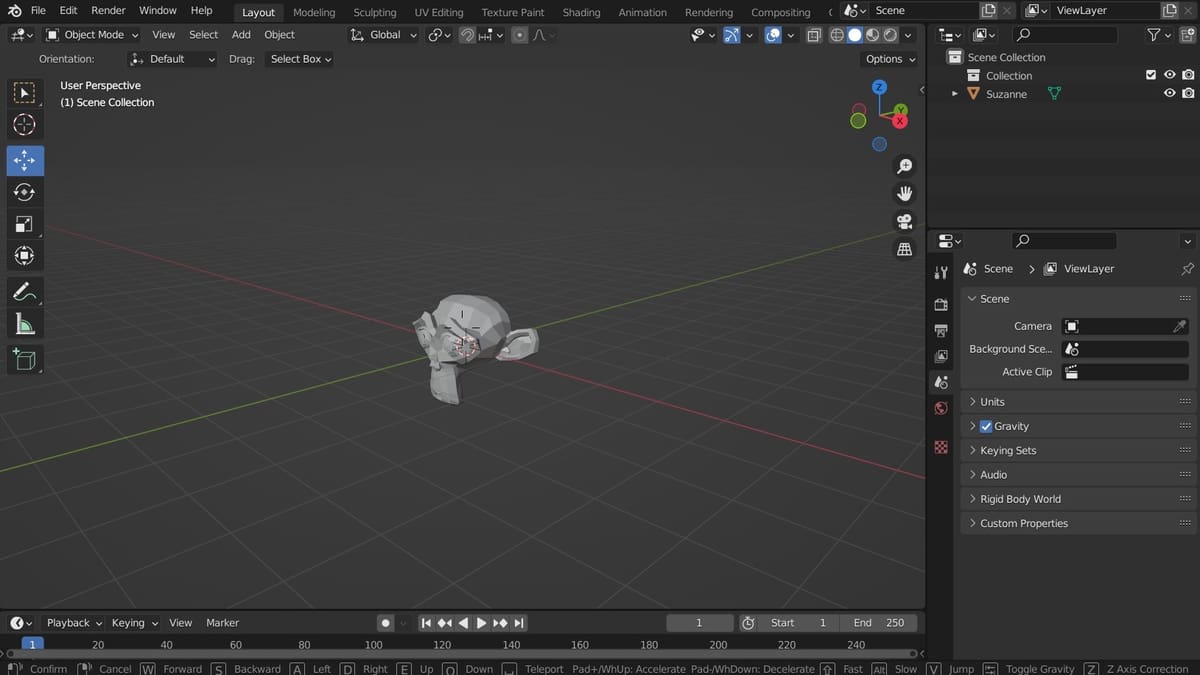
Method 1: Direct Controls

After selecting your camera by left-clicking on it or on its name in the Outliner (top right), you can either move it or rotate it. Moving the camera repositions it within the scene, and you can move it along the X-, Y-, or Z-axes. Rotating the camera tilts it in one direction, be it clockwise or counterclockwise, upward or downward, left or right.
- Move: Press ‘G’ while the camera’s selected. You can now use your cursor to move the camera wherever you like. If you only want to move along one axis, press ‘X’, ‘Y’, or ‘Z’ to toggle axis locks.
- Rotate: Press ‘R’ while the camera’s selected. Moving the mouse cursor rotates the view clockwise or counterclockwise. As with moving, press ‘X’, ‘Y’, or ‘Z’ to choose the axis of rotation.
- Zoom: Click the rectangular end of the camera and drag to zoom in and out.
It’s easier to see what these movements will mean for your camera if you switch to camera view (‘0’ on the numpad) after making the desired changes.
Method 2: First-Person
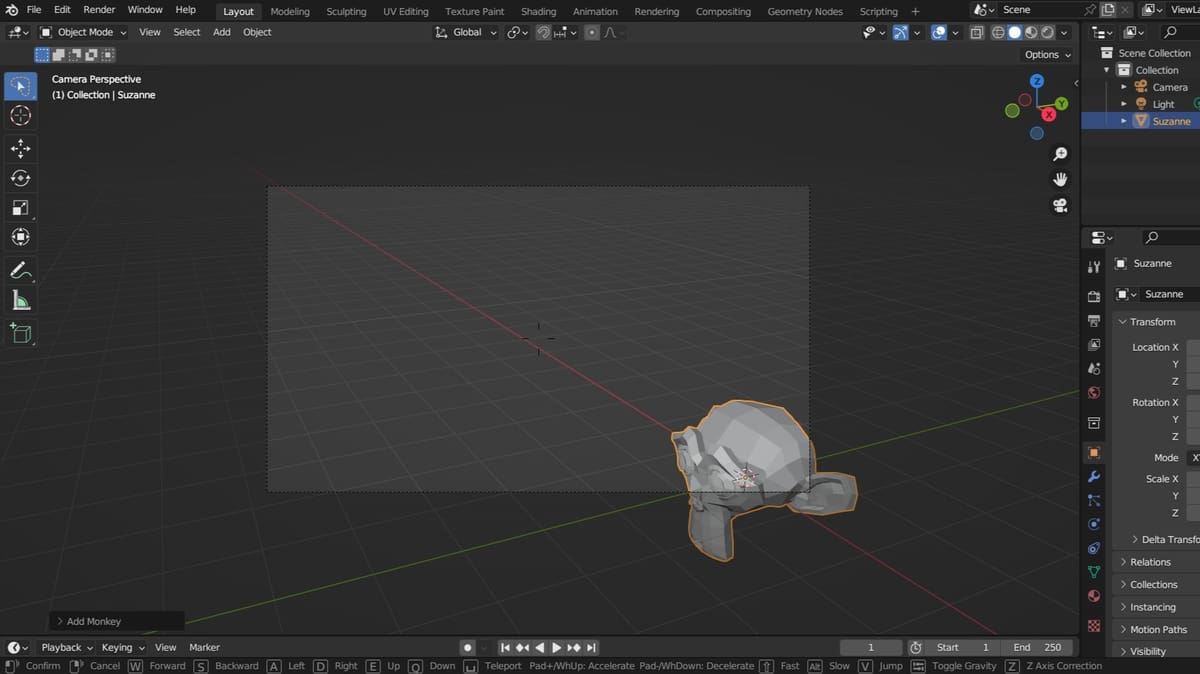
This is perhaps the easiest way to position the camera. The first-person view, known as Walk Navigation in Blender, allows you to “move around” using the mouse to rotate and the keyboard to “step” forward, backward, side to side, up, and down. These controls are similar to those in many video games.
While it’s possible to use Walk Navigation in the 3D Viewport, it can also be used to position a camera. To do that, you must be in camera view (‘0’ on the numpad) before enabling it.
Enabling Walk Navigation is easy:
- Click “View” on the Viewport’s header, then hover over “Navigation”.
- Select the “Walk Navigation” option at the bottom of the list.
The shortcut is a trickier affair. If you’re using Blender 2.8 or later, the default shortcut to enter first-person view has changed from “Shift+F” to “Shift+`” (the grave key). If you want to change it back, follow these simple steps:
- On the “Edit” menu at the top left of the screen, click on “Preferences”.
- Select the “Keymap” section and on the name search, type “Fly”.
- Click the default shortcut box.
- Introduce your new shortcut by using your keyboard or any other combination you want.
Walk Navigation
Once you’re in the Walk Navigation, it’s easy to move around:
- To look around while standing still, simply move around your mouse.
- To move forward or backward, press ‘W’ or ‘S’, respectively (or the up/down arrow keys).
- To move left or right, press ‘A’ for the former or ‘D’ for the latter (or the left/right arrow keys).
- Finally, to move up or down, press ‘E’ or ‘Q’, respectively.
You must hold these keys to move in the desired direction, as single key presses do very small (almost imperceptible) movements.
If the speed at which the view moves isn’t to your liking, you can scroll the mouse wheel up to speed up, or down to slow down the rate of motion. There are also other controls, which you can learn from the Blender Manual.
To exit Walk Navigation without repositioning the camera, simply press the Esc key.
Setting the View
Once you’ve positioned the camera’s view to your liking, press Enter or left-click to set the camera. When you exit camera view (by pressing ‘0’ on the numpad), you’ll see that the camera has moved and is positioned to capture the view you just set.
License: The text of "Blender: How to Move the Camera – Simply Explained" by All3DP is licensed under a Creative Commons Attribution 4.0 International License.