Blender: Merge Objects – Simply Explained

Using Blender to merge objects is sometimes the easiest way to design a complex model. See how to add objects and join them in Blender 3.0.
There are a few ways to merge objects in Blender, depending on what outcome you’re looking for. These include the ability to join objects as well as a couple of Boolean operations that add or subtract objects.
“Joining” objects might sound like it attaches two models, but in fact, it doesn’t geometrically connect them together. Instead, it reclassifies two objects as a single entity. This means that the “joined” objects will move, rotate, scale, and animate like one object, even if they’re not attached to each other.
Boolean operations, on the other hand, will combine shapes to create a new modified mesh. The Union operation will add shapes, while the Difference operation will subtract one shape from another. Both of these operations can be achieved by adding and applying a Boolean modifier to your objects.
In this article, we’ll show you how to do all three of these techniques. But first, we’ll cover parenting in Blender and how it impacts joining objects. Let’s dive in!

Parenting
Before joining objects, it’s important to understand how Blender categorizes the relationship between objects. One object will always be the “parent” of all of the others that are being joined together. This has consequences for any transformations performed on the individual objects or the group as well as any materials, textures, and modifiers applied to the objects.
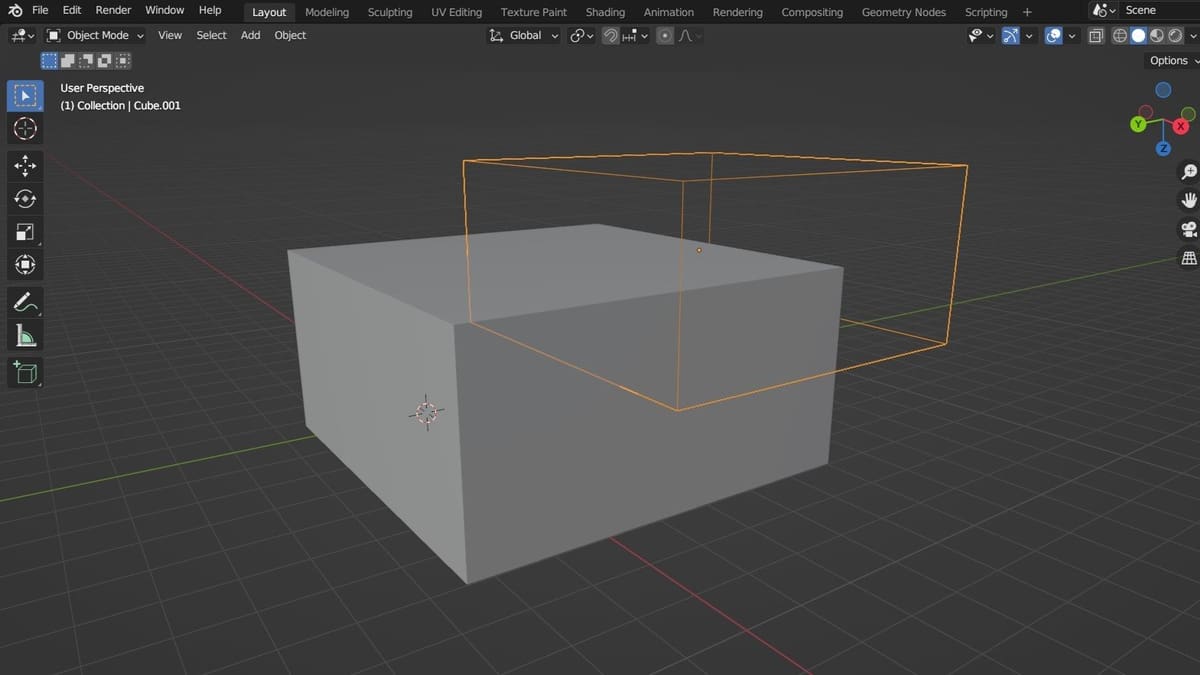
Choosing the parent is relatively easy. First, you have to be in Object mode. If you’re selecting objects one at a time, the parent is the last object selected. The object is highlighted in yellow. With all of the objects selected, it’s possible to switch the parent by holding down the Shift key and left clicking the object you want to be the parent. The shortcut “Ctrl + P” brings up a context menu with other parenting options.
Key Considerations
Parenting is really important to keep in mind because it affects any further modeling or texturing work you plan to do. For example, any modifiers used on the parented object will carry over to “child” objects once they’ve been joined.
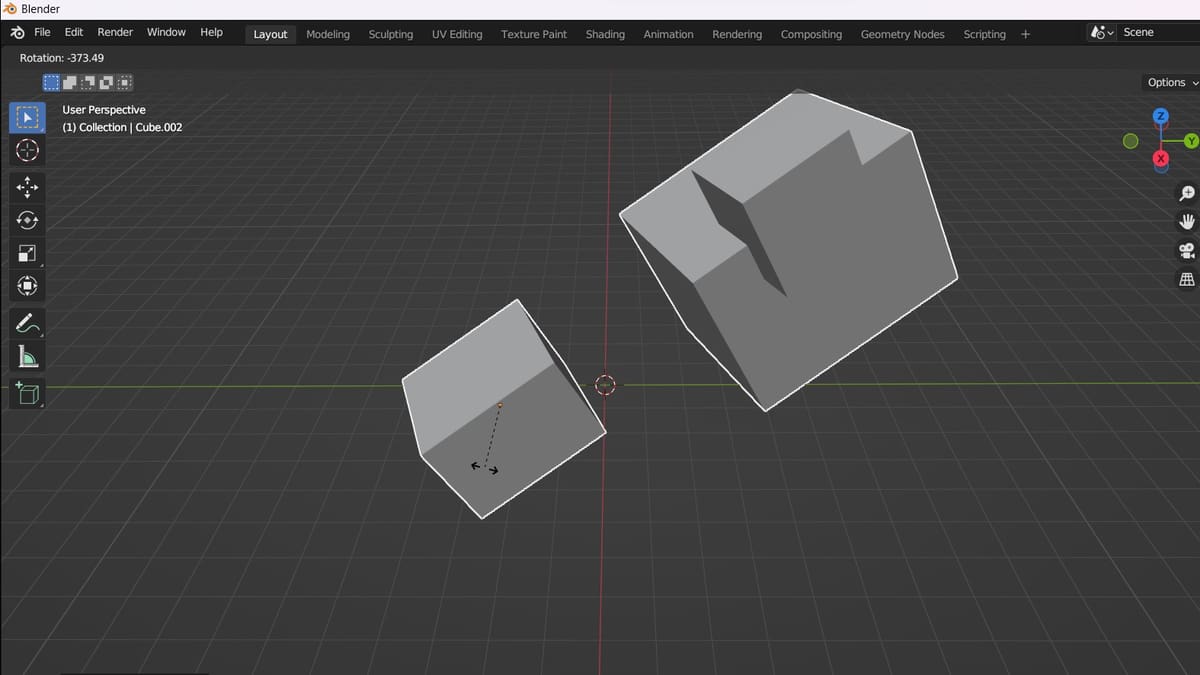
The parent will be the center point of any transformations you perform on the joined objects. It’s the small yellow dot in the center of the parent object. You can easily change this, though. With the joined object selected, click the Object drop-down menu on the 3D Viewport’s header, then hover over “Set Origin”. Pick whichever option works best for your project.
When it comes to materials and textures, Blender automatically preserves the respective materials of the joined objects. Any objects without materials will be assigned the lead material in the list found on the Material Properties tab of the Properties editor. Some have experienced problems with textures and UV maps after joining objects, but fortunately the user community has found some solutions.
Before joining your objects, plan ahead so you’re not surprised by unexpected changes to your models.
Joining
Joining objects is the easiest process we’ll look at, so it’s a good starting point. Though one of the most commonly used tools, it doesn’t work the way a lot of people expect.
By joining objects, you’re basically linking objects to the parent object, whether they’re physically connected or not. The respective meshes remain separate, but they all act as one object. Here’s how to do it:
- Make sure you’re in Object mode.
- Left-click to select the first object – the one that you don’t want to be the parent.
- Once it’s selected, hold down “Shift” and left-click the other objects you want to join. The last object you select will be the parent.
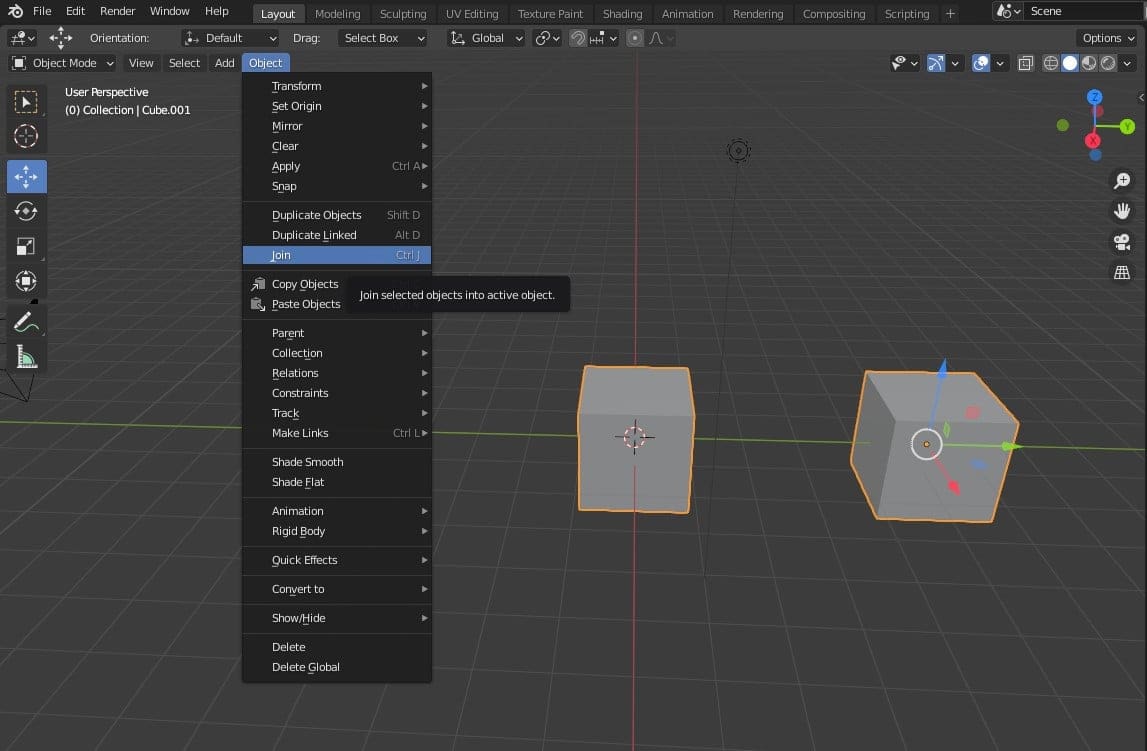
- With everything you want to be joined selected, click “Join” from the Object drop-down menu (as shown in the above image). Alternatively, you can simply use the shortcut “Ctrl + J”.
Now, the objects look, move, and act as one.
Applications
Joining is still incredibly useful when working with complex scenery or characters for gaming or animation purposes. It’s not the best, however, if you’re planning to 3D print the models.
Intersecting objects that are joined have internal geometry. For this reason, the model is non-manifold and therefore impossible to print. For printable models, you’ll need to use another technique, which we’ll cover next.
Boolean Modifiers
Boolean operations are the best option for models that will be 3D printed. These operations actually modify the geometry of the meshes. However, it’s important to clarify that Boolean operations don’t merge two objects together. Rather, they modify an object based on the geometry of a target object.
It sounds more complicated than it actually is. Below, we’ll discuss two of the three operations:
- Union, which is good for adding shapes to an object
- Difference, which is ideal for subtracting shapes from an object
Union
If you need to attach two objects together, joining them obviously won’t work, as we saw above. However, by using modifiers, we can do something very similar with minimal effort! Please note that this method only works with two objects, though. So, if you have more than two, simply repeat the process outlined below for each extra object.
To begin, you first have to decide which object is the one you want to modify (i.e. the “receiver”) and which object will be used to do the modification (the “target” using Blender’s language). Once that’s set, here’s how to do it:
- Make sure you’re in Object mode.
- Left click the object you want to modify. In our example, the lower cube will receive the modification. Make sure it’s the only object that’s selected.
- Then, select the Modifiers tab (the one with the wrench on it) on the Properties editor. In the default view (and in our example), the Properties editor is located on the right side of the screen under the Outliner.
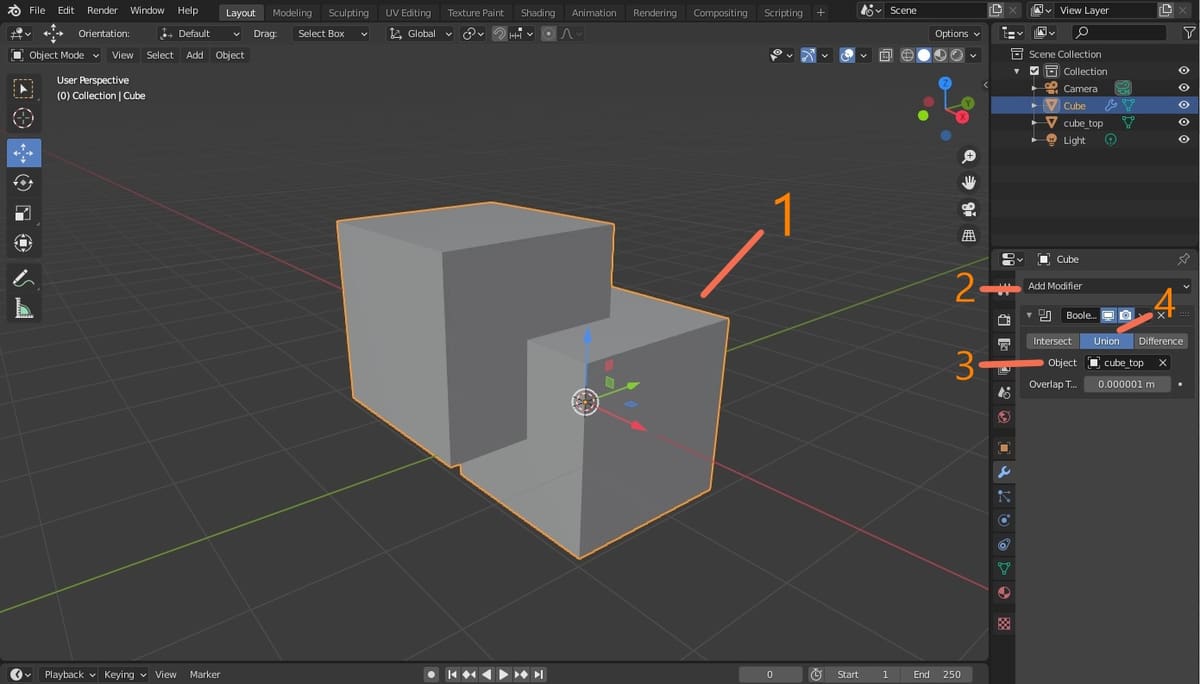
- Click the “Add Modifier” button, then select the “Boolean” modifier. A new panel will be added to the Modifier tab.
- On the panel, click the “Union” button just below the name of the modifier.
- Next, click the empty field next to “Object” on the panel. A list of objects will appear, and you’ll have to select the name of the target object – the one you want to use to modify the receiver object. In our case, the target is named “cube_top”.
You’ll notice a change in the way the objects appear in the 3D Viewport, but the union is not yet complete. Once you’re ready, scroll down to the section called “Applying the Modifiers” to finish the process.
Difference
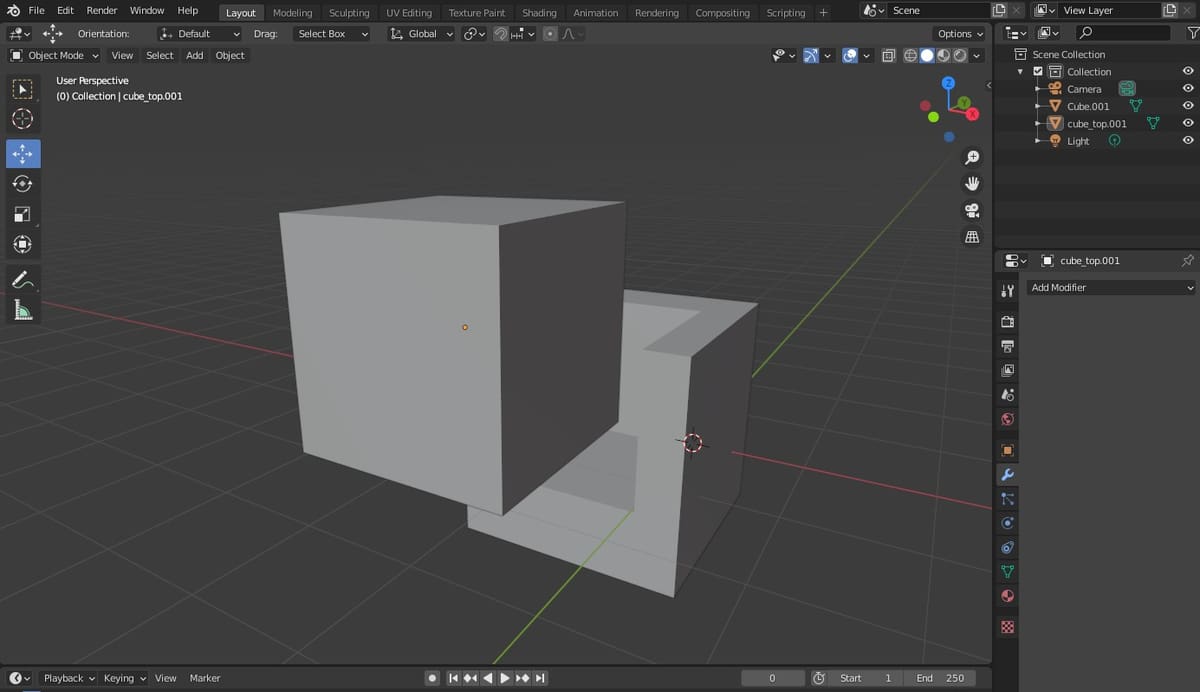
Sometimes, you’ll need to cut out a piece of an object using another. This is useful in cases where you want to engrave text or a shape into an object. This can easily be done using the Boolean modifier.
Here’s how to subtract the shape of one object from another:
- Follow the first four steps of the previous method. Keep in mind that the object you first select should be the object that you’re cutting.
- Once you have your modifier added, click the “Difference” button.
- Next, click the empty field next to “Object” on the panel, and select the name of your target object – the shape you want to use to cut the receiver object. In our case, we want to use the top cube to cut the bottom cube.
Note that you won’t see the results of the cut just yet. Once you’re ready, move on to the next section to finish the process.
Applying the Modifiers
You may have noticed that your object doesn’t yet look the way you wanted it to. That’s because we’re not done yet!
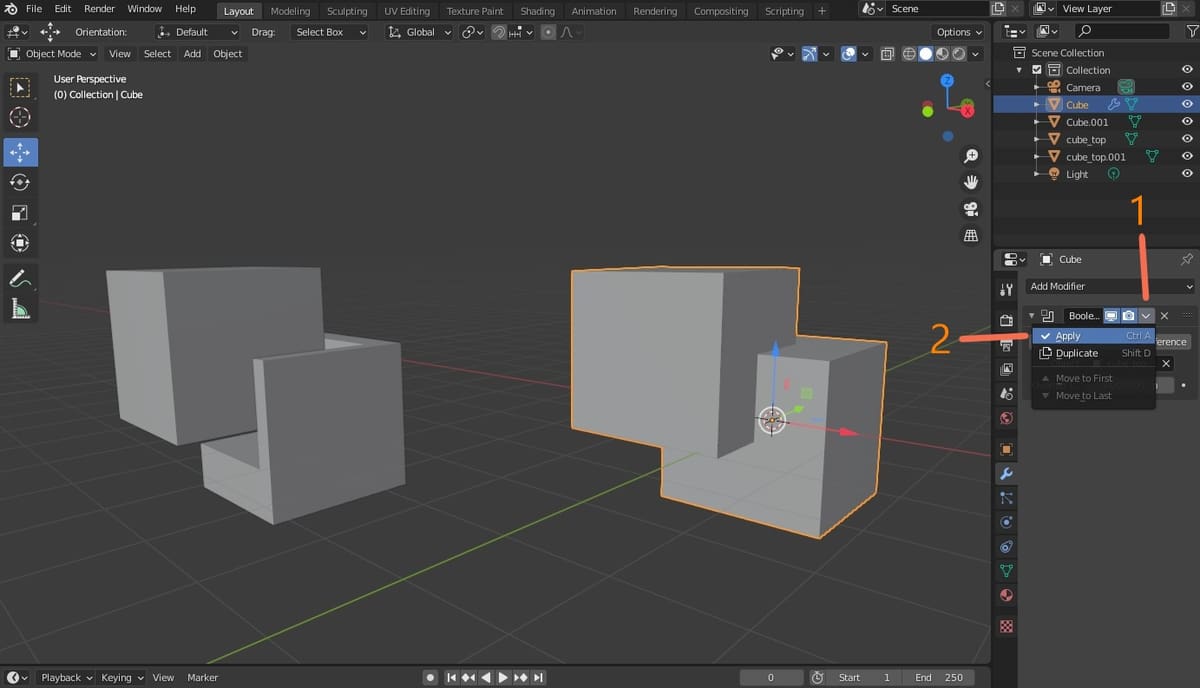
In order to see the results, you’ll need to apply the modifier to save the changes. This can be done by clicking the upside down arrow on the panel next to the modifier’s name (see #1 in the image above). Then, select “Apply”.
Whether you apply a Union or Difference modification, the receiver shape will be modified according to the target’s shape. However, that’s only apparent once you move away the modified object. This is especially the case for Difference modifications.
Simply select the modified object, then press ‘G’ and move it. You should see the target object left in place, which you can delete if you want.
If you can’t select the target object without selecting the modified one as well, use the Outliner. The Outliner is usually at the top-right corner of the screen in the default view. Click on the name of the target object, then press ‘X’ and it will be deleted.
And there you have it! Whether you choose to use the join command or a Boolean modifier, you now know how to merge objects together in three different ways, enabling you to do more with your models.
License: The text of "Blender: Merge Objects – Simply Explained" by All3DP is licensed under a Creative Commons Attribution 4.0 International License.