Blender: Extrude – Simply Explained

The extrude tool in Blender is essential to modeling anything of quality. It allows you to extend and create a new section of your model. But how does it work exactly, and what are its uses?
What Is the Extrude Tool?
In Blender, the extrude tool is used when modeling an object in edit mode — that is, when modeling or creating an object using its vertices, edges, and faces. Formally, the extrude tool can be defined as a tool that duplicates the selected vertices, edges, and faces, connecting them to the original model in series of the original vertices, edges, or faces.
That’s a mouthful. Here’s an easier way to look at: The extrude tool extends a certain part of a model in a certain direction.
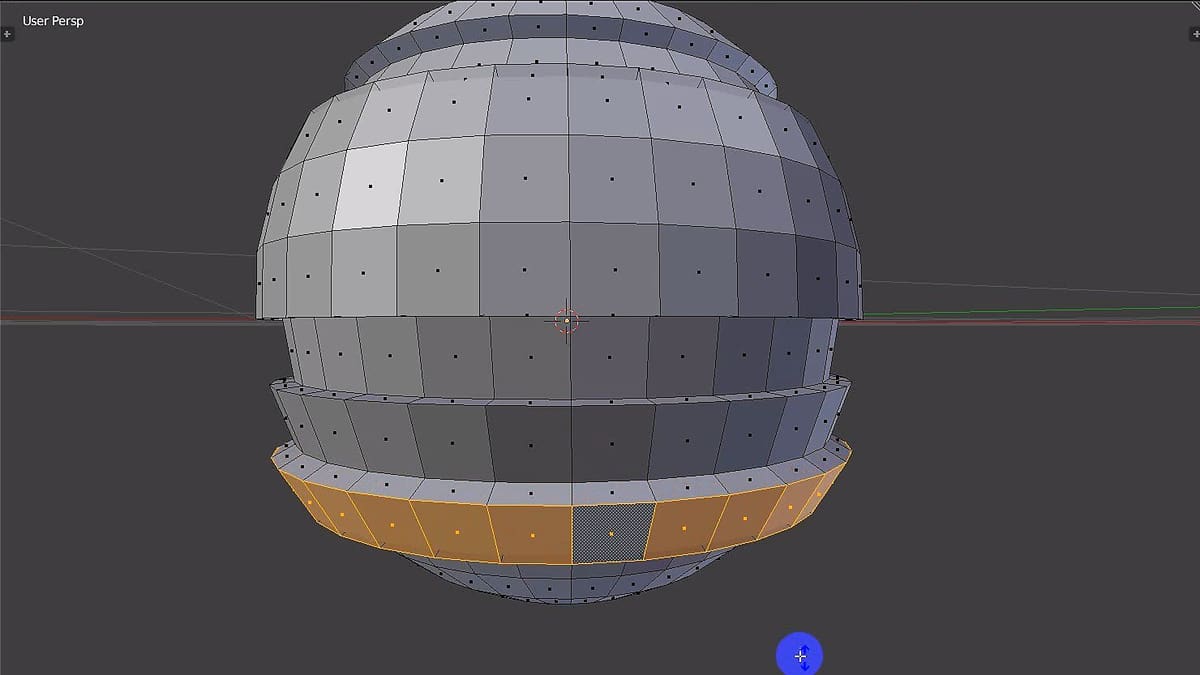
Take the provided image, for example. The four selected vertices (and thus, the surface between them) are being extruded from the original object. They can be moved in any direction, and at any angle. However, the inside of the object remains hollow and unblocked, while the outside remains completely intact, with an entirely whole surface.
This tool is useful for creating more vertices for better and more specific modeling. It allows you to create objects in a bit-by-bit additive process, rather than attempting to create it all at once, only to go back and increase the quality later. While this second option is very popular, extrusion makes the process a whole lot easier.
Okay, so now we know what the extrude tool does, but how do we use it?
Step 1: Prepare Your Model

To demonstrate the usage of the extrude tool, we will create a simple object resembling an L-shaped block. Make sure you have Blender started and ready to use.
Click the image on the splash screen to make it disappear. Delete all objects currently in the scene, by hovering your cursor over the 3D view, pressing ‘A’ until everything is highlighted, and then pressing the Delete or X keys on your keyboard. You will have to either left-click on the confirmation button or press Enter to confirm the deletion.
You’re now ready to begin making a basic model with the extrusion tool!
- Press Shift + ‘A’ while hovering the mouse cursor over the 3D view. A new dialog will appear. Hover over the option “Mesh” and then on the new list that appears beside it. Select “Cube”. This will create a cube in the middle of the scene.
- Right-click to select the cube, if it’s not already selected. Then press the tab key to switch to edit mode. You cannot extrude from an object unless you are in edit mode. Ensure that your mouse cursor is still in the 3D view when you press the tab key.
- All vertices will most likely be selected. Deselect all of them by pressing the A key.
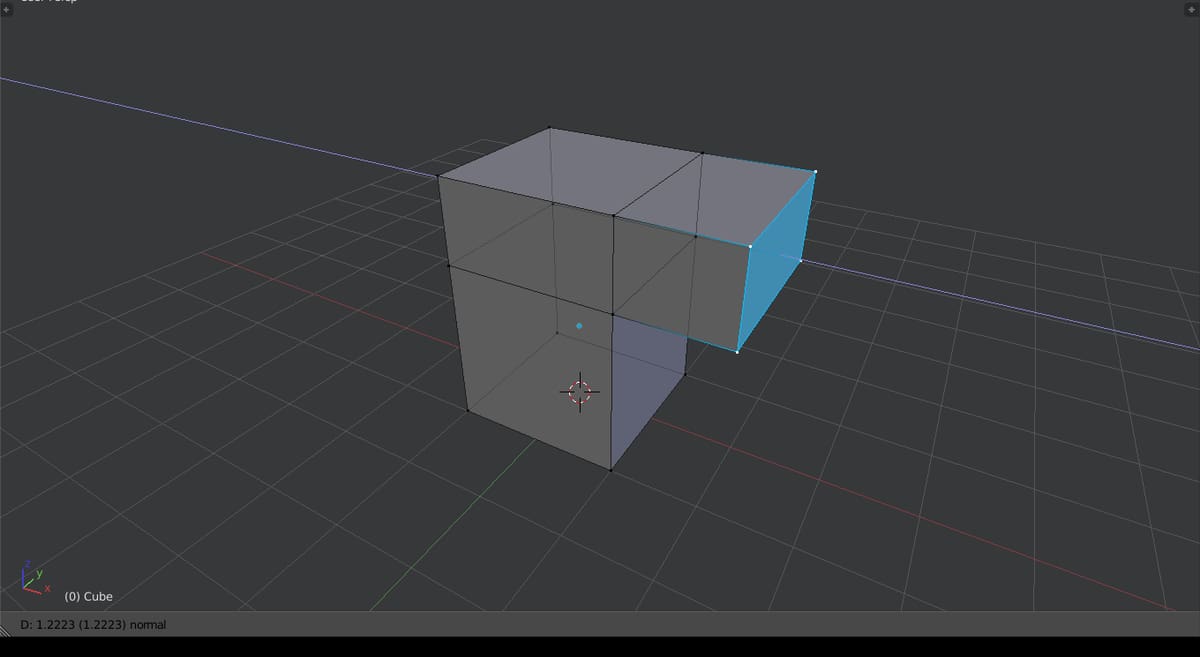
- Select four vertices on one side of the cube. You can do this by either holding Shift and right-clicking the vertices one at a time, or by pressing ‘B’ and box-selecting them. Ensure your selection matches the image above.
Step 2: Extrude in the Horizontal Direction
Now that we’ve prepared the object, it’s time to start extruding!
- With the four vertices still selected from the last step, press the E key to activate the extrude tool. If you see a new axis line running through the object, press ‘Z’ to get rid of it. Take a moment to observe how the object follows your mouse cursor, and how it expands the selected area of the object. However, don’t left-click just yet.
- We need to restrict movement so that the extruded segment is perfectly straight. To do this, press ‘Z’ twice. When you move your mouse, the extruded region should now stay completely level with the original block.
- To specify the size of the extrusion, press ‘2’. The extruded region should now match the original object in size. Press the Enter key to confirm the extrusion.
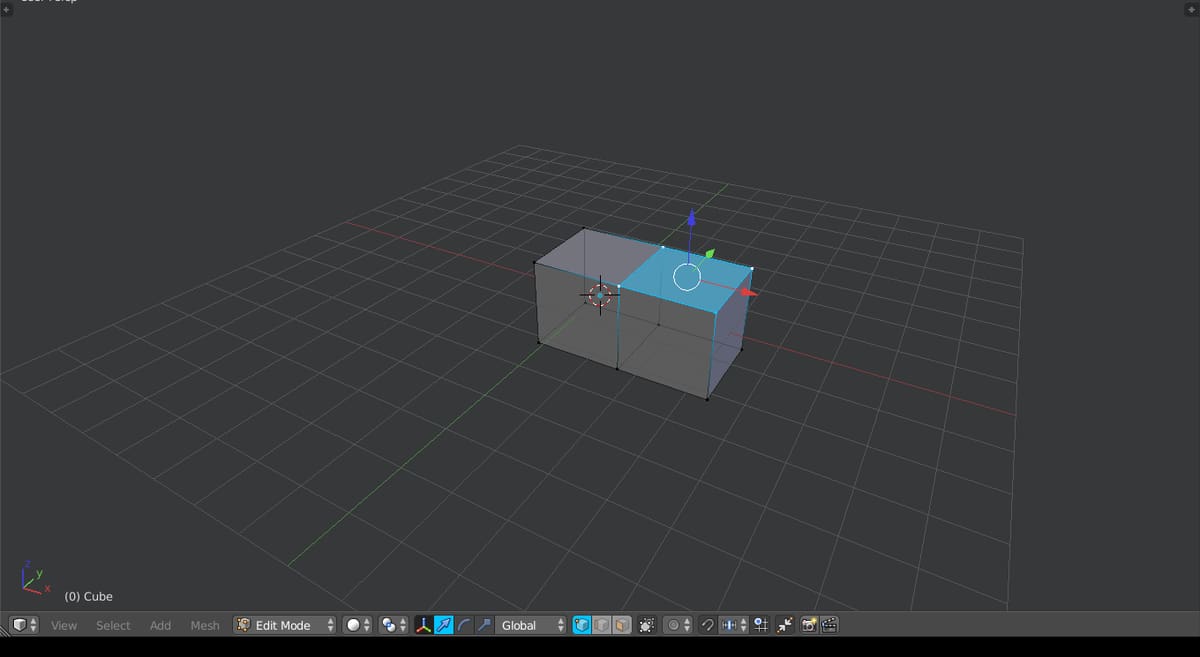
- Now, deselect all highlighted vertices by pressing ‘A’. Then, select the four vertices on top of the newly extruded section you just made. Make sure it matches the provided guide image.
Step 3: Extrude in the Vertical Direction
Now we’re going to extrude one more time to finish the object; we’re almost done!
- With the four vertices selected from the last step, press ‘E’ to activate the extrude tool. Again, if you see a new line running through the extruded region, you can press ‘Z’ to free it. Take a mental note of how the extrude tool creates a new addition to the top of the object, without affecting the original base of the object.
- Just as before, keep the extrusion’s movement level with the original object by pressing ‘Z’ twice. Now when you move your cursor, you’ll notice that the extrusion stays even with the original object. However, instead of moving horizontally as before, it moves vertically.
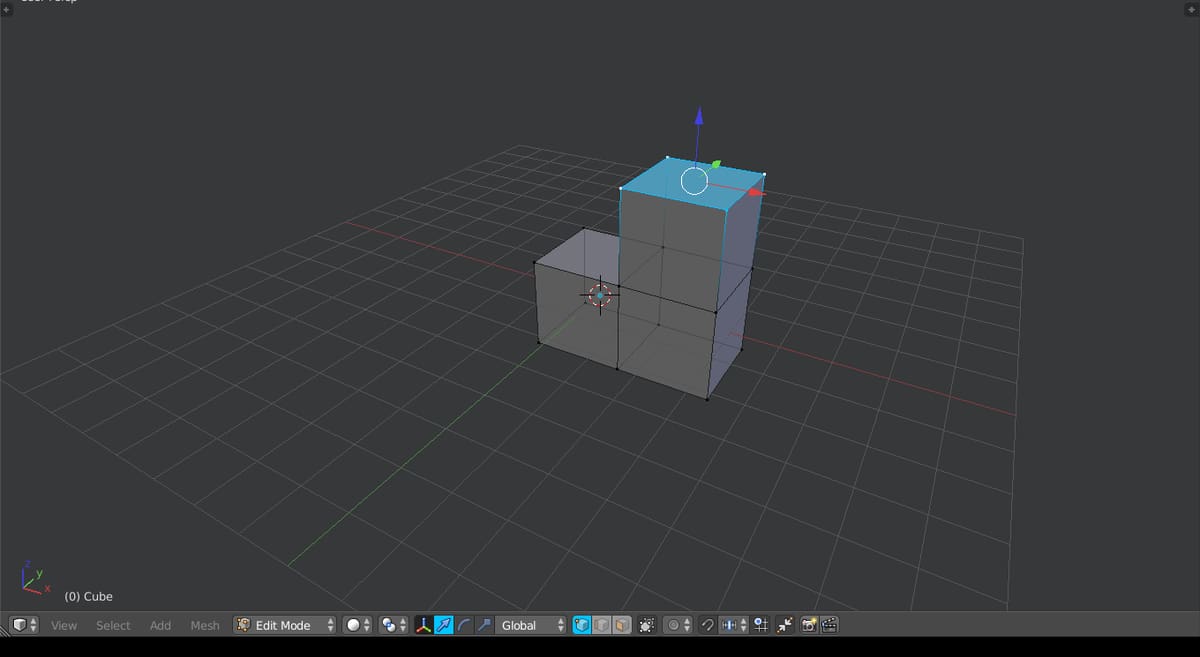
- Press ‘2’ to specify the height of the new extrusion, then press the enter key to confirm. You have now finished modeling!
- Press the tab key to return to Object mode. Now you can view the object and move it around as you would any other object in Blender. The final result displayed in the image is displayed in edit mode.
There you have it! This is a simple way to get to know how the extrude tool works, and with practice, you’ll be able to use the extrude tool for all sorts of models, both simple and detailed!