Blender: Rigging – How to Rig a Model in Blender

Rigging is commonly used in animation, but it’s also crucial to simulations in Blender. Explore this guide to Blender rigging to complete your modeling experience.
Why Use This?
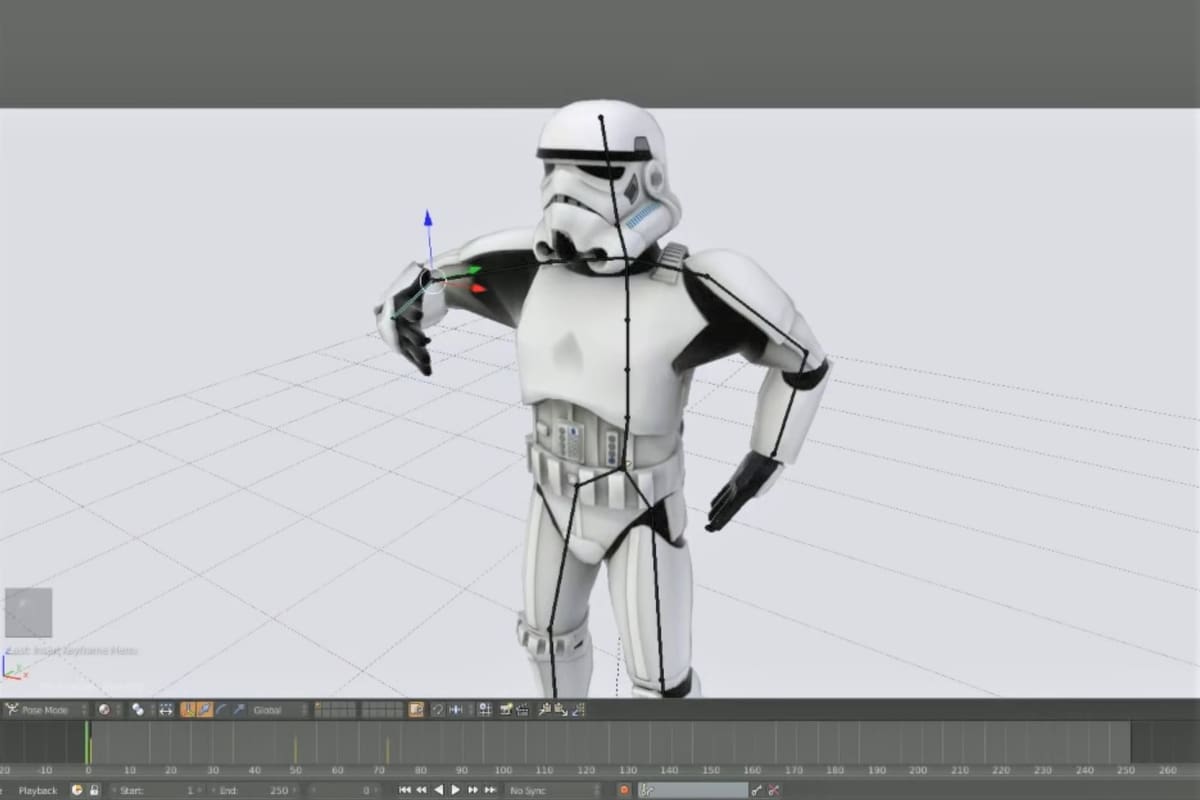
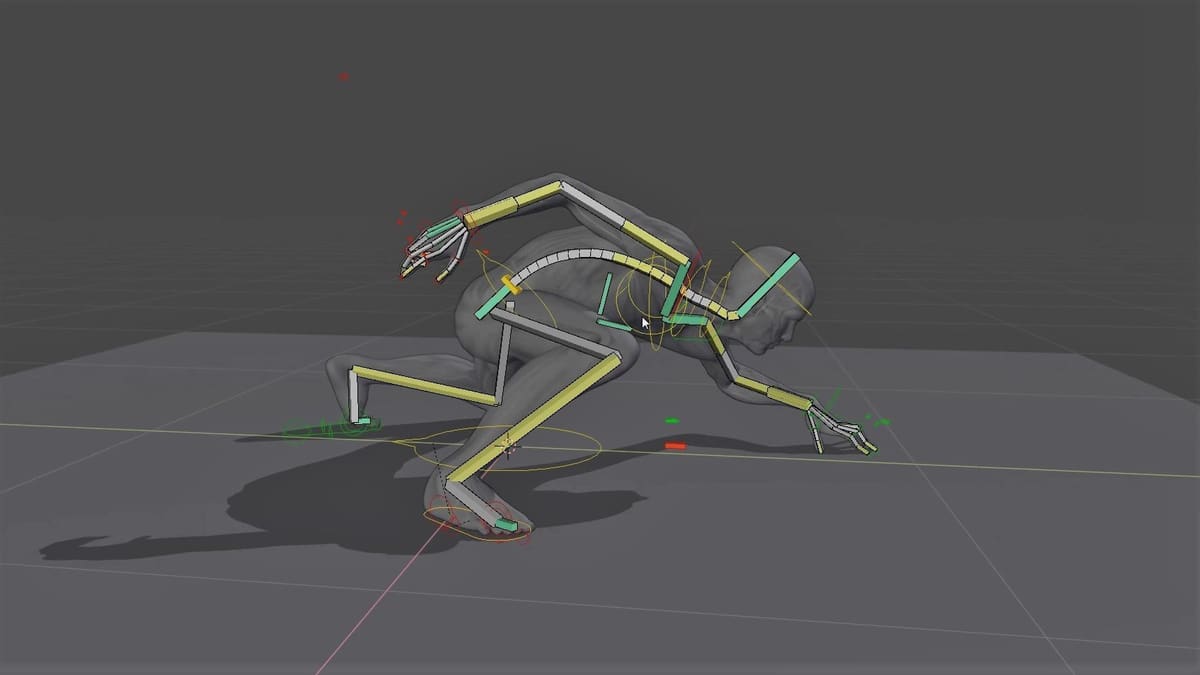
Rigging is needed for animation and physics simulations in Blender, but it’s usually done to be able to animate a model, even a more complex model like a human body. Rigging gives a solid model articulation at certain points in certain ways, usually to simulate a biological skeleton of some kind.
Before starting to rig a model, you’ll need to think about which parts should move in what way. For example, if we had a laptop, the only thing that should be able to move, in this case rotate, is the screen when the laptop is opened or closed.
For a human body, an intermediate knowledge of human anatomy helps if you’re trying to create a realistic model. Otherwise, the actual process of rigging is relatively easy. In the following sections, we’ll guide you on how to rig your own model.
In case you haven’t got a model to try rigging on, grab one you like from our list of best Blender model sites.
Without any further ado, let’s dive into the steps!
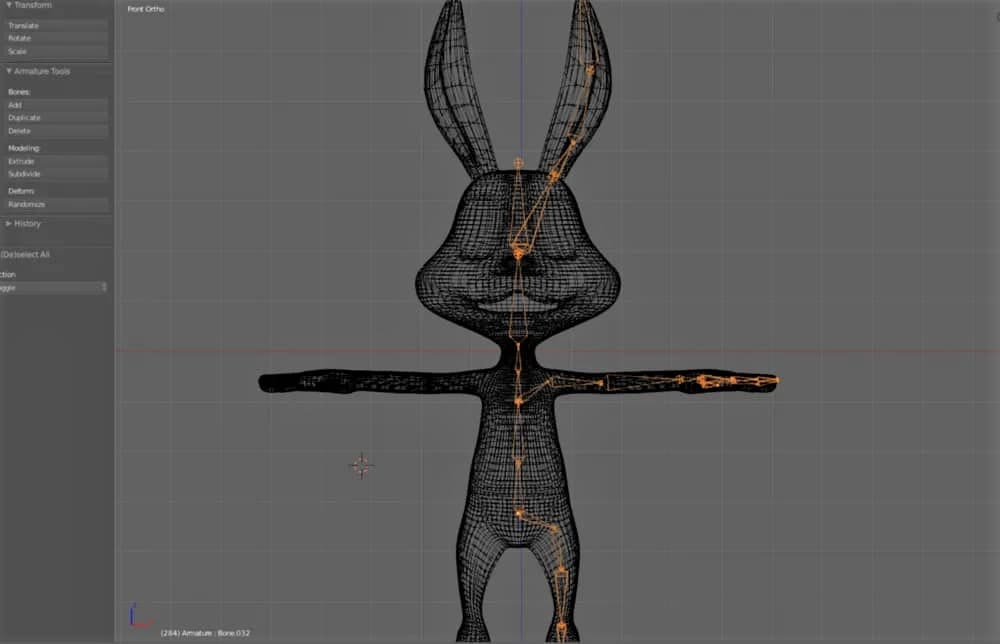
Creating the Armature
With your human model ready, open Blender. Note that we’ll be using Blender 2.8 for this guide, although the steps shouldn’t vary much for previous versions of Blender.
First, we need to create the armature:
- Select the model, then go into Object Mode.
- Press “Ctrl + Numpad 3” to go into a sideways view.
- Select the Wireframe View.
- Press “Shift + A” to add an armature. Congratulations, you now have the core bone for your model!
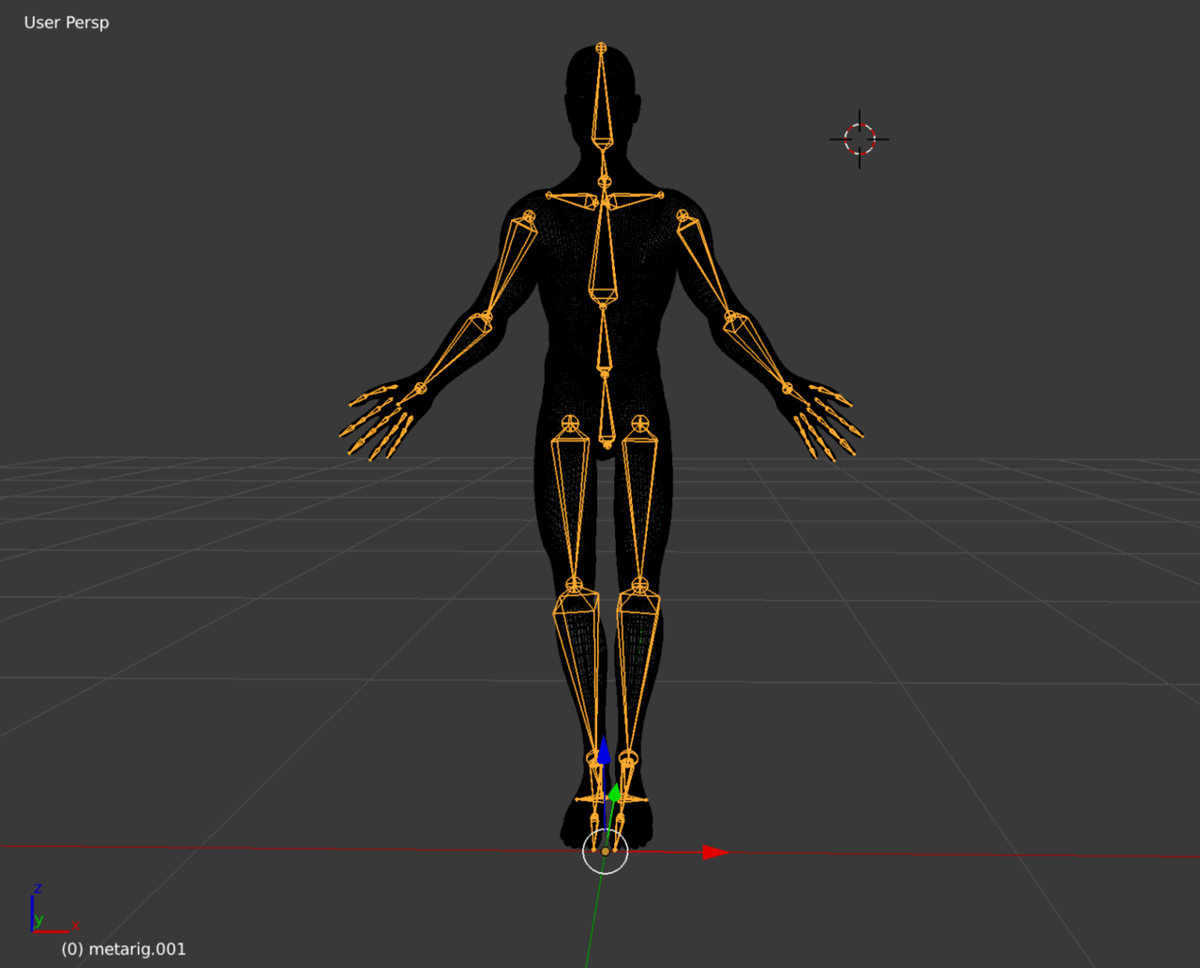
An armature is basically a collection of bones. This is the “base” for all your rigging on this model.
Placing and Adding Bones

With the first bone created, it’s time to place it in the center of our model.
- Go into Edit Mode and select the bone, then move it towards the center. For a human body, this center should be at the pelvis.
- You can move a bone in two different ways. If you select the base, the entire bone moves. Otherwise, selecting the tip moves just that part.
For the next step, we need to create more bones:
- Select the tip of the bone and press “Shift + E”. Upon doing so, a new bone will be extruded from the tip and you’ll be able to position it adjacent to the first bone you made.
- Keep doing this for all the bones in the skeleton of the model. For the human body, you’ll want to go up the rib cage until you reach the neck.
Parenting and Unparenting Bones
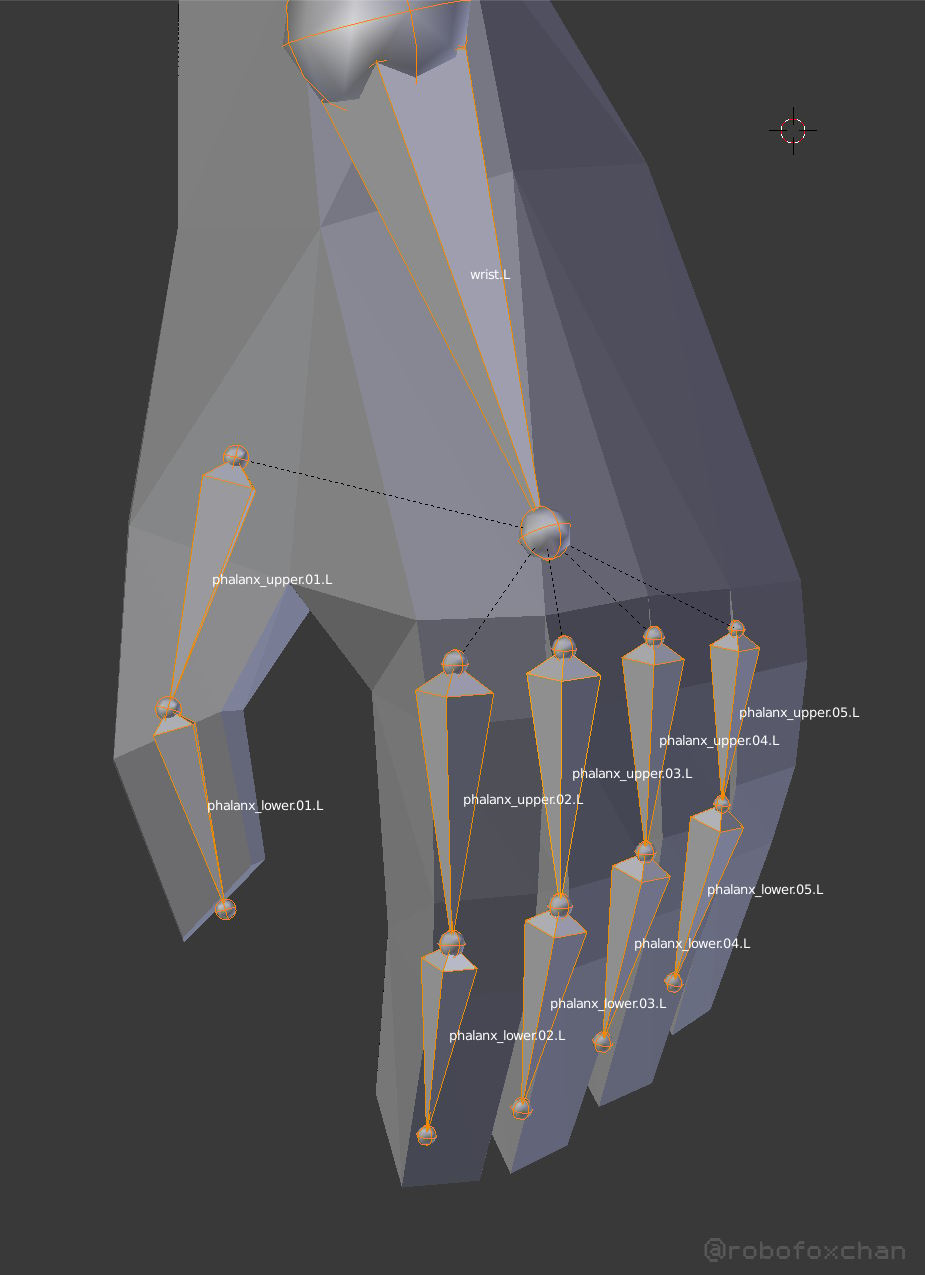
Although we could have an entire rig made out of connected bones, sometimes this is tiring, unnecessary, and impractical. The solution for this is called parenting. Parenting allows you to create an isolated bone and parent it to the main rig, effectively but not physically making it part of the main rig.
This can be especially useful for models where the bones are usually not connected to each other, so you won’t have to create unnecessary bones in between to have them connected.
Parenting a bone is very simple:
- Select the bone you want to act as the parent.
- Click the bone icon in the right menu of Blender. Under the Relations section, you’ll see a box that says “Parent”.
- Click on the empty space in the box and choose the bone which you want to be its “child”.
Unparenting is even easier: Simply go to that same box and delete the current parent bone if there is one.
Mirroring the Bones
For those of you working with very complex but symmetrical models, there’s a quick way to make the bones symmetrical without having to make them from scratch:
- Go to Object Mode and select your skeleton.
- Go into Edit Mode and select the bones you want to mirror.
- Right-click and select “Symmetrize”.
Naming the Bones
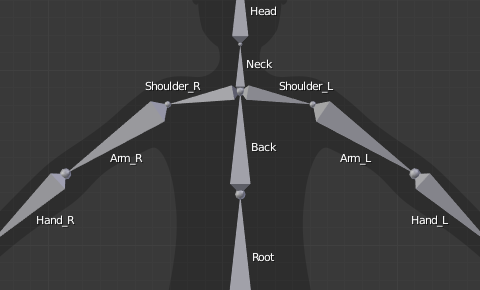
And now for the final step: Naming.
To name or rename a bone, you can simply click on it and adjust the name in the bone menu, located on the right, by default. Name each bone after the place in your model it belongs to. For bones that are mirrored, you’ll want to append “.L” or “.R” to the name to tell Blender which side (left or right) that bone belongs to.
In case you’re just getting started with Blender, you’ll find these Blender 2.8 tutorials helpful.
(Lead image source: Chris Jones / YouTube)
License: The text of "Blender: Rigging – How to Rig a Model in Blender" by All3DP is licensed under a Creative Commons Attribution 4.0 International License.