The Best Blender Tutorials (Most Are Free)

Take your 3D modeling skills to the next level! Check out our picks for the best Blender tutorials – most of them are free.
Blender is a powerful software that has been around for ages. It has quickly risen to the top of many different mediums, both as a tool for hobbyists and professionals alike. It’s used to create stunning animations, motion graphics, video games, and 3D model assets. This kind of versatility comes at the cost of a very overwhelming user experience that can be intimidating for new users. There’s a lot to learn when getting started with Blender, even if you only intend to dive into a small piece of what the software can do.
Blender 4.0 has officially launched, and with it comes a whole new set of tools that new and advanced users can take advantage of to improve their experience with the program. We’ve selected 10 tutorials to help you learn everything from basic controls that you need to navigate through Blender 4.0 to advanced animation techniques and 3D sculpting workflows. These tutorials are straightforward to follow, with many opting for a step-by-step approach so you can keep up with no issues.
If you’re just starting your Blender 4.0 journey, you’ll want to begin with the basic tutorials to use as stepping stones before moving on to any intermediate or advanced content, as the later tutorials will build upon everything introduced in the first few videos. With that said, let’s get you started with your first tutorial!

Absolute Beginner
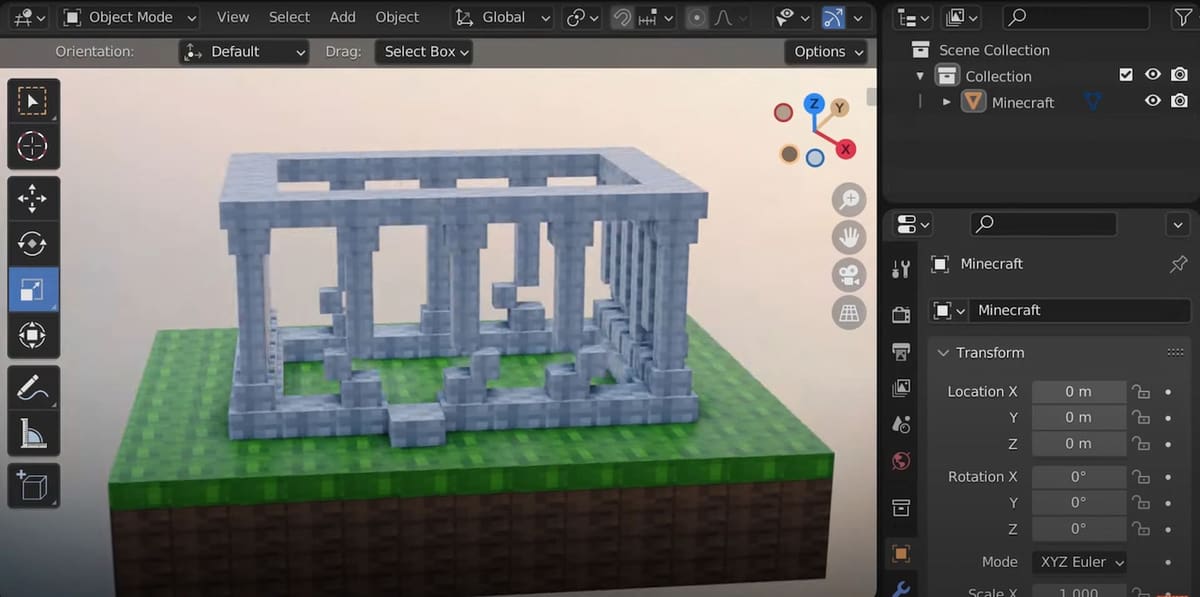
If you’re completely new to Blender 4.0 and aren’t quite sure where to start, CG Fast Track has come out with the perfect tutorial. This three-part series begins with teaching you the basic controls that are required to navigate the interface before helping you work through creating your very first Minecraft-themed project.
Blender can be intimidating software, and this tutorial series does a great job of explaining all of the different tabs and tools before diving into the few that you’ll actually need for your first project. The video introduces minimal hotkeys in favor of simple menu navigation to not overwhelm beginners. The first video in the series will have you construct a very simple scene and learn how to use the Shader tab to add materials and textures to your objects before finally adding a simple animation and rendering your project.
- Price: Free
- Difficulty level: Beginner
- Length: Three-part series with about 4 hours of instruction
- Tutorial: CG Fast Track via YouTube
Comprehensive Beginner
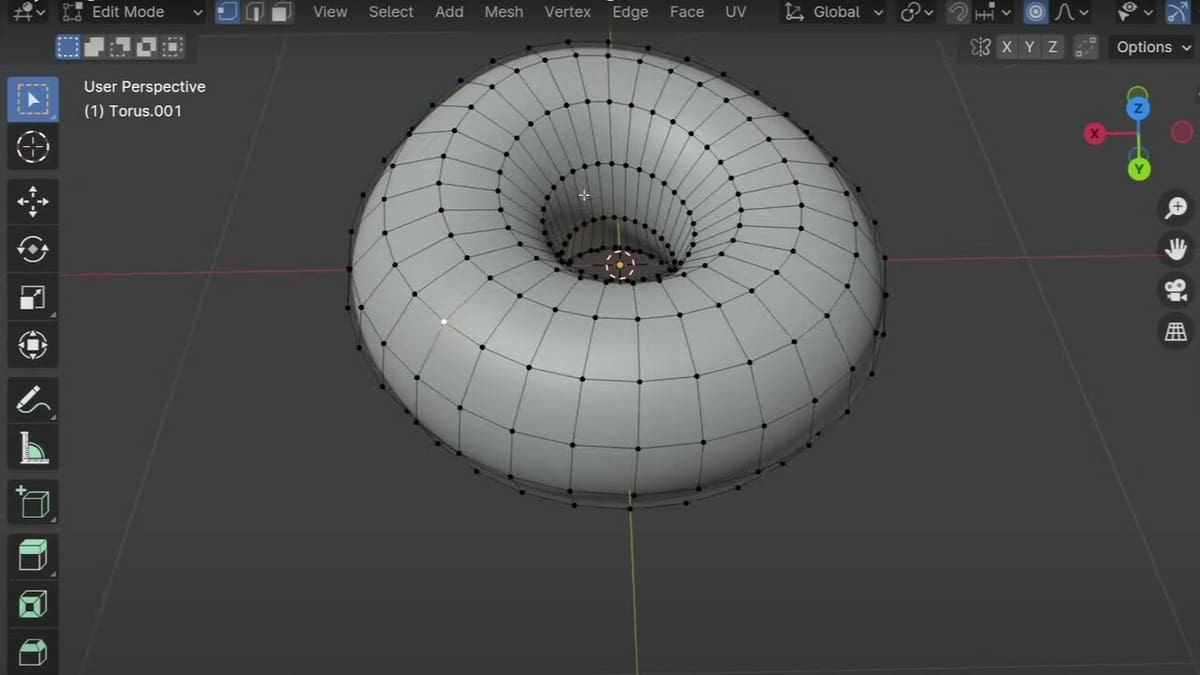
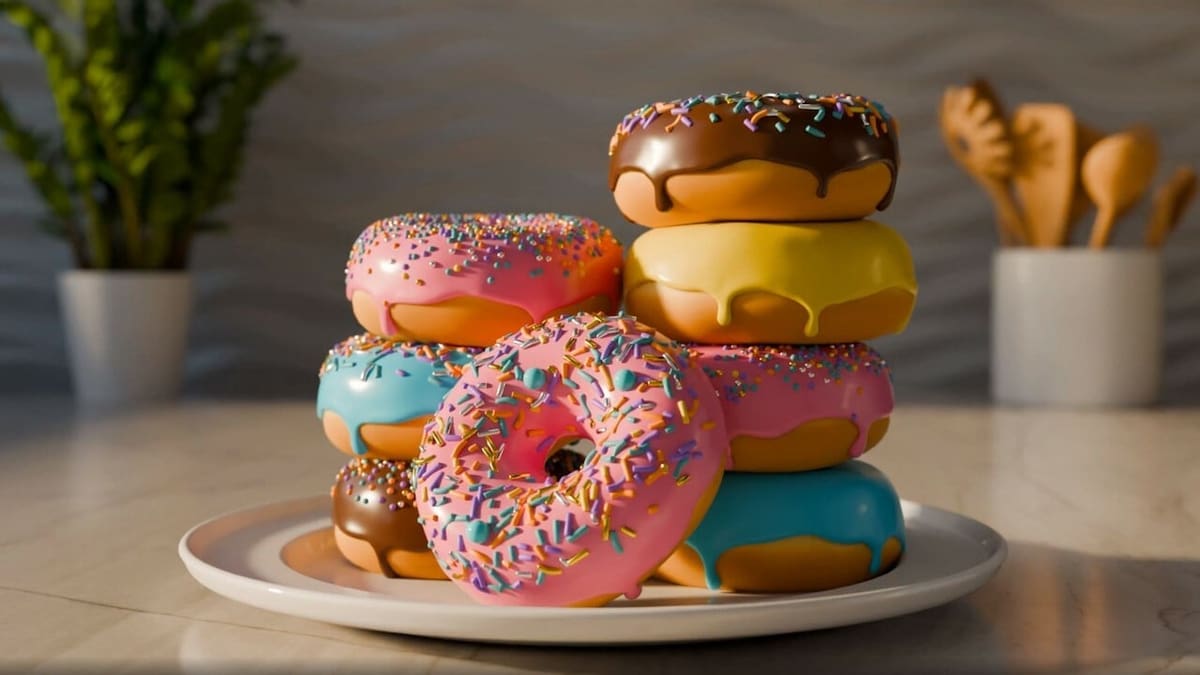
Ask anyone who has gone through the process of learning Blender where they started, and they’ll almost surely say that one of the first tutorial series they followed was the donut tutorial. Blender Guru has updated this tutorial series yet again to keep up with all of the changes made in Blender 4.0, and it continues to act as both the perfect introductory point for beginners as well as a great series to follow along should you want a more in-depth guide for your first project.
This series starts off simple and builds upon itself quickly until you are confidently modeling, sculpting, and rendering your very own donut. You can go through the series in order, though each part is good enough as its own little deep dive into a specific topic that you can always come back to if you ever need a refresher.
- Price: Free
- Difficulty level: Beginner
- Length: 14-part series totaling around 5 hours
- Tutorial: Blender Guru via YouTube
Light & Shadow Linking
Whether you plan on animating, rendering a single object, or creating scenery using Blender, you’ll want to know how to properly light your scene. Many tutorials touch on lighting briefly, but this tutorial goes into specifics on Light Linking, one of the newest additions to Blender 4.0. Ryan King Art has made a great video to explain how it works.
This new feature allows you to selectively choose which objects in your scene are affected by your lights, creating a ton of variety and customizability in the way you can approach lighting your scenes. You’ll learn how to use Light Linking and Shadow Linking to make the most of your next project.
- Price: Free
- Difficulty level: Beginner
- Length: 5 minutes
- Tutorial: Ryan King Art via YouTube
Sculpting
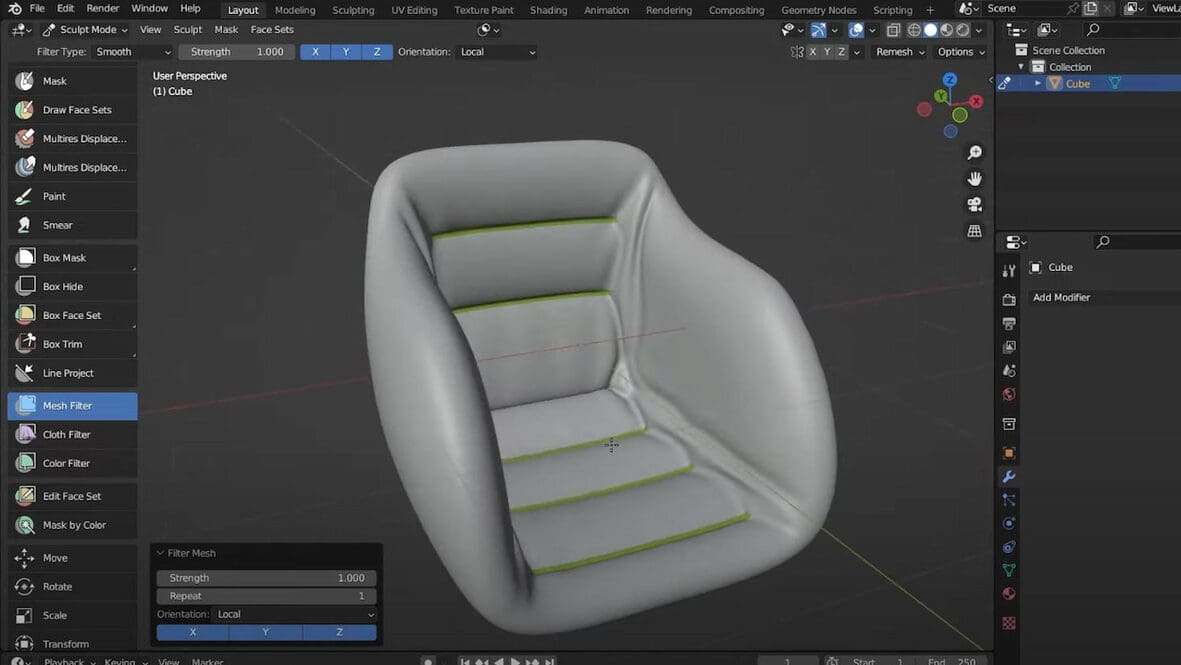
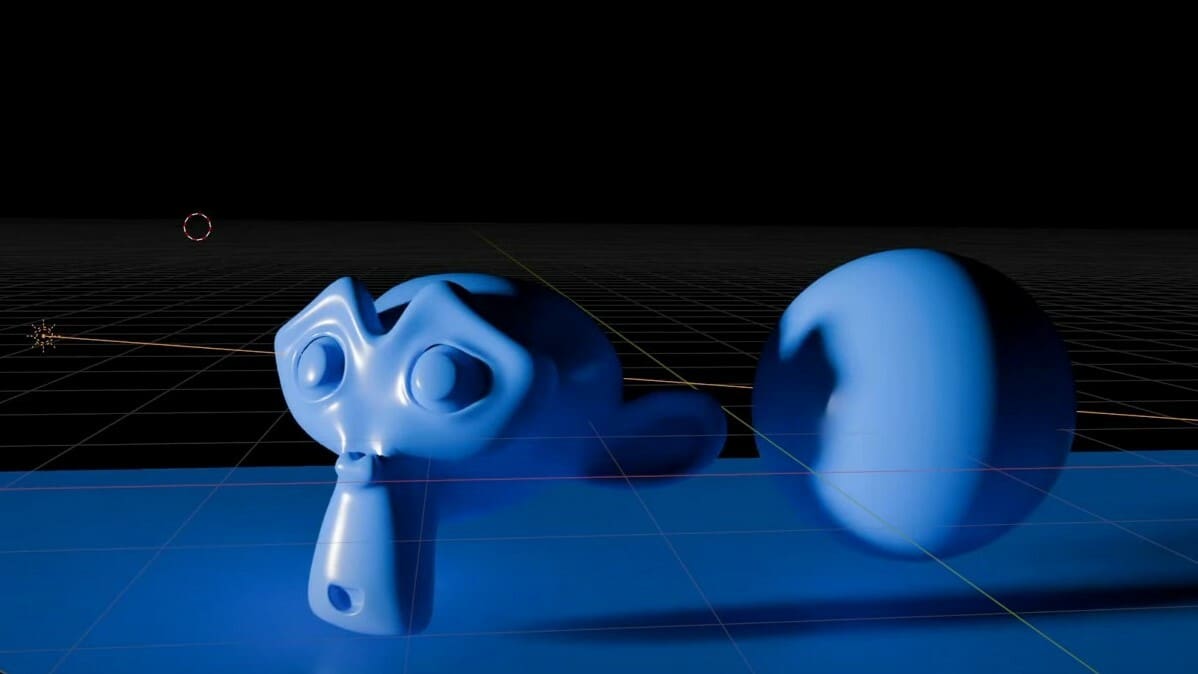
Sculpting is needed if you ever plan on creating a more organic shape in Blender that just isn’t possible with basic mesh editing. It’s also a necessity if you’re interested in creating detailed characters with realistic features. MK Graphics‘ sculpting tutorial for beginners is a great place to start.
This quick video will go over the Sculpt Mode tab and teach you all of the basic controls you need to begin sculpting. It covers brush settings, symmetrical sculpting, and how to use dynamic topology to maintain consistent detail while sculpting. If you’re interested in continuing with more advanced tutorials after finishing this one, MK Graphics has plenty of great tutorials on sculpting.
- Price: Free
- Difficulty level: Beginner, intermediate
- Length: 18 minutes
- Tutorial: MK Graphics via YouTube
Animation
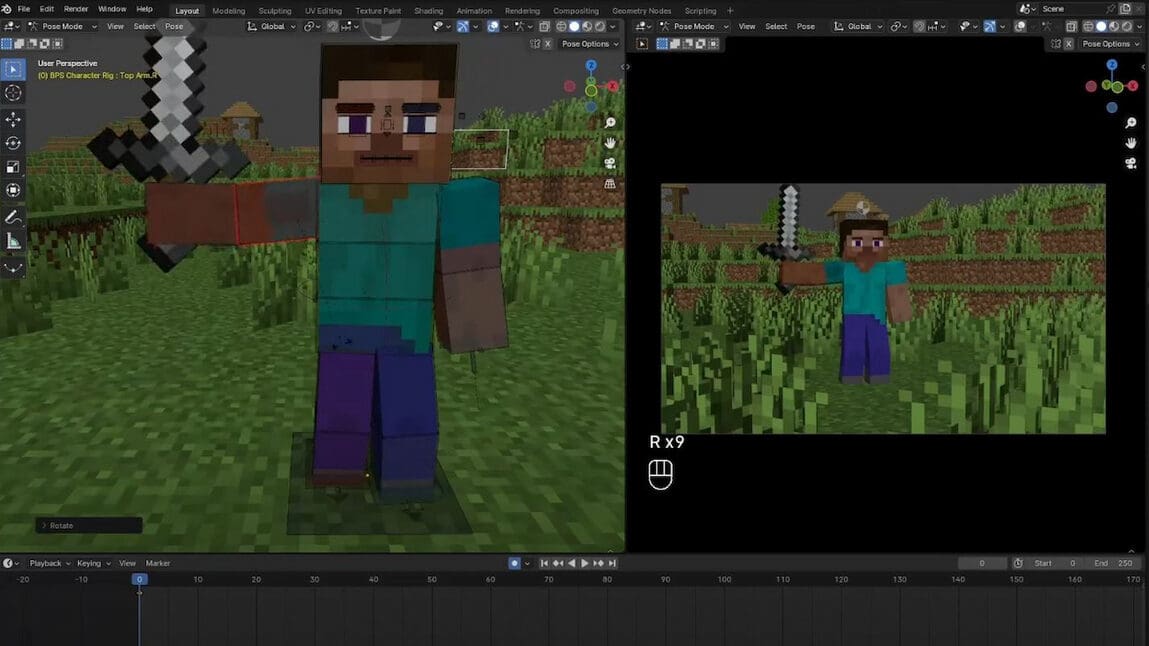
After you’ve created some of your own projects, you’ll eventually want to look into animating your models. This is a much easier process than it might seem, and Woodplank’s Minecraft animation tutorial series is a great place to start.
This series is geared toward new users who are only interested in learning the animation side of Blender 4.0, rather than in-depth 3D modeling capabilities. It begins with Blender basics, before introducing you to lighting and composition before getting into the process of actually animating your characters. The series ends with some helpful tips on getting a good render out of your new animation that you can show off to your friends.
- Price: Free
- Difficulty levels: Beginner, intermediate
- Length: Five-part series with a little over 3 hours of content
- Tutorial: Woodplank via YouTube
Rigging Characters
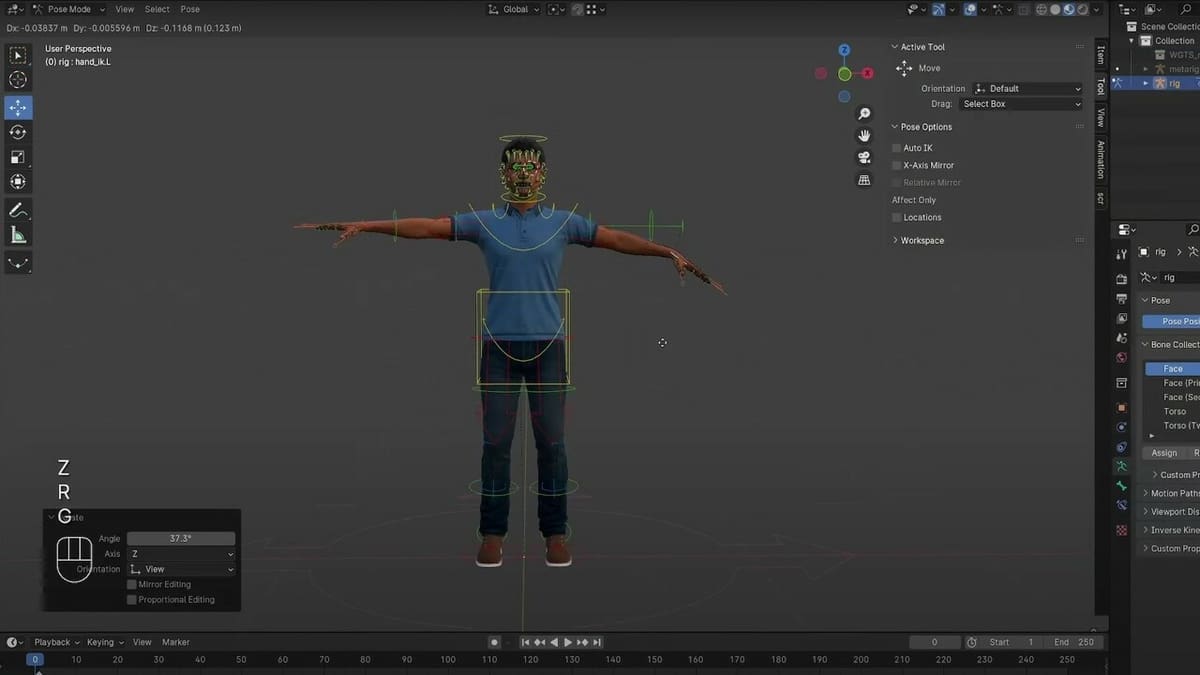
Rigging a model in Blender is the act of creating a skeleton that you can manipulate, allowing you to pose and create animations with your characters. Rigify is one of the most popular add-ons for Blender, and it makes this process very simple.
CGDive has created an updated tutorial series for Blender 4.0 that begins with the basics of Rigify, then dives into advanced uses for non-human characters. The process of rigging is explained in a way that beginners can understand and implement into their own projects. Further along the series, you’ll learn advanced techniques for rigging faces and even animals.
- Price: Free, with early access to new videos available for ~$4
- Difficulty level: Intermediate
- Length: Six-part series spanning about 3 hours
- Tutorial: CGDive via YouTube
Cozy Cabin Follow Along
Small follow-along projects are an important part of learning Blender, as you have a clear reference of how your project should look when something goes wrong. Plus, you’ll end up with another finished project to add to your collection.
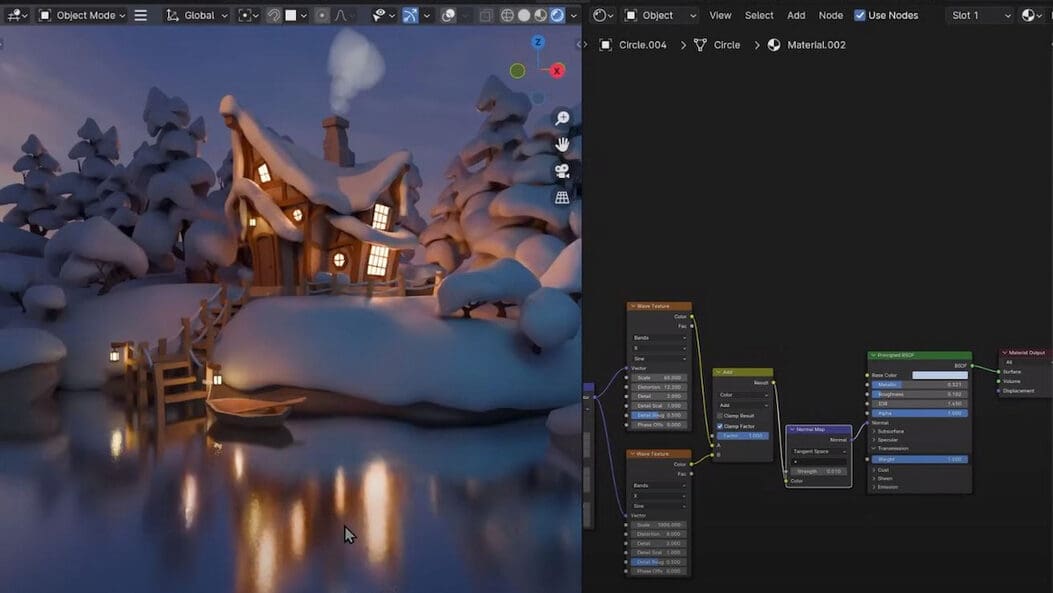
This video from Grant Abbitt is a follow-along tutorial that will have you creating a snowy cabin in the woods. A link to the finished project is included in the description so new users can compare it with their own project should they have trouble with a certain step.
You’ll be using intermediate modeling and sculpting techniques that lead up to texturing and basic lighting. You’ll also learn how to use nodes to make the most out of your rendering process.
- Price: Free
- Difficulty level: Intermediate
- Length: 30 minutes
- Tutorial: Grant Abbitt via YouTube
Motion Graphics
Blender 4.0 is massive software capable of creating many different projects. Motion graphics are just one of the many things that you can do with the software. Ducky 3D has created many great tutorials on the topic and has recently come out with a complete Intro To Motion Graphics Blender course.
In this course, you’ll be introduced to the basic concepts of motion graphics, such as the use of geometry nodes and keyframing animations, before moving on to advanced techniques, including procedural pattern creation and camera effects. The series has also been updated to include any changes made to the workflow in Blender 4.0. This is a paid course, but if you’re looking for free tutorials on motion graphics, be sure to visit Ducky 3D’s YouTube channel.
- Price: ~$60 for the whole course
- Difficulty levels: Intermediate, advanced
- Length: 14-part course with 7 hours of instruction
- Tutorial: Ducky 3D via Blender Market
Character Modeling Workflow

If you play around with a model long enough, you’ll usually end up with something that you like, albeit after much trial and error. Having a good workflow is an important part of modeling efficiently inside Blender 4.0. Grant Abbitt thoroughly explains his entire process of building a good project workflow in this character modeling tutorial.
While this tutorial isn’t exactly meant to be a follow-along, you can definitely do so if you so choose; you’ll just need to have a good understanding of the sculpting tools in order to keep up. The key takeaways will be proper preparation with reference images and “blocking out” your character to give you a good idea of the overall shape before beginning to add any detail to the model. This will reduce the amount of work that you have to redo simply because you didn’t plan ahead.
- Price: Free
- Difficulty levels: Intermediate, advanced
- Length: 9 minutes
- Tutorial: Grant Abbitt via YouTube
Low-Poly Landscape Modeling
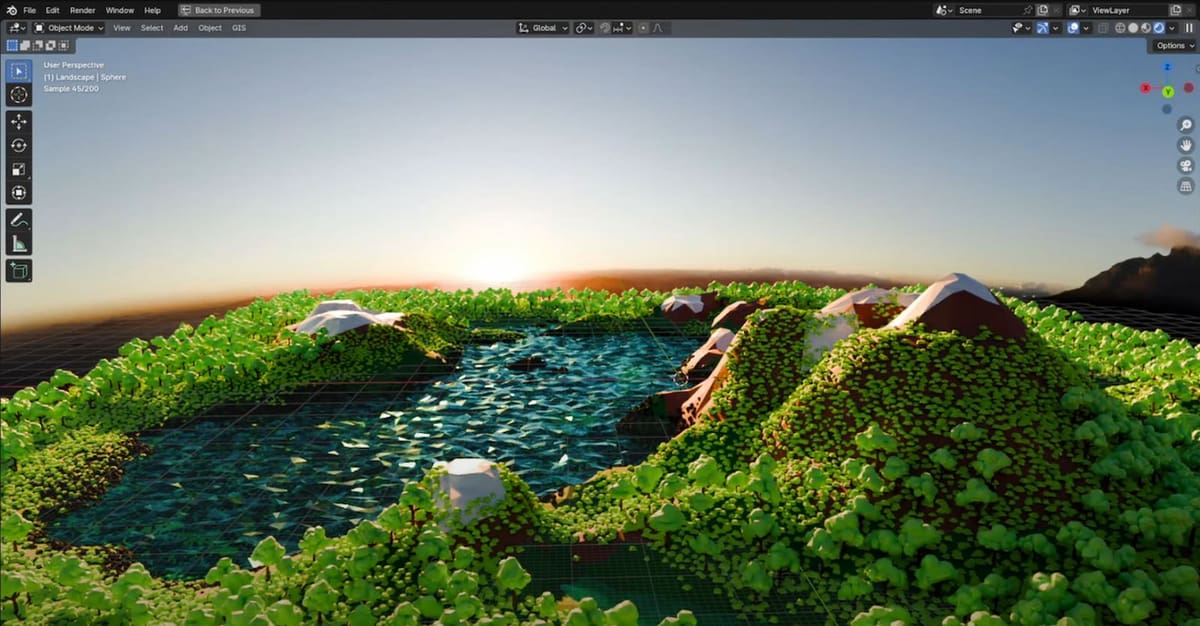
Low-poly modeling is an essential skill for projects that require a minimal amount of polygons, such as video game creation and efficient animation rendering. This tutorial by Malikose Studio shows one of the many ways that you can create an entire landscape using low poly techniques.
You can follow along with your own assets if you wish or check out Malikose Studio’s Low Poly Tree and Low Poly Grass tutorials before continuing the landscape tutorial. All three of these videos focus on getting a stylistic model with as few polygons as possible to use inside of your landscape scene. To add life to your landscape, you’ll learn how to use different nodes and modifiers to procedurally place your assets around your scene.
- Price: Free
- Difficulty level: Advanced
- Length: 18 minutes
- Tutorial: Malikose Studio via YouTube
License: The text of "The Best Blender Tutorials (Most Are Free)" by All3DP is licensed under a Creative Commons Attribution 4.0 International License.