How to Back Up a Raspberry Pi SD Card: The Best Ways

Don't lose all of your data! Learn how to clone a Raspberry Pi SD card and avoid disaster with backups of your files.
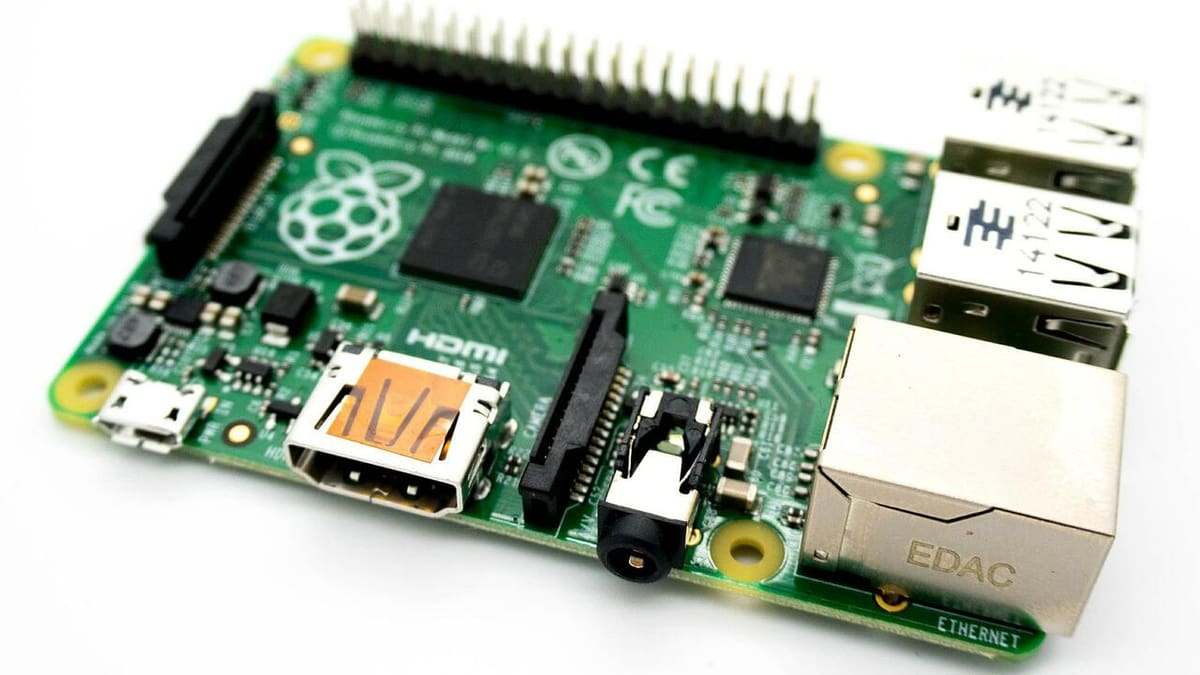
Keeping your Raspberry Pi in tip-top condition should be a priority, and luckily, it can be easily done with regular firmware updates and backups. For most Raspberry Pi users, the MicroSD card is the hard drive of their Raspberry Pi. As with any other computer with a hard drive, if the drive dies or gets corrupted, all of that data is lost.
MicroSD cards can occasionally fail or get corrupted. Since we’d rather be safe than sorry, we’ll show you how you can backup your Raspberry Pi’s hard drive.
All About Backups
A backup, in this context, is an exact copy of the entire Raspberry Pi MicroSD card – a process also known as cloning the MicroSD card. The actual backup is stored as an optical disc image file (.iso) of the entire MicroSD card’s contents, which exactly duplicates the operating system, all installed programs, user documents, and user settings from the time of the backup. Complete backups can be stored on either an additional MicroSD card or on an alternative storage medium, such as a PC’s hard drive, NAS, or cloud storage.
Because MicroSD cards can be corrupted or otherwise fail, including the one we created as a safety copy, keeping an .iso file on a different PC, cloud drive, or NAS is the safest option with regard to data security. There is one caveat, however. If the MicroSD cards we use are of a different make and model, the resulting copy may not work, due to subtle differences in sector sizes.
SD Cards 101
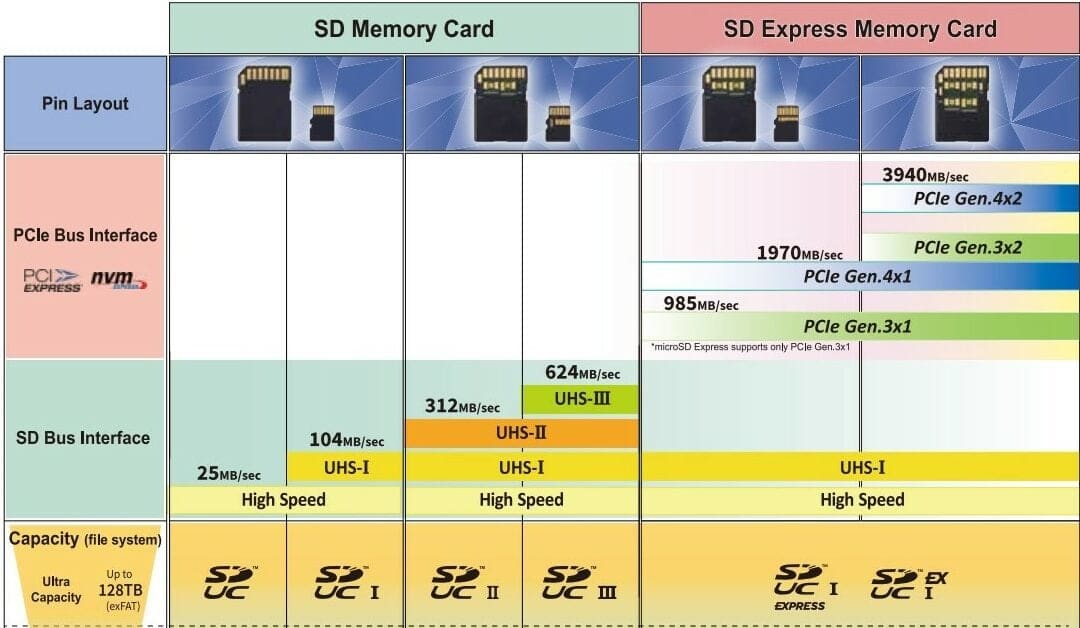
There’s a confusing array of SD cards on the market. Fortunately, the SD Association offers information for all standards, classifications, applications, and labeling for all SD cards (including MicroSD cards).
The following are important for Raspberry Pis:
- Form factor: This is usually MicroSD; only the very first boards used a full-size SD card.
- Capacity: The Raspberry Pi Foundation currently recommends 8-GB capacity or greater when running the full Raspberry Pi OS.
- Bus speed: The faster the SD card, the faster the Raspberry Pi can boot from or access it.
- Pin layout: SD cards with two rows of contacts are incompatible with your Raspberry Pi.
In general, we also recommend that you choose a reliable well-known brand instead of an unknown cheap product.
When creating a backup, the safest option is to make sure you’re using the same brand, capacity, and classification as the card you’ll be copying. This will minimize the likelihood of errors.
In the following, we concentrate on using simple, user-friendly ways of creating backups. That is, we’ll be using only graphic user interfaces (GUIs), instead of command-line applications to back up your Raspberry Pi to a MicroSD card.
What You'll Need
Below, we’ll walk you step by step through backing up your Raspberry Pi with Raspberry Pi OS, Windows, and MacOS. These are some of the materials and software you’ll need to get started.
Materials
- Your Raspberry Pi with a desktop GUI, attached screen, keyboard, and mouse. It should also already have the main MicroSD card plugged into the MicroSD card slot acting as its hard drive.
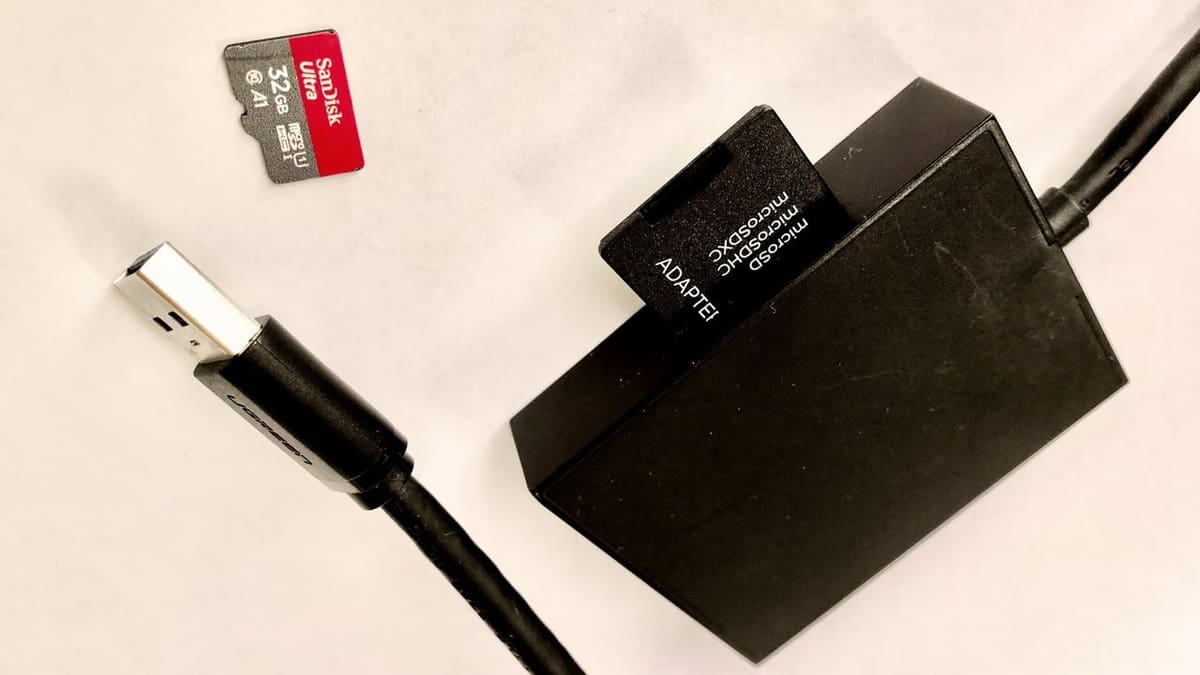
- A MicroSD card reader with a USB connection (for PCs, most built-in readers are fine).
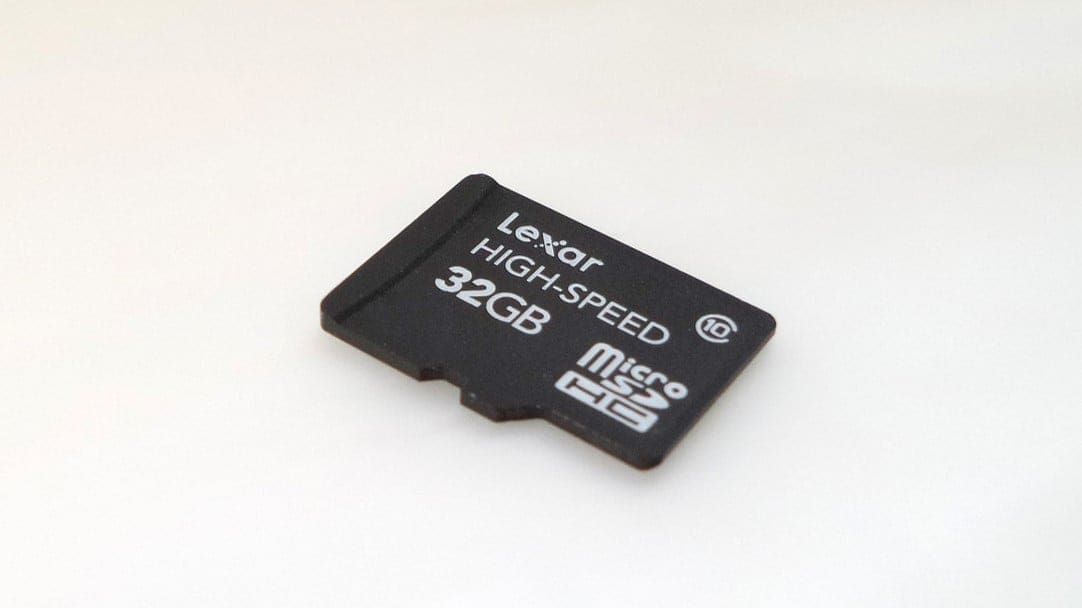
- A second MicroSD card for copying to (preferably identical make and model to the existing one).
- A computer running MacOS or Windows for copying the MicroSD card.
Software
- Raspberry Pi: SD Card Copier (usually pre-installed with the Raspberry Pi OS)
- Windows: Win32DiskImager
- Mac: Disc Utility & BalenaEtcher
Raspberry Pi OS
Below, we’ll show you how to clone the Raspberry Pi’s MicroSD card using the Raspberry Pi OS.
Step 1
- Insert the new MicroSD card into the USB adapter, then insert the adapter into one of the Raspberry Pi’s USB ports.
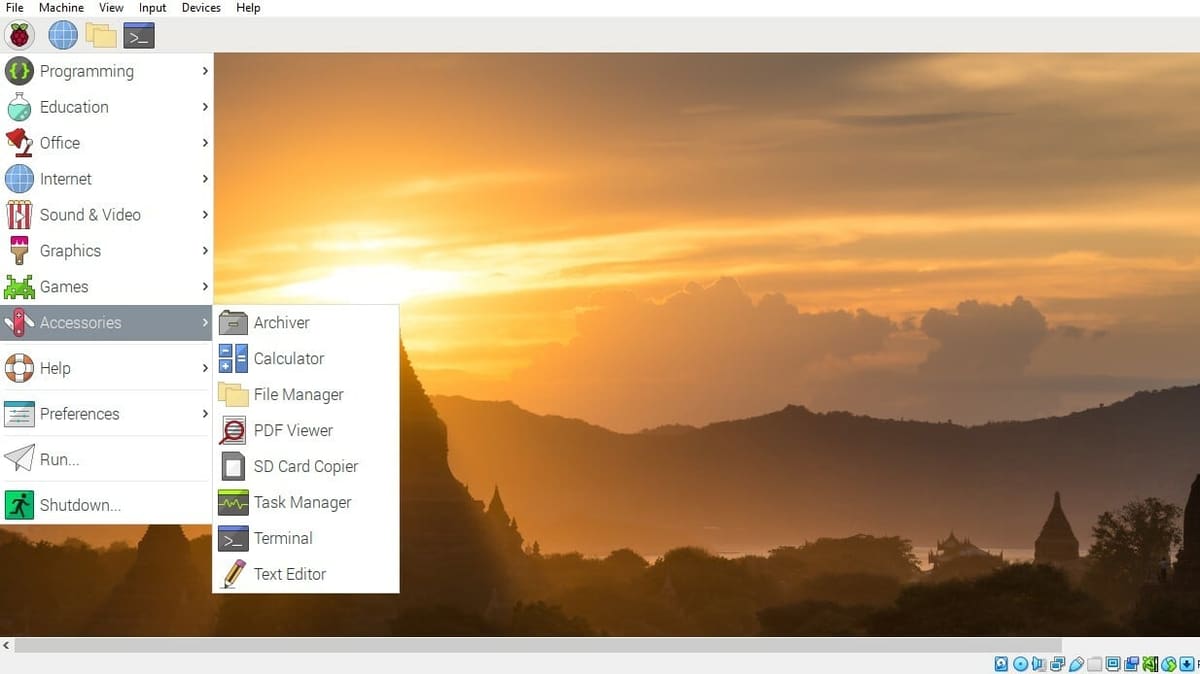
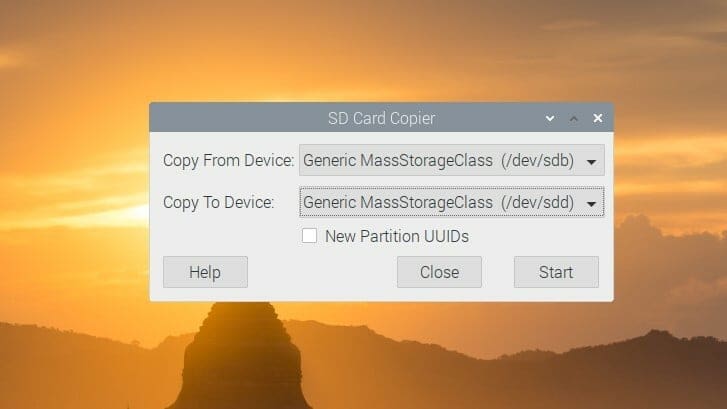
- From your Raspberry Pi’s desktop, go to Accessories and open the SD Card Copier utility.
- Select the main MicroSD card in the “Copy from Device” dropdown menu.
- Select your new MicroSD card in the “Copy to Device” dropdown menu.
- Leave the New Partition box unchecked!
- Click Start.
- Confirm the warning prompt.
At this point, your files should be copied over from the main SD card to your new one. When it’s done, we can move on to the next step.
Step 2
- When the process has finished, safely power down the Raspberry Pi.
- Carefully remove the old MicroSD card from your Raspberry Pi.
- Remove the new MicroSD card from your USB card adapter, then insert it into your Raspberry Pi’s MicroSD card slot.
- Power on the Raspberry Pi.
If it boots up correctly and all your files are where they should be… well done, you made a working backup copy!
Tip
A general warning: Safely power down the Raspberry Pi before removing the MicroSD card! Failure to do so can irreparably corrupt the MicroSD card.
Windows
Below, we’ll show you how to back up the Raspberry Pi MicroSD card using Windows.
Step 1
- Power down the Raspberry Pi, then safely remove the main MicroSD card.
- If Win32DiskImager isn’t already installed, do it now.
- Insert the main MicroSD card into your SD card reader for your PC and take note of the assigned drive letter.
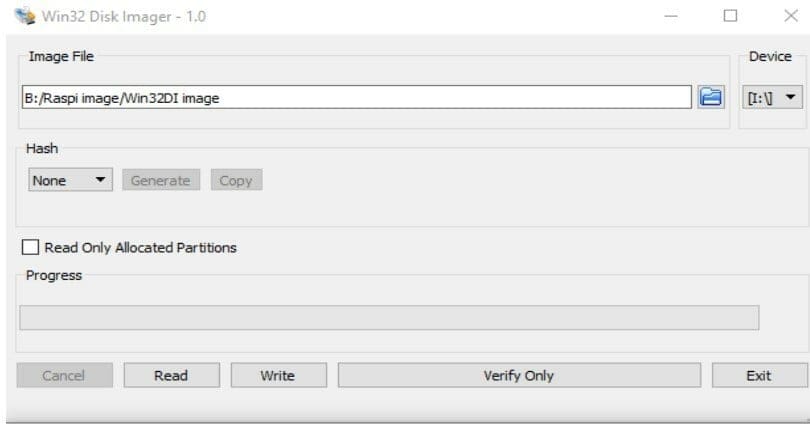
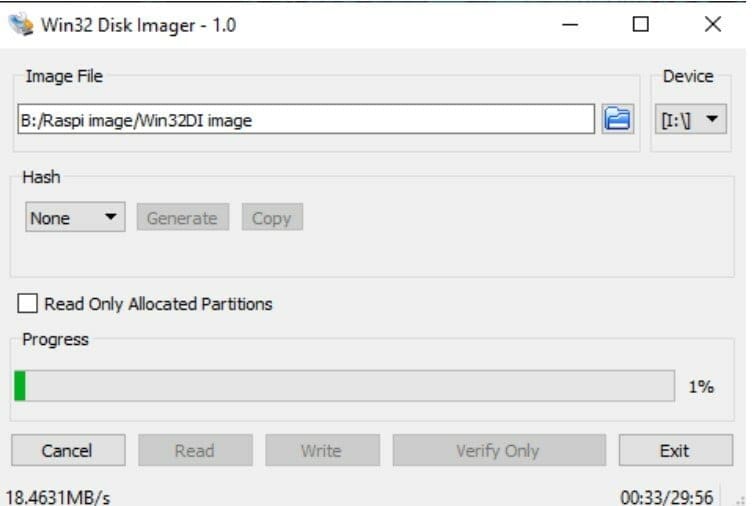
- Open Win32DiskImager, and you’ll see that the GUI has an empty text box with a folder symbol next to it, labeled “Image File”. On the right will be a dropdown menu with the drive letter, labeled “Device”.
- Select the correct drive letter for your MicroSD device from step 3.
- Click on the folder symbol and navigate to the save location of your choice. Select it by clicking Open. Here, you can also give a name to the .iso file you’ll be creating.
Step 2
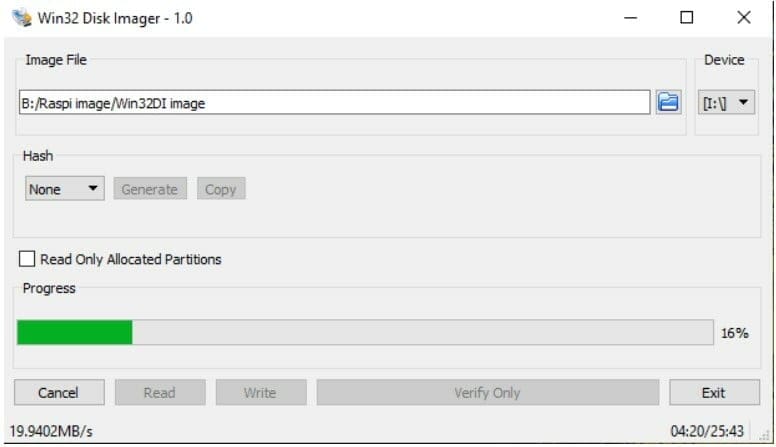
Next, click on the Read button. The complete drive will now be saved to the chosen destination, which includes the boot record too. The backup operation is finished as soon as the progress bar reaches 100%.
A backup is only as good as its ability to be restored. In this case, it means successfully creating a bootable MicroSD card. In the next steps, we’ll explain how we can make sure the backup is working as it should.
Tip
Win32DiskImager is occasionally suffering from some launch problems in Windows 10. Users have reported interference with other programs that are competing for access to the drives being used. The simplicity of the program and the fact that it works makes up for these shortcomings.
We found that disabling programs such as Google Drive and launching Win32DiskImager soon after restarting your PC solves the problem. We used Win32DiskImager for our backup, but we could also use BalenaEtcher, which is available for Linux, MacOS, and Windows. The process for using BalenaEtcher is explained in our instructions for creating backups on a Mac.
Step 3
- Eject the main MicroSD card we just backed up.
- Insert the new MicroSD card.
- Navigate to the location of your backed-up .iso file.
- Choose the new MicroSD card as your destination.
- Click Write.
- Confirm the warning prompt.
Step 4

- Once the program has finished, eject the (new) MicroSD card.
- Insert the ejected (new) MicroSD card into your Raspberry Pi.
- Check if the Raspberry Pi boots correctly and that all of your programs have been restored.
Congratulations! You now have a stored image of a working MicroSD card on your computer and cloned a MicroSD card!
MacOS
Below, we’ll show you how to back up the Raspberry Pi MicroSD card using MacOS.
Step 1
- Power down the Raspberry Pi, then safely remove the main MicroSD card.
- Insert the main MicroSD card into the computer’s SD card reader.
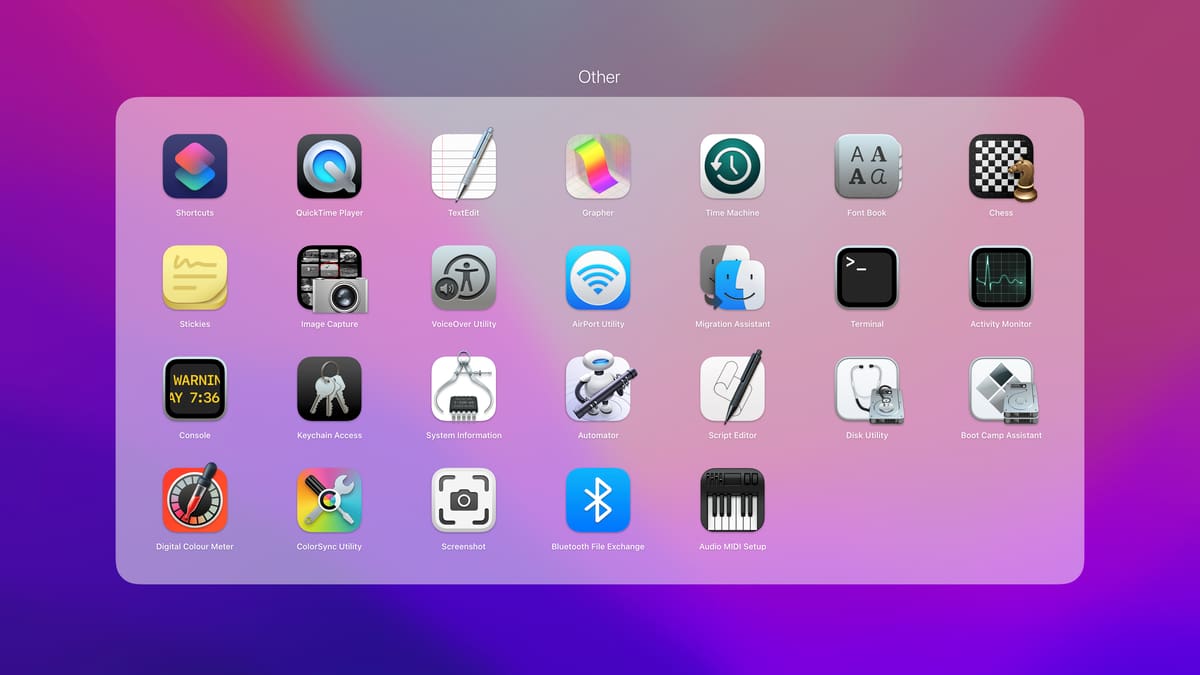
- Navigate to Disk Utility via Launchpad, then Other. (You can also find it by looking for “Disk Utility” via a Spotlight Search.)
Step 2
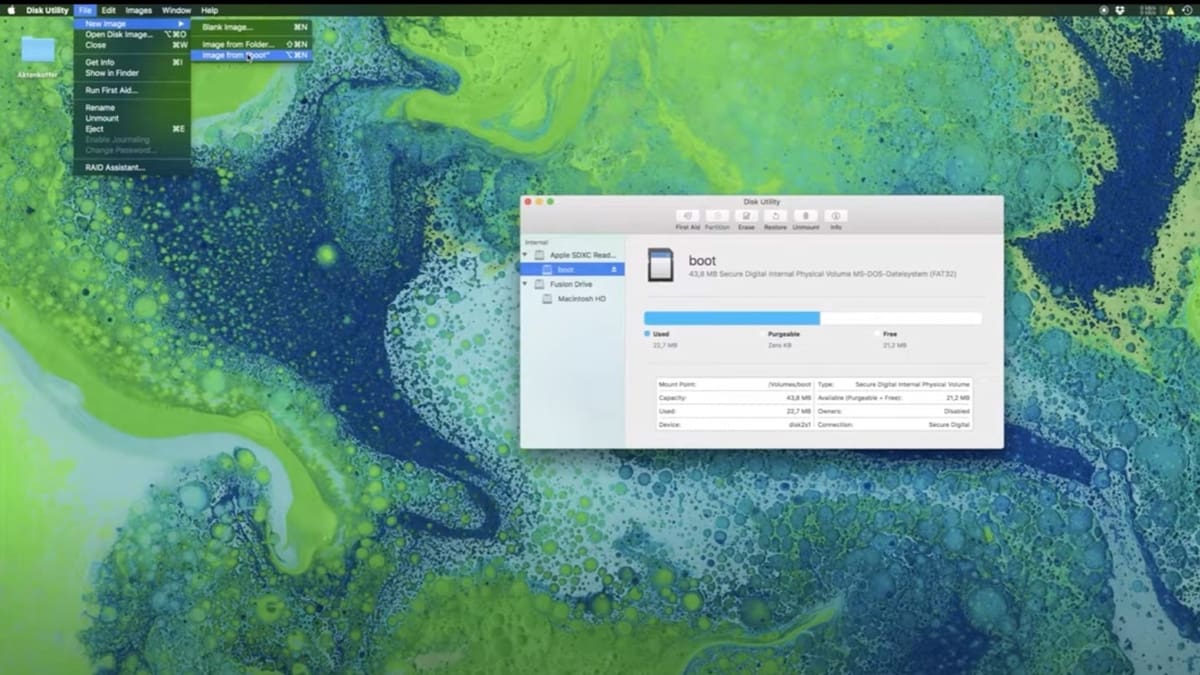
- From the File tab, choose “New Image” and choose the relevant card reader.
- In the prompt that opens up, name your backup, decide where to back up to, and don’t choose encryption.
- Leave everything else as default and click Save.
- Fill in the Security prompt, then click OK.
Step 3
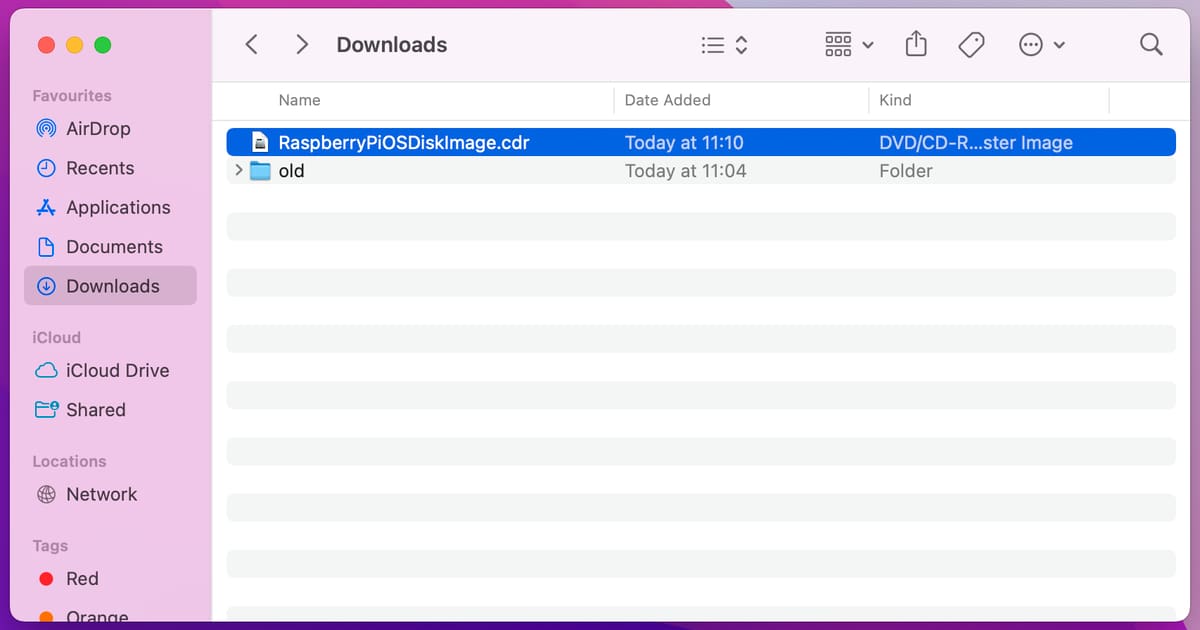
- Navigate to the file location we chose in Step 2.
- Rename the file extension from “.cdr” to “.iso”.
- Your backup is done!
Step 4
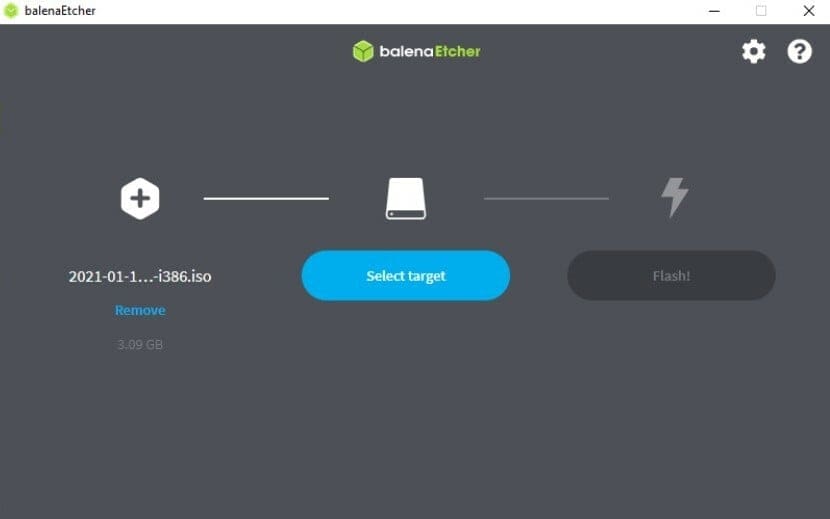
A backup image alone is useless if we cannot use it to restore function to the backed-up machine.
- Install Etcher.
- Insert the new MicroSD card into the card reader.
- Open Etcher.
- Choose “Flash from File” and point to the backup file we created.
- Select the target (the new MicroSD card).
- Click Flash.
- Complete the Security Prompt, then click OK.
- Once complete, eject the MicroSD card.
- Repeat the actions in Step 4 of the Windows section above to make sure the cloned MicroSD card works correctly.