Anet A8 Firmware: Which to Choose & How to Change It

The saying goes, "If it ain't broke, don't fix it." Does that apply to the old Anet A8 firmware? Should you "mess" with the new firmware? We say yes, and for good reason.
Firmware Basics
What is firmware in the first place? Well, that’s the code that makes your printer “alive”. You can think of firmware simply as “software for hardware.” Devices that you might think of as strictly hardware, such as optical drives, a network card, a router, a camera, a scanner, or a 3D printer, all have software that is programmed into a special memory contained in the hardware itself. Firmware is typically stored in the flash ROM (read-only memory) of a hardware device. However, it can be erased and rewritten.
In short, firmware is software that controls the behavior of your 3D printer.
So you may be thinking, how much do you actually want to mess with this? This is the question many Anet A8 owners have been asking lately. So we decided to weigh in.
The Anet A8 Firmware
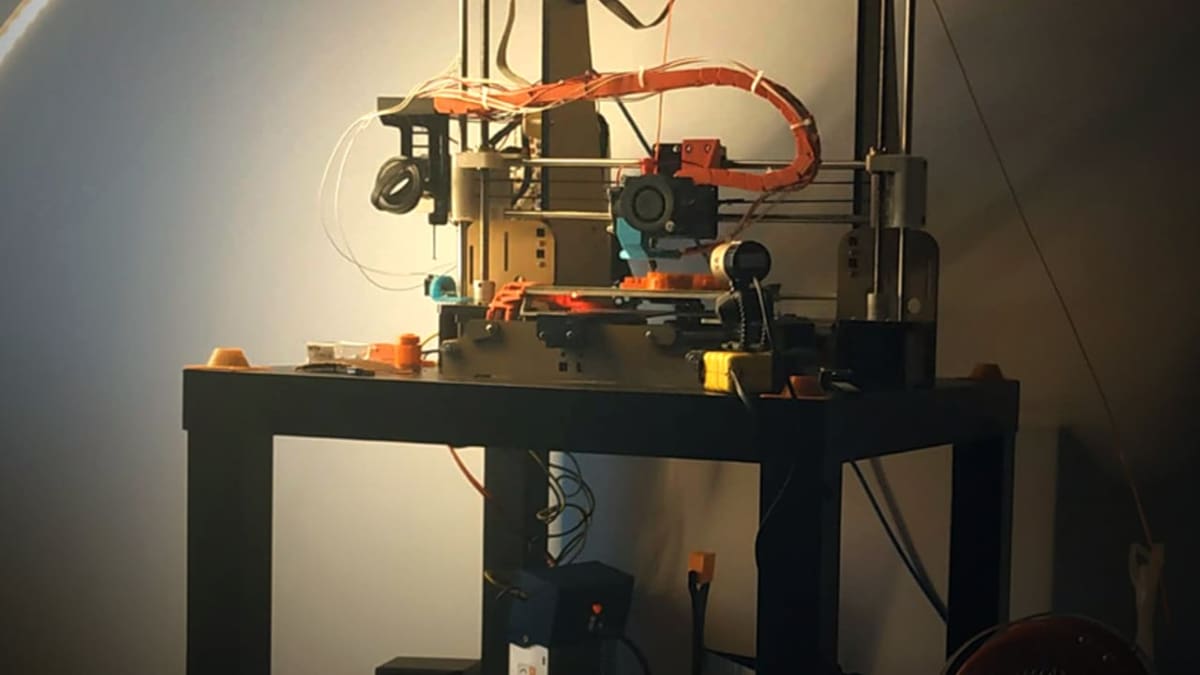
The Anet A8 is a very popular 3D printer, being both affordable and customizable, two fantastic selling points. With it being open source, there are many modifications and upgrades out there to make the 3D printer exactly as you want it. And this extends to the Anet A8 firmware.
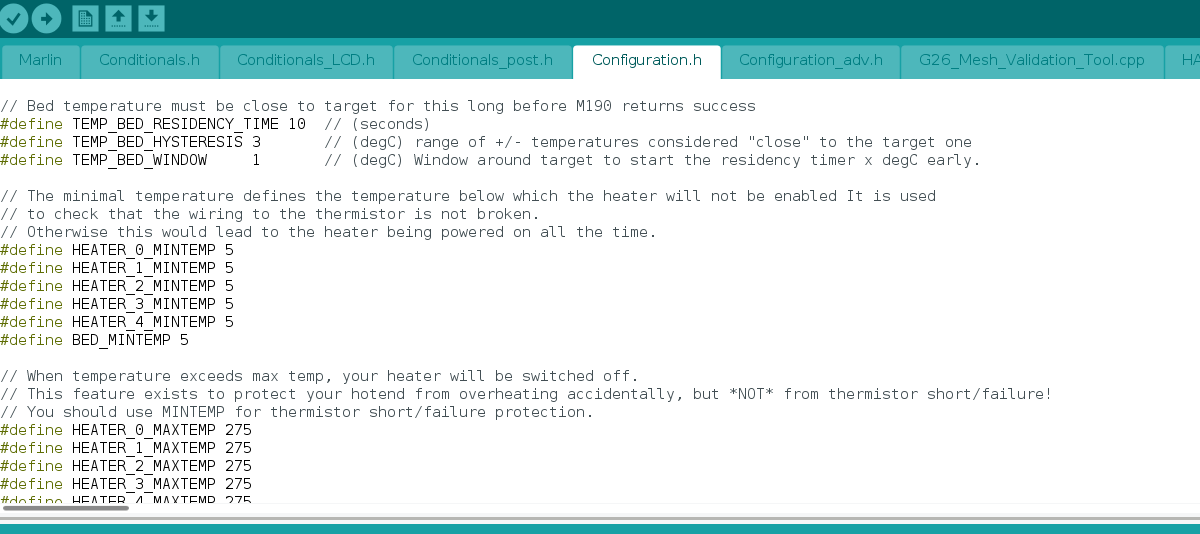
The firmware of the Anet A8 is based on Marlin. The manufacturer usually ships this 3D printer with an outdated version of Marlin’s firmware. Your 3D printer will work just fine, but one of the most important features is missing: a security check on the heating elements.
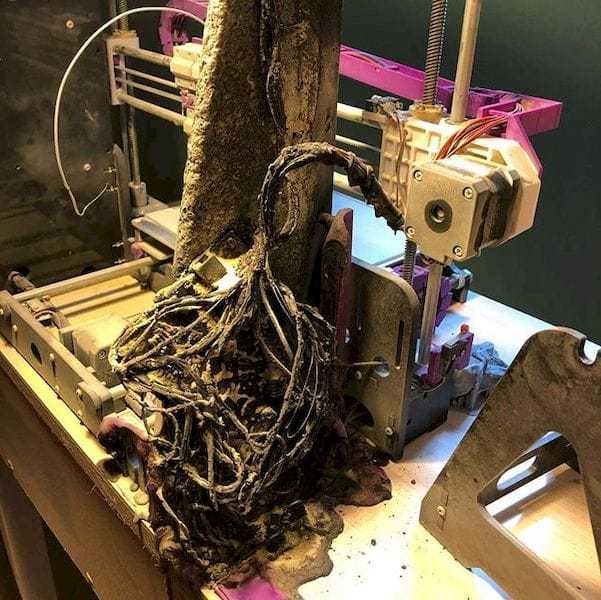
Why should you care? Well, imagine the temperature sensor stops working or drops out of the heating element. The firmware without a security check on the heating elements will have the wrong temperature input (usually lower than the real one, or even no temperature input at all). Because it knows what the temperature the hot end should be, it will try to heat the nozzle or bed to achieve the printing temperature. It will keep the heaters on, but the sensor temperature read will not rise. With this continuous heating, the hot end will inevitably over-heat, melt your 3D printer, or worse set the whole thing (and everything around it) on fire!
By upgrading the firmware to include the security check on the heating element, it will “know” that if the temperature is not rising while the heaters are on, something is wrong. It will shut down the heaters and the printing process.
There are some other advantages in upgrading your Anet’s firmware like customizing the auto-leveling function and adding the Filament Runout Sensor, but the security of your heating elements is the most important one. This is why we think you should upgrade your Anet A8 firmware.
In the next sections, we will show you just how to do so.
Step #1: Downloading the Software for Upgrading the Firmware

The first step for upgrading your Anet A8 firmware is to download the associated software. There are three you will need to do the job:
- Arduino IDE software: an integrated development environment needed for uploading the firmware code to your 3D printer
- Anet A8 board definition for Arduino: two files (Configuration.h and Configuration_adv.h) that provide a board definition, which enables the Arduino IDE to compile and upload firmware to the Anet A8 board
- Marlin firmware: set of libraries and documents needed for firmware upgrade
Step #2: Configuring the Anet A8 Definition Board
The board definition files enable the Arduino IDE to compile the firmware (in this case Marlin). Therefore we want to get this set up first. There are two files to configure:
- Configuration.h contains the core settings for the hardware, language and controller selection, and settings for the most common features and components
- Configuration_adv.h serves up more detailed customization options, add-ons, and experimental features
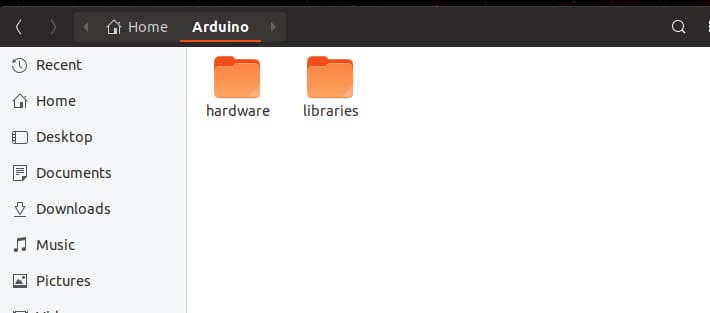
To utilize these files, you need to make sure they’re in the right place. Copy the Anet folder to the Arduinohardware folder (Linux) or the DocumentsArduinohardware (Windows). Create the hardware folder if it doesn’t exist.
Step #3: Overwriting Marlin Code for the Anet A8

The next step is to extract the new Marlin firmware you want to upgrade to. Once you’ve unzipped and extracted this folder, open the Marlinexample-configurationsAnetA8 folder.
Copy two configuration files from the previous step (Configuration.h and Configuration_adv.h), and paste them into this Marlin folder.
These two files contain all of Marlin’s build-time configuration options and are predefined for the Anet A8 board. You have to overwrite the default Marlin’s configuration files because the original files are not suitable for Anet A8 board.
Step #4: Connecting Your Printer
The software is now prepared to be uploaded to your Anet A8 3D printer. Therefore, it is time to connect your 3D printer to your computer via a USB cable. After you have done that, open Marlin.ino file in Arduino IDE.
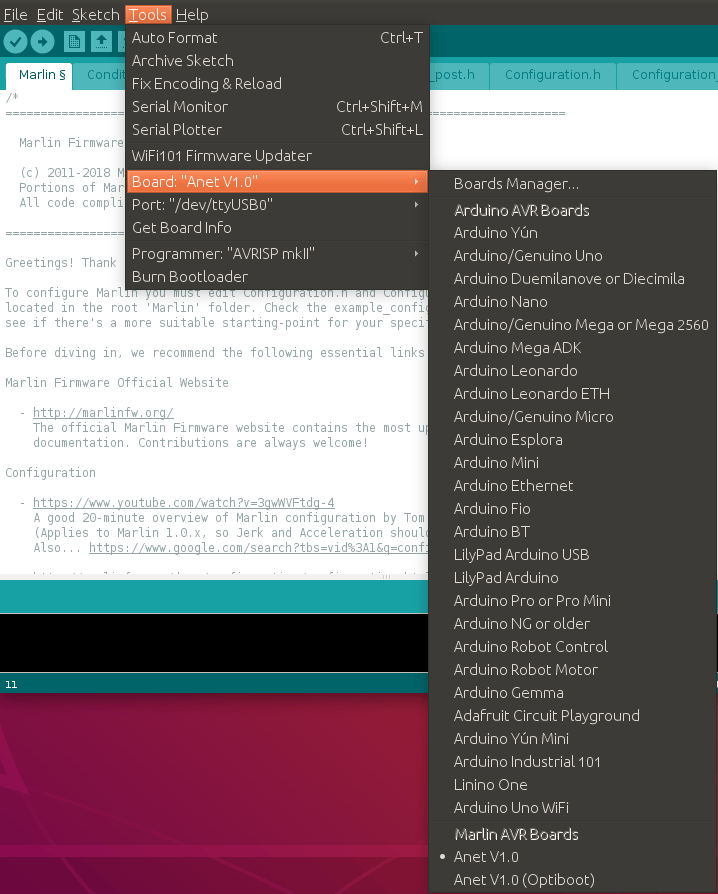
For the software to compile you have to select Anet V1.0 as the preferred board. Otherwise, it will not compile properly and will not work on your printer. Choose menu ToolsBoards and select Anet V1.0.
Step #5: Communication Settings

For uploading code with Arduino IDE to your 3D printer, you have to select the communication’s port so that Arduino IDE sends the software through the correct USB port.
On Linux choose the port /dev/ttyUSB0 (or similar). On Windows, select the port named something like COM5 (the number of the port differs depending on your system).
Step #6: Uploading the Code
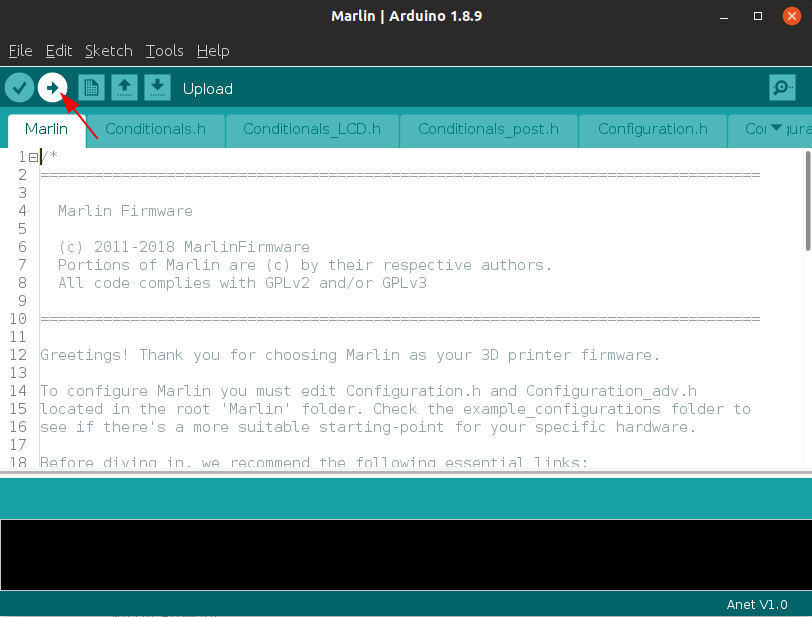
If you have finished all the previous steps successfully, it is time to upload the firmware code to your 3D printer. It is quite simple now, just press the Upload button and wait for the code to compile and upload!
Congratulations! You have just upgraded your firmware to the latest Marlin version.
Additional Settings
As mentioned before, the security check on heating elements is not the only good reason for upgrading your firmware to the latest version. With each new version you get some additional settings for customizing your 3D printer.
If you want to learn more, Marlin offers detailed instructions to help you customize your firmware. For example, you can define the Z-stop Probe that you are using.
Maybe you want to customize your printer by adding the Filament Runout Sensor. You can define your sensor in the firmware, so if the filament runs out, Marlin will run the specified GCode script (by default “M600”).
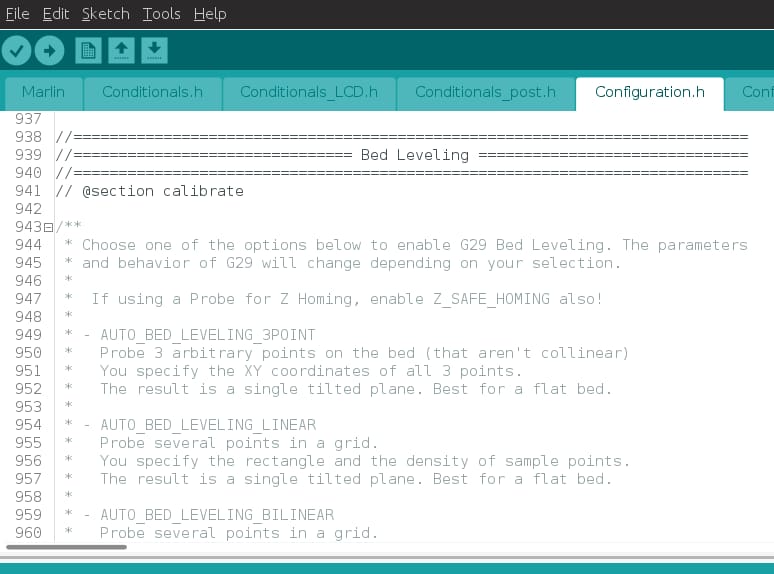
There are a ton of options just for defining the bed leveling method you want to use and automating the process of the bed leveling.
All in all, if you haven’t thought of upgrading your old Anet A8 firmware, think again. You’ll not only improve your security regarding the fire risk, but you’ll get a bunch of options for customizing and improving your 3D printer’s possibilities.
Happy printing!
Feature image source: Lovro Šverko / All3DP