3D Printer Power Supply – How to Choose the Right One

Want to upgrade your 3D printer? Maybe you're building one from scratch and need a good power supply? Before you go and buy just any old PSU, read this article to learn why specs are important, how to pick the right PSU, and what to do when it arrives!
What Is a Power Supply?
Power supplies, or PSUs (power supply units), are usually clunky metal boxes with a row of screw terminals or a bundle of wires at one end and a fan on the side. When you wire them up to your printer and plug them in, they seem to magically make things work. But what do they actually do?
PSUs tend to contain a transformer (or a series of transformers), which receives the 110 to 240 volts from the wall and steps them down to a more reasonable 12 to 24 volts. Also within a PSU is a rectifier circuit, which converts the wall’s AC current to the DC current a 3D printer needs.
Why Specifications Matter
A 3D printer power supply usually has the following specifications:
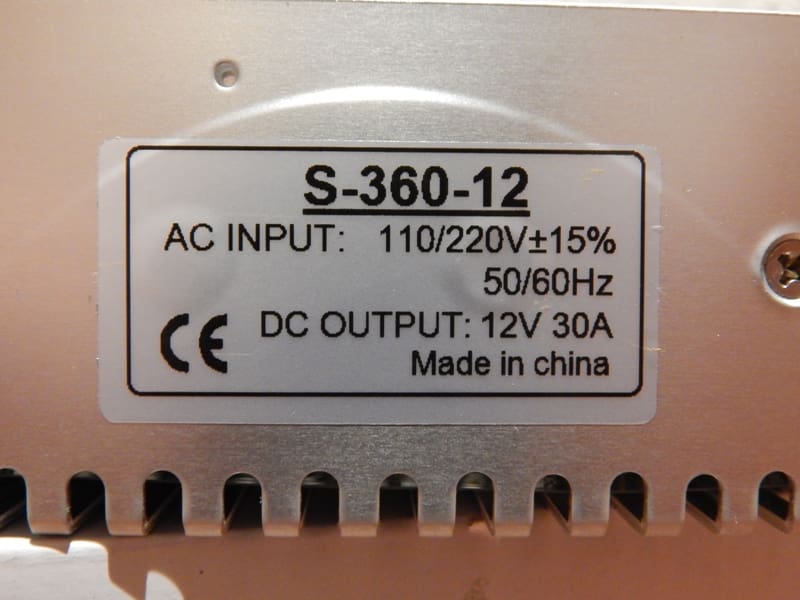
- The rated voltage(s) of a PSU indicates what voltages it will accept out of the wall. In most cases, this can be changed using a switch on the side of the PSU. As such, they can work on both 110V @ 60Hz and 240V @ 50Hz AC.
- The output voltage is what comes out the other end: the voltage of DC current that the PSU can provide. This will vary from supply to supply, but each unit will only support one particular voltage, for example 12V. This is important because each component on your printer is rated for a specific voltage. If you get it wrong, things won’t work.
- The output current, or output amperage, is the highest number of Amps that the supply can provide at any given time. This number will affect how many heaters your printer can have. It’s most often seen as a limit to how hot a heated bed can get.
- The total wattage of a PSU is how much power (energy per unit time) it can provide. Mathematically, it is the product of the output voltage and the output current. For example, a 12V supply with a 30A maximum current will be able to provide 360 Watts (12 x 30 = 360).
Choose an Output Voltage

The best place to start when looking for a 3D printer power supply is to choose an output voltage. The two most common choices are 12 and 24 volts.
The most important factor when choosing voltages is your hot end. These are generally sold in 12V and 24V configurations. Simply find your hot end’s specifications to find out which you own.
Your power supply should provide the voltage required by your hot end. It may require a step-down converter and some MOSFET transistors to interface with your control board (and you should definitely check this before you do any wiring), but ideally it will match the hot end’s voltage.
Newer models of heated beds should have the option to be wired for either 12 or 24 volts, so you can change the circuit as needed. Usually the bed runs on the same voltage as the hot end.
Stepper motors are quite versatile and will generally be able to handle most voltages up to a rated maximum (usually around 40V).
Choose an Output Current

The next most important rating for your 3D printer power supply is output current. As previously stated, this will be the limiting factor for your heated bed and the total number of hot ends you are operating.
The easiest way to calculate how many amps you need is to look at the wattage of the supply, and the rating of your heated bed. Generally, your control board, one hot end, five motors, and a few other electronics (sensors and fans) can be said to use about 100 watts of power. Add in what your heated bed is rated for, and you’ll have a minimum required wattage for your power supply.
To get the amperage, simply divide by the output voltage, e.g. 360W / 12V = 30A.
Here are some examples:
- The standard minimum for 3D printers is usually 240 watts (12 volts @ 20 amps). That would be enough for a printer with a single hot end and a heated bed around 180 x 180 mm.
- With a 200 x 200 mm bed or a second hot end, you’d be better off with 300 watts (12V @ 25A).
- With both a second hot end and a 200 x 200 mm heated bed, or single extruder with up to a 300 x 300 mm heated bed, 360 watts are standard (12V @ 30A).
- With anything larger than that, a power supply rated upwards of 400W would be recommended.
With a 24V PSU, the rules change slightly, as you don’t need quite as much current. Still, we would recommend sticking to the above standard for the best possible operation.
'Watt' to Look For in a Purchase
The easiest way to look up your 3D printer power supply online is by searching for the wattage, and then finding the option that has the correct voltage ratings.
There are two main kinds of power supplies:
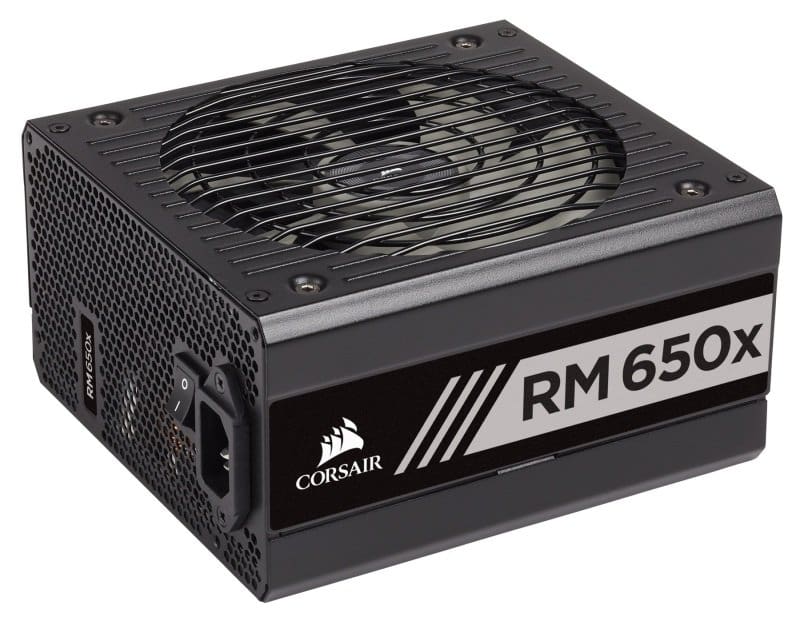
- ATX PSUs are generally meant for PCs, and while they are manufactured to a higher standard than LED supplies, they require modification to be used with 3D printers. They are also usually more expensive, especially at higher ratings, but incorporate many more safety features, not least of which is closed AC wiring and (usually) a power switch.
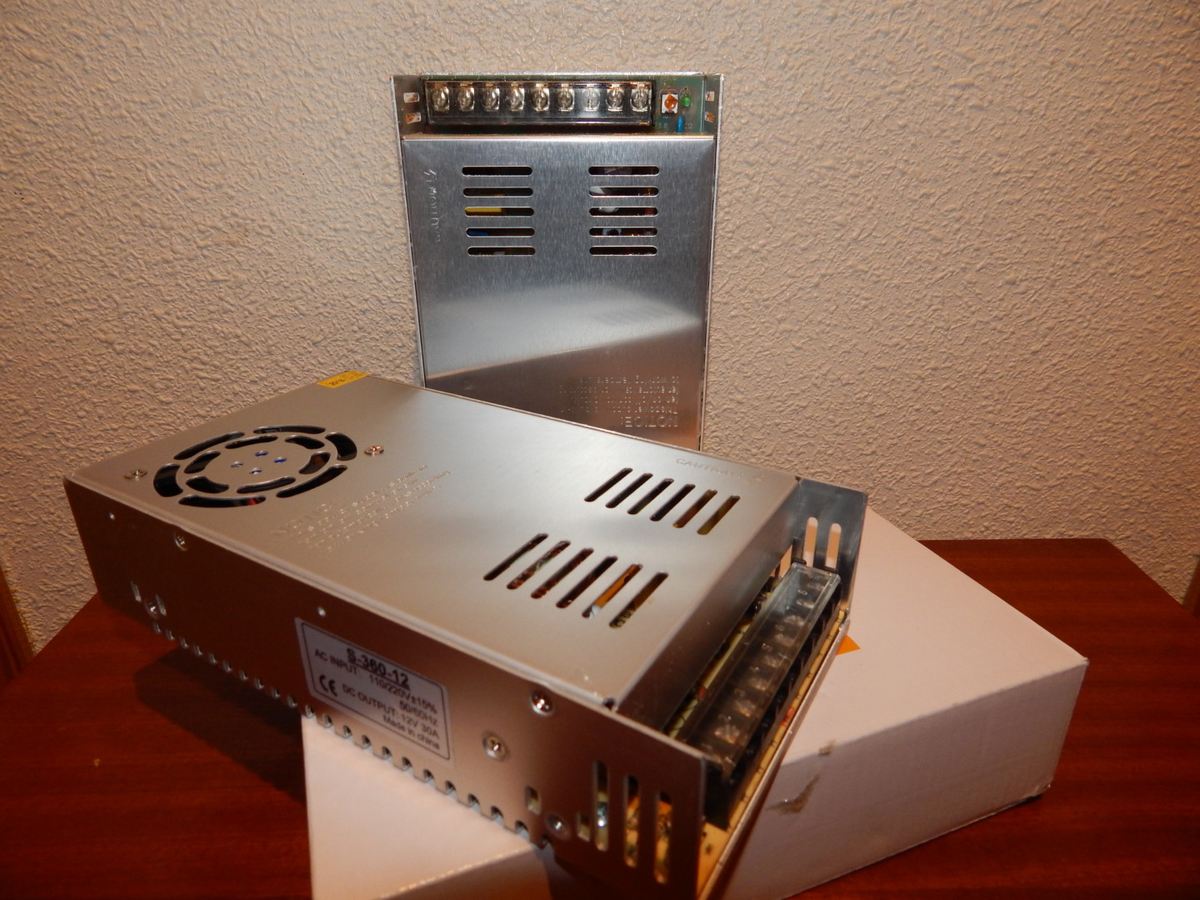
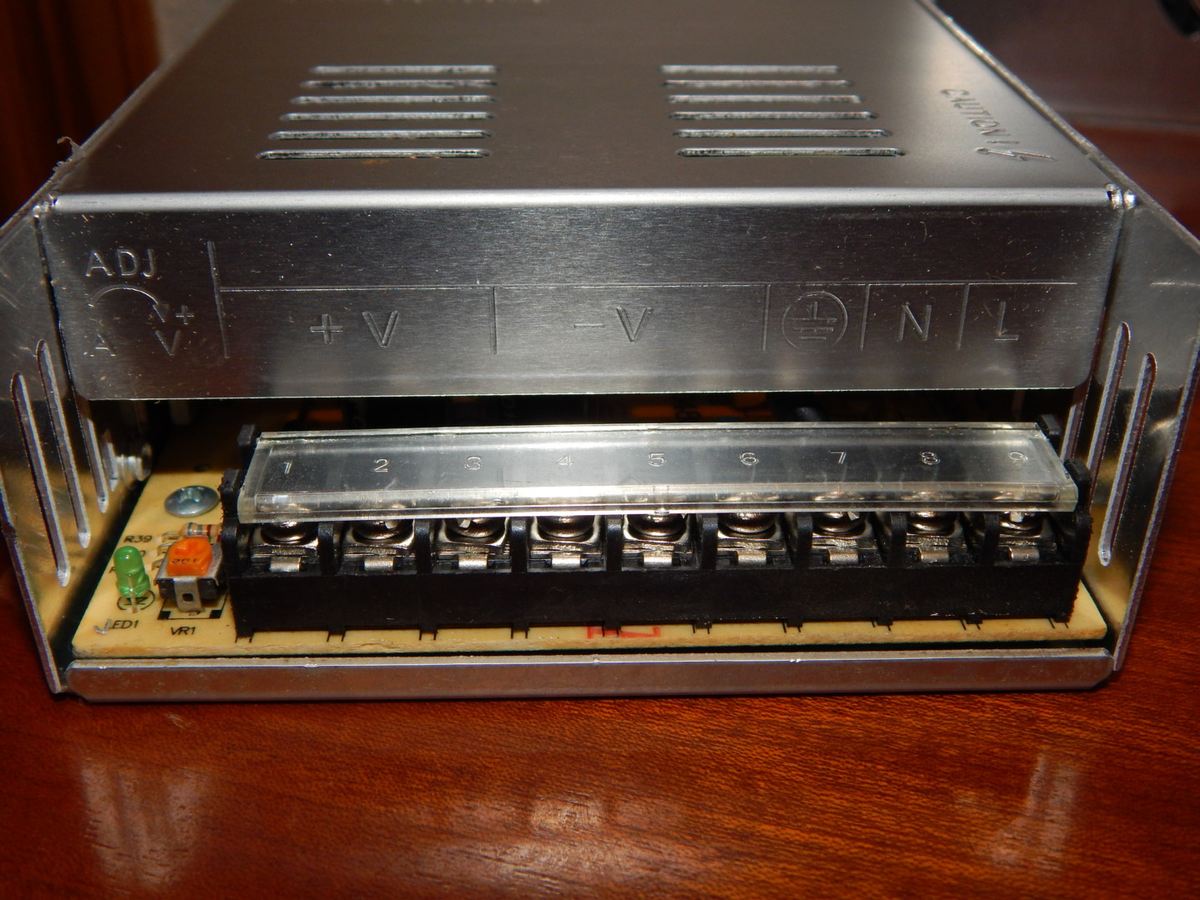
- LED PSUs are what you will usually find on a kit like the Anet A8 — that clunky silver box with the really dangerous wiring terminal. These supplies are generally pretty reliable, and they’re cheap and easy to wire. However, there’s no real standard for these supplies to be manufactured to. That means quality will vary a lot based on the seller and manufacturer. The single biggest issue with these supplies is the open AC screw terminals, which are a safety hazard if left uncovered.
So how do you go about choosing between sellers and types? If you like having a project and are willing to spend the money, ATX power supplies are definitely the better option. If, however, you’re on a budget or want a simple solution, you’ll want to look into LED supplies.
When choosing between LED PSU suppliers, we would recommend buying from an established, reputable seller. Look for good reviews from customers so that you know you’re getting a reliable product. Please note that we’re not responsible for any problems you encounter while purchasing or installing a power supply.
Check That Your Supply Works
When purchasing a new 3D printer power supply, it’s always best to check that it works before you plug it into vital equipment like your 3D printer.
The best way to check an LED PSU is with a voltmeter or multimeter. First, wire up your supply to the appropriate power cord, making sure that it is not plugged in while you are handling the wires. When done, plug in your supply, and check the voltage across the output terminals. Be very careful not to touch or short the input AC power terminals.
When checked with a voltmeter, the output should be nearly the same as the indicated output voltage. You may need to fiddle with the small potentiometer next to the screw terminals, as this will change the output regulation slightly. Having the voltage slightly higher will help with an underpowered heated bed, but be careful not to overpower your other components.
To check or use an ATX supply, you’ll need to do some modification. This tutorial on the RepRap wiki shows you how to properly modify an ATX supply for use on a 3D printer, and how to test it.
Once you know your supply works, wiring it into your printer should be relatively easy. This is especially true with screw terminals and the plug-and-play style setup adopted by most manufacturers. Again, be very sure that you never do any wiring while the supply or the printer is plugged in. Also, be very careful to not touch or short the AC terminals of your PSU while running tests.
Install Safety Precautions
It has been said that an ounce of prevention is worth a pound of cure. In this case, it may be more accurate to say, “an hour’s print of coverings is worth your life and your house”. Why? If you accidentally touch both AC terminals, or if they short to each other, it’s very easy to electrocute yourself or burn things down.
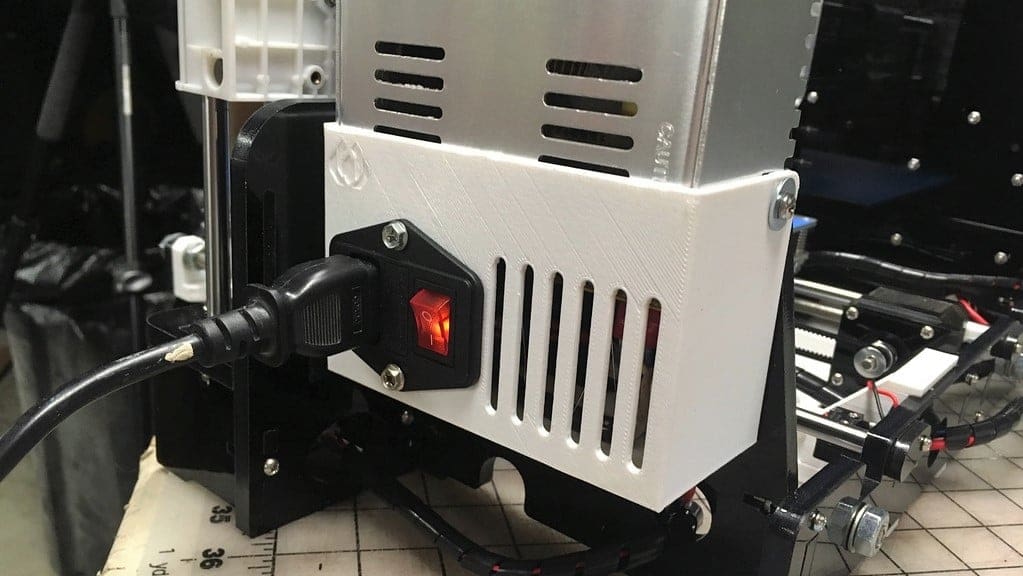
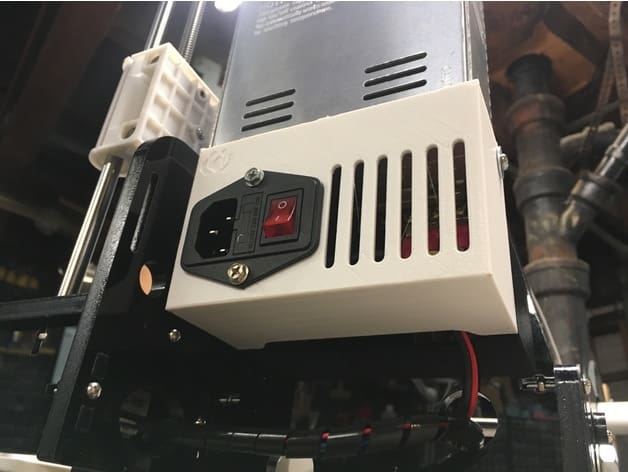
Therefore, to finish up we would recommend you avoid either of these instances by investing the time and filament printing a covering for any exposed wires and terminals. It’s also a good idea to add a switch and a fuse in the process (if you don’t have a nice ATX supply, that is).
A good example of what you want in a covering for a LED PSU is this model (seen above) by punishedprops on Thingiverse.