How to 3D Print Joints – Simply Explained

3D printed joints may seem intimidating, but they don't need to be hard. Learn how to 3D print joints with this simple guide!
What Is a Joint?
Simply put, a joint is any structure that joins two pieces together. In 3D printing, designing joints in your model is a great way to connect parts and allow movement. This all happens without the use of glue or screws, making your design super efficient!
3D printed joints come in handy in all sorts of situations. If you’re designing a 3D printed object with moving parts, such as a treasure chest or a truck with wheels, chances are you’ll need some kind of joint to bring everything together.
But what types of joints are out there? How should you design one? What’s the best way to print them? Read on to learn some useful tips about 3D printed joints.
Types of Joints
At least in the context of 3D printing, there are two main types of joints: interlocking and snap-fit.
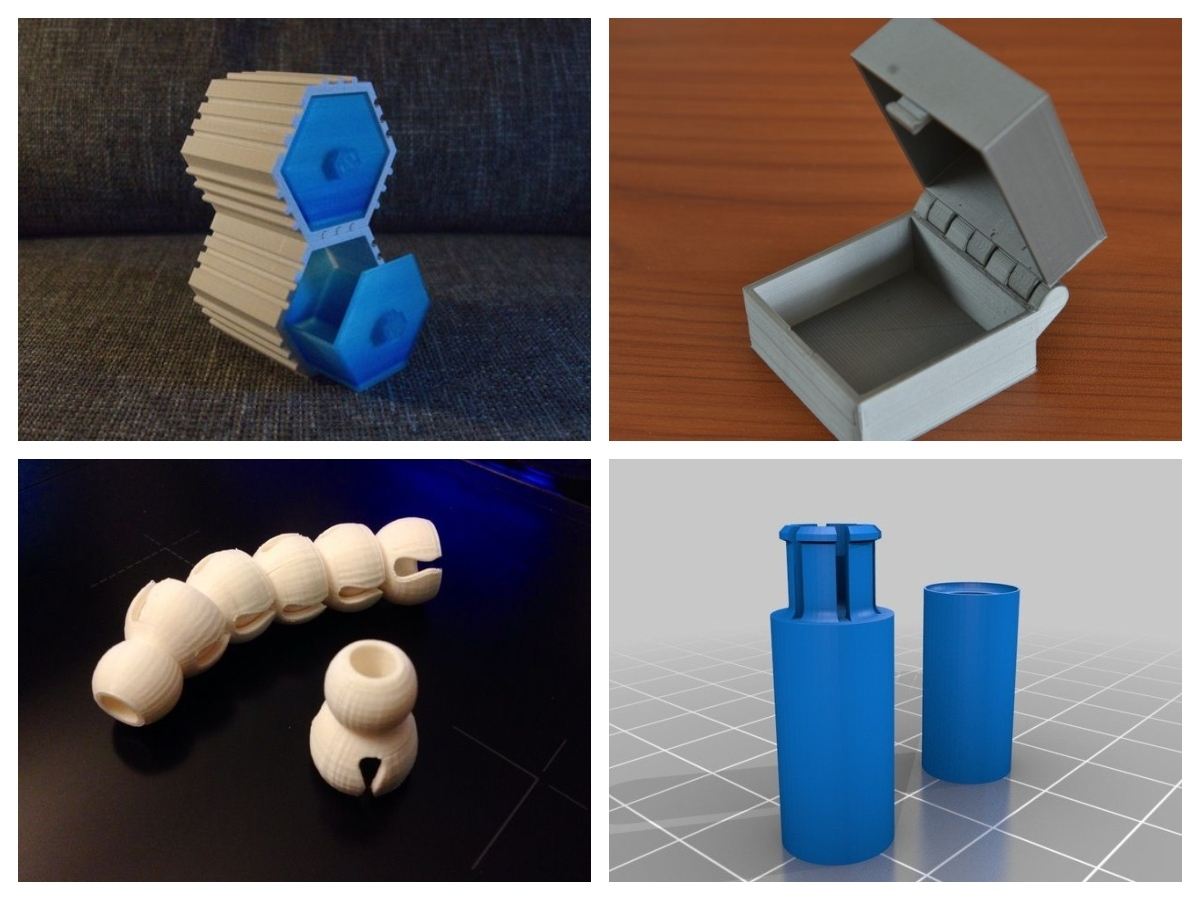
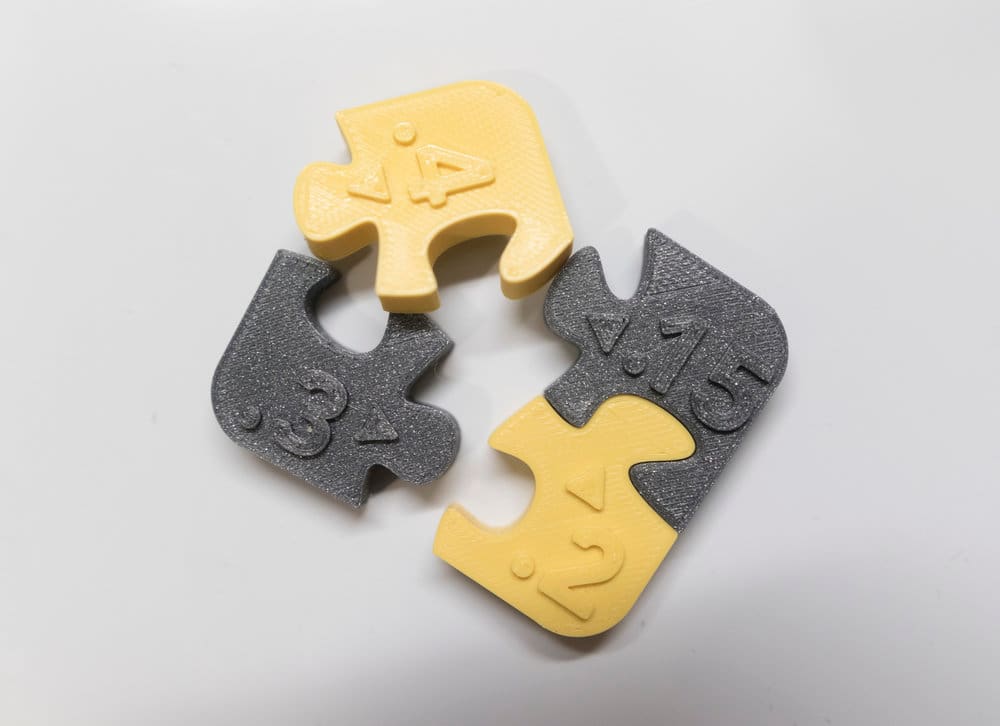
Interlocking joints are the simplest, relying on friction between parts to stay together, like a really tight puzzle piece. Interlocking joints also don’t usually allow movement, except maybe in one direction. One example is the modular hive drawers designed by O3D: each drawer is attached by an interlocking joint.
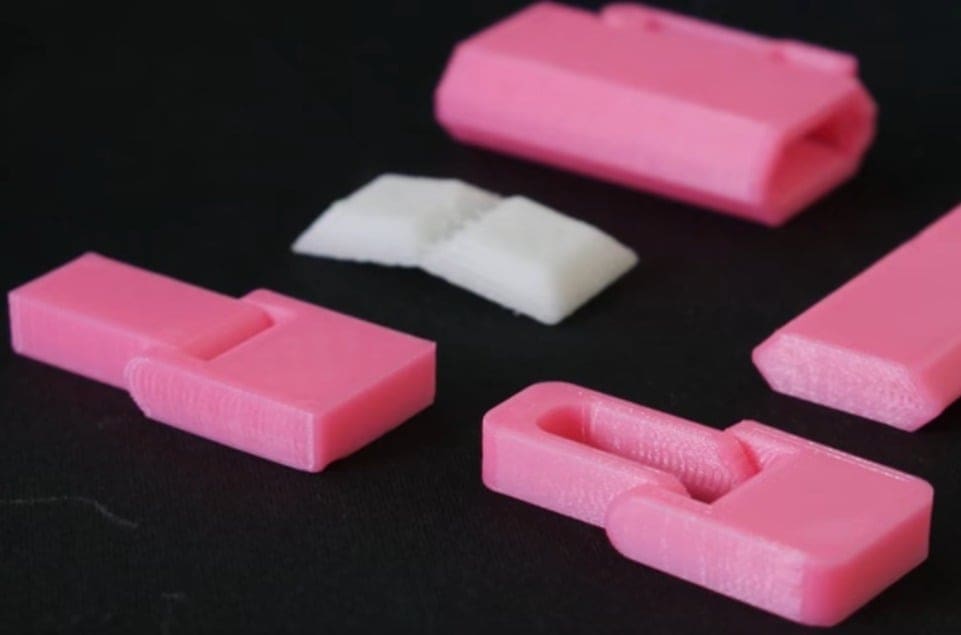
Snap-fit joints are joints that require the part to bend and “snap” into place. (Think: safety buckle.) This way, the two parts are locked together but are often free to rotate in some directions. Snap-fit joints come in many shapes and sizes. Here’s a breakdown of a few common snap-fit joints:
- Cantilever joints are one of the most popular joint types for 3D printing. A protruding piece of plastic will deflect as the joint is put together, and then snap into place so the pieces are connected together.
- Annular joints are what keeps a pen cap stuck on a pen. It’s very similar to a cantilever but shaped into a ring, allowing the joint to rotate in one direction.
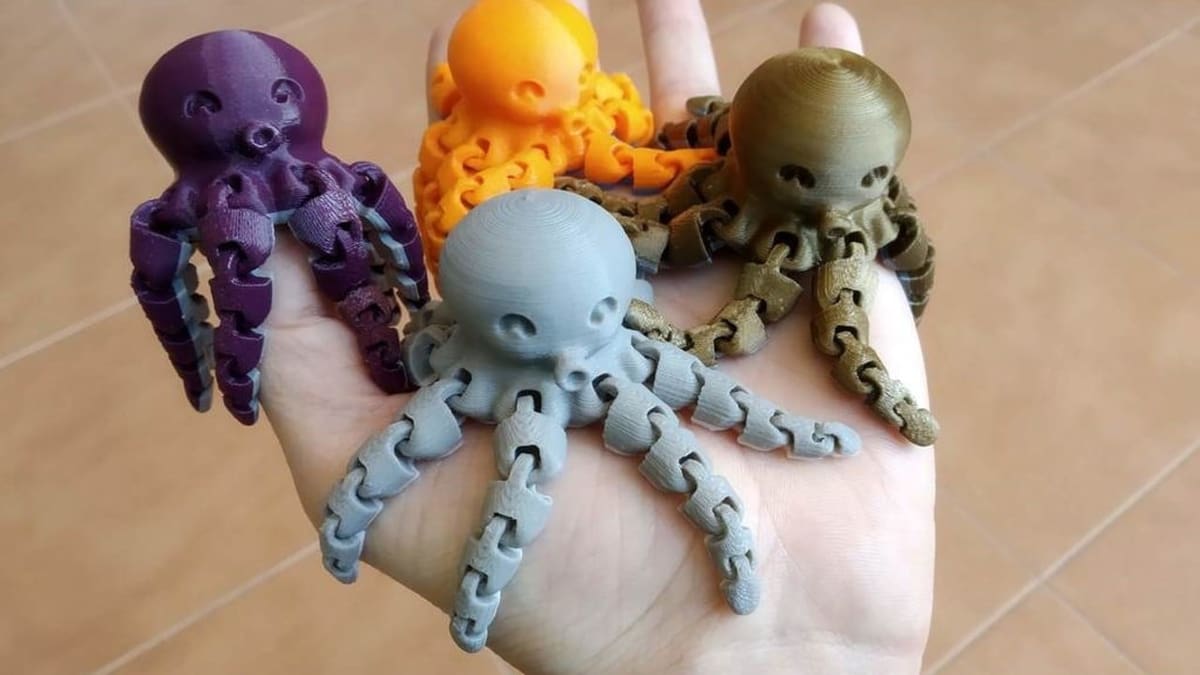
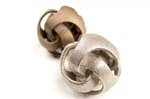
- Ball-and-socket joints are useful for objects that need to flex and rotate. A ball shape will snap into a socket, allowing the joint some freedom of rotation in multiple directions.
Joints are particularly useful in hinges. Interested to know more? You’re in luck: 3D Printed Hinge – Great Curated Models to 3D Print.
Design Tip #1: Clearance
Any joint needs some space between parts in order for them to fit together. This space is called clearance. 0.3 mm is good for most 3D printers, though this can fluctuate between 0.2 and 0.6 mm.
For example, if you’re designing a ball-and-socket joint with a ball radius of 5.00 cm, the inner radius of the socket part should be at least 5.03 cm, even if they need to fit very tightly together.
This is definitely subject to trial and error: In some situations, you want very little clearance between parts (e.g. interlocking joints), but in others, you want a lot of clearance (e.g. wheels on a car).
To test the clearance of your design, try printing out only the parts around the joint. That way, you can adjust the fit of your joint without wasting filament printing out a whole part.
Design Tip #2: Fillets and Chamfers

Joints must be solidly designed so that they don’t break under the strain before snapping together. They have to be able to take a bit of bend and flex without snapping apart.
A good way to do this is to add a fillet or chamfer. A fillet replaces a sharp edge with a rounded one, while a chamfer replaces it with a flat edge. Either way, these structures add extra stability to a joint so that it’s less likely to break at the edge.
Make sure your part is only under stress during connection, not in its final position. This reduces the strain a part experiences and the chance that it will snap over time.
Another thing to consider is joint length and thickness. A long and thin cantilever may be flexible but easy to break. On the other hand, a short and thick cantilever may be strong but too stiff for joints to fit together. When designing, it’s best to find the sweet spot between the two.
Printing Tips
Once the joint is designed, it’s time to print! Here are some tips to keep in mind:
- Orientation. When you orient your print, try to make your joints point parallel to your layers, especially if you’re using a cantilever. This can greatly increase the strength of your final prints since parts are less likely to break along a layer.
- Overhangs. If possible, avoid having overhangs on key areas of your joints. Joints need to have precise dimensions in order to work properly, and overhangs tend to mess that up.
- Breaking in. Once the joint is printed, don’t be afraid to put the joint together and take it apart a few times. Many joints may seem too stiff at first, but after a few tries will wear down and work perfectly.
- Material. Note that joints take advantage of plastic’s unique rigidity and flexibility. It’s a bad idea to print joints in materials that are too flexible (like flexible PLA) or too stiff (like metal or wood). Within the plastics, ABS is usually the best for joints since it’s less brittle.
- Scaling. If you try to scale down a model with joints, you may find that the parts no longer fit together. This is because by scaling a model, you also scale its clearance values. A clearance of 0.3 mm becomes 0.15 mm when you scale an entire design by 50%. So make sure to check your clearance before you print!
Interested in having the perfect joint 3D printed for you? Why not use a 3D printing service? With Craftcloud, All3DP’s 3D printing and price comparison service, you can find the best service for your needs. Take advantage of professional service as well as a wide selection of materials and finishes!
Order high-quality, custom 3D parts online at the best prices possible with Craftcloud by All3DP
Feature image source: McGybeer / Thingiverse
License: The text of "How to 3D Print Joints – Simply Explained" by All3DP is licensed under a Creative Commons Attribution 4.0 International License.
CERTAIN CONTENT THAT APPEARS ON THIS SITE COMES FROM AMAZON. THIS CONTENT IS PROVIDED ‘AS IS’ AND IS SUBJECT TO CHANGE OR REMOVAL AT ANY TIME.