How to 3D Print a Functional Diffraction Grating

Diffraction gratings are known for their shiny, iridescent surface. Learn how to 3D print your own diffraction grating today!
Shedding Light
If you’ve ever seen the underside of a CD, you’ve seen optical diffraction. This rainbow-like effect that splits light into its component colors can be accomplished in many ways. Here, we’ll observe how it can be done by creating a diffracting surface.
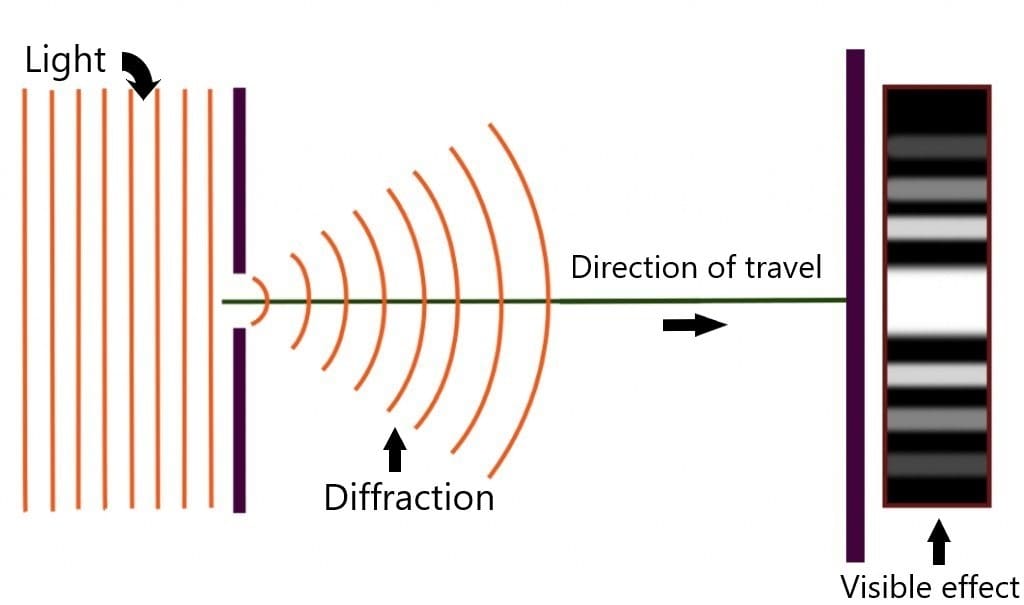
So, what exactly is diffraction? For the purpose of this article, you can think of diffraction as the redirection of light based on its color as it bounces off of or transmits through a surface.
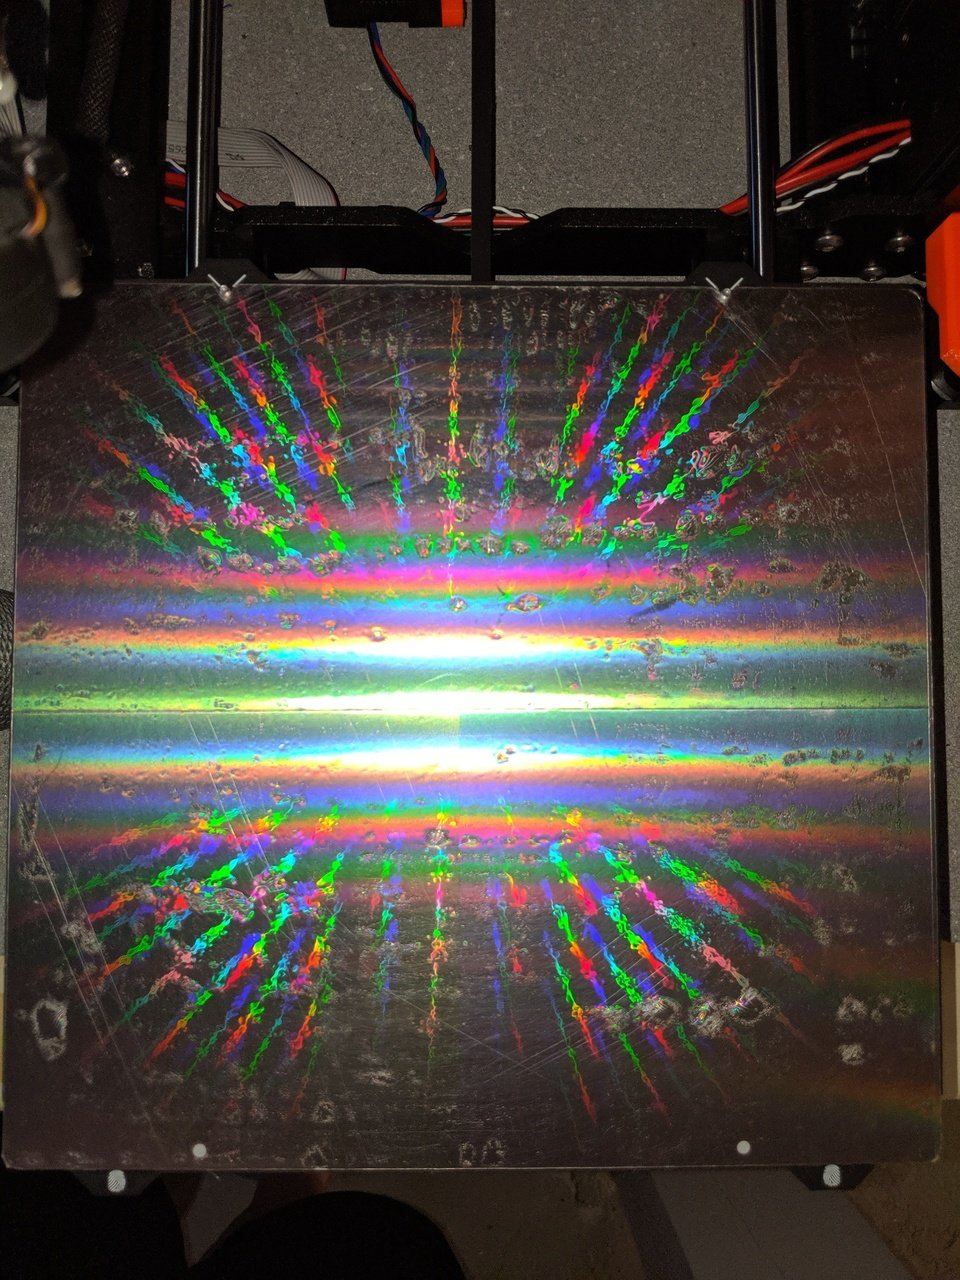
In terms of 3D printing, there are two big uses for diffraction. First, you can get a very shiny first layer, for example by printing on glass. In fact, with the dynamics of FDM printing, it’s common for the printed part to have the same texture on its base layer as the surface it was printed on. This is also true of diffraction gratings.
Diffraction Gratings
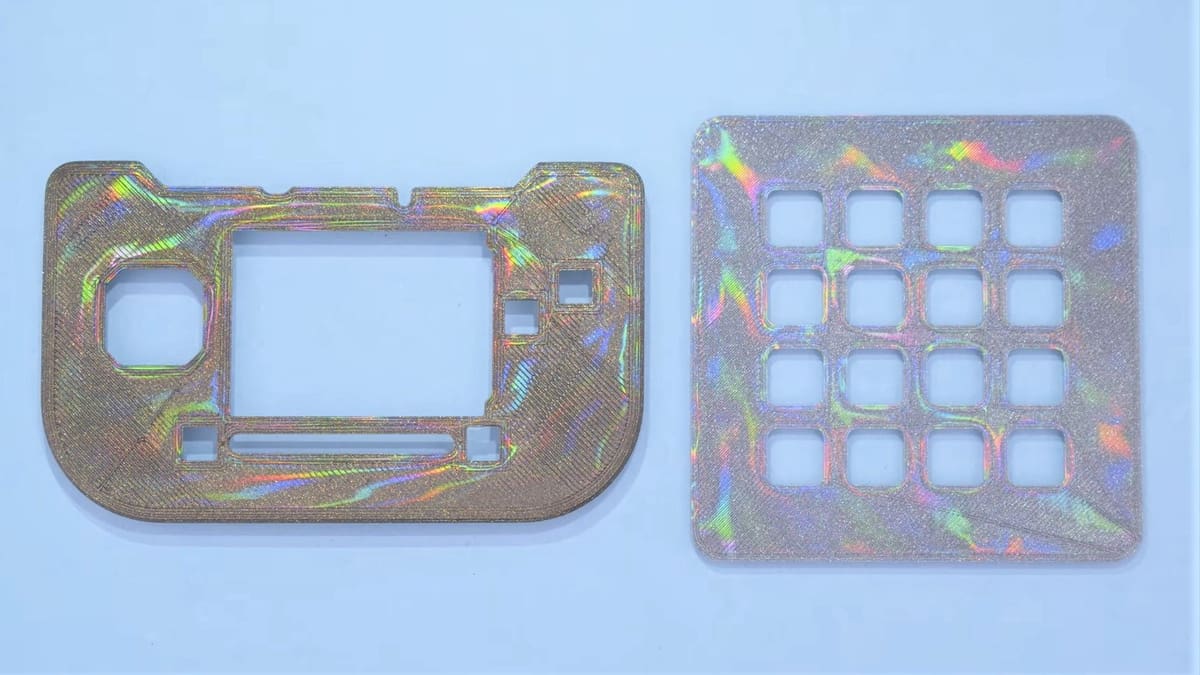
A diffraction grating is an object with nano-structures imprinted on its surface, which causes different wavelengths (colors) of light to bend through or bounce off of the grating at different angles. This gives rise to the separation of colors you see when you look at a CD, as the small structures of the written disc act like a diffraction grating.
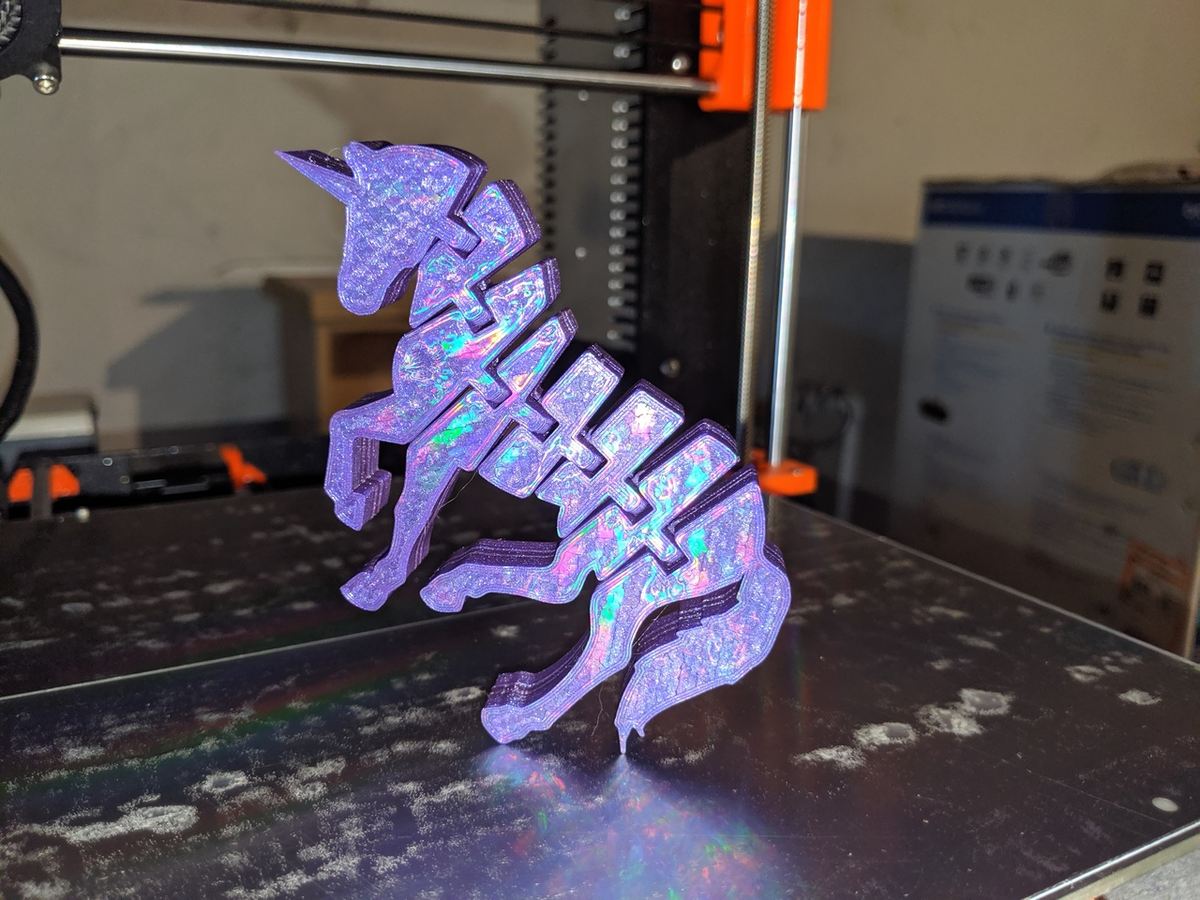
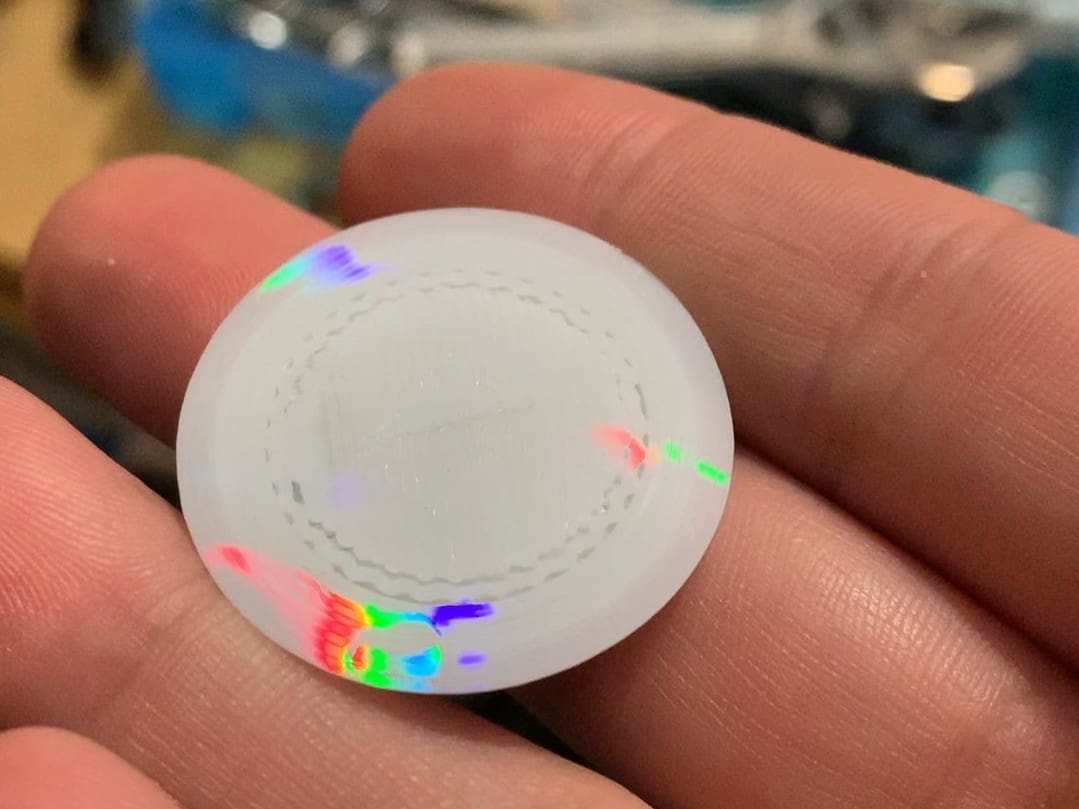
Similar to printing on glass, printing on a diffraction grating creates a bottom layer that can similarly be used as a diffraction grating. This is the second and more unique use of diffraction in 3D printing, giving your print a shiny, rainbow-like appearance to really wow your friends and family.
Despite the cool uses for 3D printing, it should be mentioned that diffraction gratings cannot be 3D printed directly, as the grating surface structures are usually on the order of nanometers, well out of the range of most 3D printers.
What You Need
When it comes to 3D printing on a diffraction grating, there are actually three different methods to make this work. We’ll go through the materials for each method to give you some choice as to which works best for you.
Method 1: Printing on an Existing Diffraction Grating
To print on an existing diffraction grating you’ll need
- diffraction grating plastic (to act as the surface of your print bed),
- tape, and
- scissors (to cut the diffraction grating down to size).
All in all this method will likely cost around $20 to $25 for the materials.
Method 2: Printing on a Disc With the Foil Removed
If you want to achieve the effect of a diffraction grating without using an actual diffraction grating, you can get the same effect by removing the foil layer on a CD or DVD with a utility knife and then printing on the surface.
To do this you’ll need
- a CD or DVD,
- double-sided tape,
- a 3D printable mask (we’ll discuss this in a bit), and
- a utility knife.
Given that you probably still have at least one old, useless CD lying around, the only cost to you would be the X-acto knife, making this project considerably cheaper or even completely free.
Method 3: Printing on a Disc With the Foil
Although this method isn’t printing the diffraction grating per se, it does achieve the intended effect and gives the bottom of your prints a metallic appearance.
This method is essentially the same as the previous one, the difference being that, instead of removing the foil from the CD, you apply glue stick to the foil surface of the CD before printing. After printing, you can score the foil around the print, which is now fused to the foil. Removing the print gives a metallic foil bottom surface, which will act as a broad diffraction grating for all colors of light.
For this, you’ll need
- a CD or DVD,
- double-sided tape,
- glue stick,
- a 3D printable mask (we’ll discuss this in a bit), and
- a utility knife.
Three Tips for the Best Effects
When it comes to getting quality 3D printed diffraction gratings, there are three main things to keep in mind.
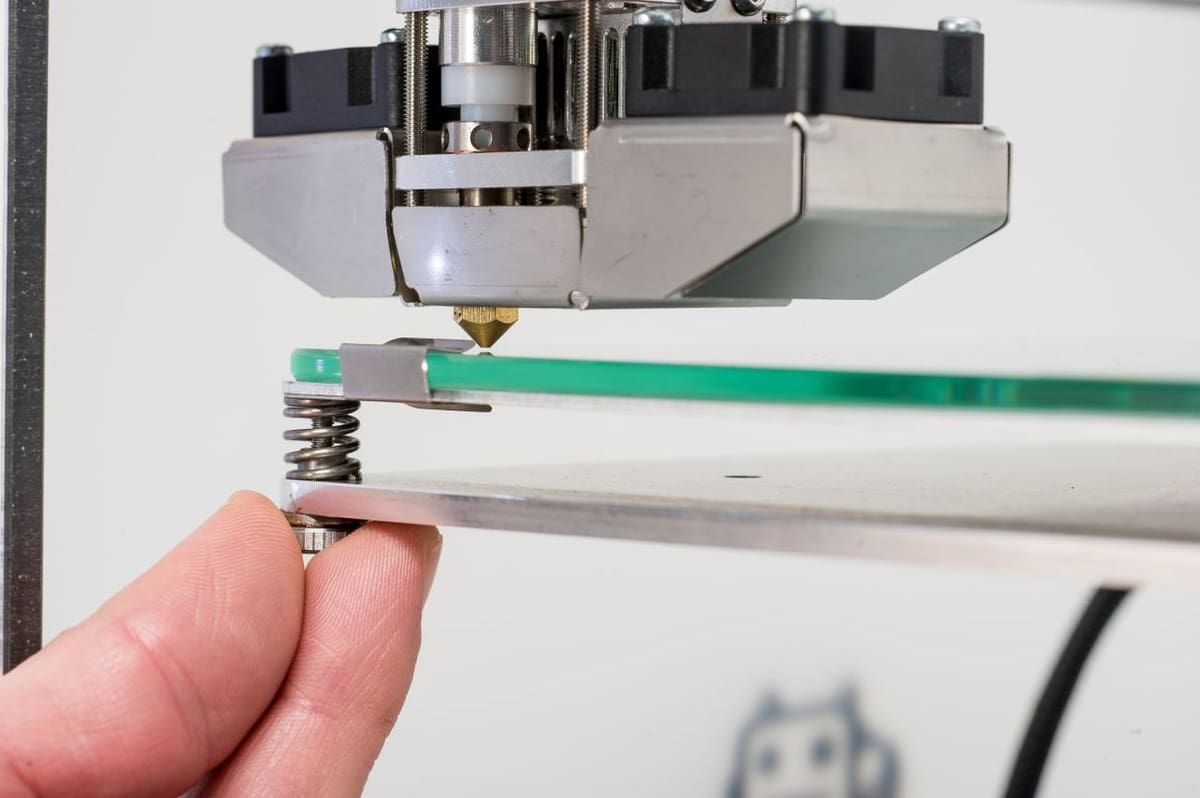
1. Keep the 3D Printing Surface Level
The first and most important thing to consider when 3D printing a diffraction grating is that your 3D printing surface has to be level. Under normal circumstances, a little bit of an uneven bed surface is normal. However, in order to get an even rainbow-like effect across the bottom surface of your 3D print, the plastic has to be somewhat forced into the microscopic hills and valleys of the diffraction grating sheet or CD grating.
This can be tricky with plastic diffraction gratings and plastic CDs because, if the nozzle is too far away, the plastic won’t retain the nanoscale pattern on the grating surface. Meanwhile, if it’s too close, the nozzle will melt the plastic grating or surface of the CD, and your print will likely be fused to the grating.
It’s often necessary to try different offsets in a slicer in order to get the level just right. It should be noted that mesh bed leveling and automated leveling can work quite well for this application. Although printers with these systems tend to be more expensive (and aren’t 100% necessary), they do make the process much easier than on a printer with manual bed leveling.
2. Set the Z Offset
The second thing to consider when 3D printing a diffraction grating is to use a slicer with Z offset capability so that you can first level your print bed to the nozzle, and then input a digital offset into the G-code to allow you to print on top of a diffraction grating surface.
For reference, the thickness of a CD is 1.2 mm, so you would set your offset to 1.2 mm or possibly more to account for the thickness of any tape used beneath the CD.
3. Find the Right Print Bed Temperature
Finally, print bed temperature plays a major role in how long the extruded filament stays molten once it hits the build surface. In general, the higher the temperature of the bed, the smoother and more consistent your rainbow-like pattern will be.
There is an upper limit to this, though, since plastic diffraction gratings and CDs will also eventually melt or warp. In general, a bed temperature of 60-90 °C is sufficient to obtain the optimal effect.
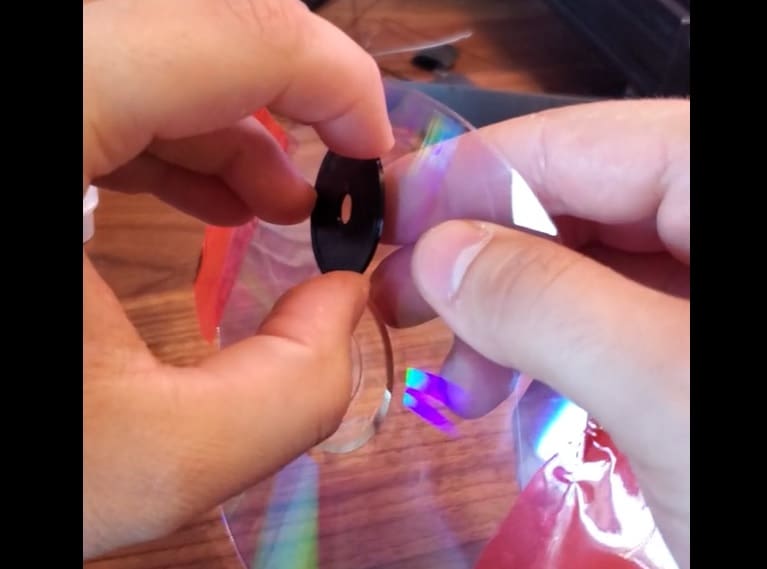
Method 1: Existing Plastic Diffraction Grating
This method of obtaining a rainbow-like bottom layer to your prints is fairly straightforward. Follow these simple steps:
- Level your print bed.
- Adhere a plastic diffraction grating sheet to your print bed using tape or another suitable fastening method.
- In your slicing software, adjust the Z offset to a value that’s equal to the thickness of the plastic diffraction grating sheet you’re using.
- Print your part on the sheet. It should be noted that it’s worthwhile to watch the printing of the first layer in order to ensure that it sticks properly to the grating. If it doesn’t, you’ll know immediately and can try to re-level to ensure that it sticks.
Note: Do not use hairspray or any type of adhesive on the diffraction grating, as this will ruin the effect.
Method 2: Foil-Free CD
This an alternative method of obtaining a rainbow layer on the bottom of your prints, found on Reddit, is a little bit more involved.
- Remove the foil layer of the CD using a utility knife and tape. Sometimes this will work with just the tape.
- Level your print bed and attach a CD to the surface using double-sided tape.
- Although it isn’t required, it can be helpful to 3D print a mask to guide or line up the CD. This will ensure that the printer will actually print on the CD.
- In your slicing software, adjust the Z offset to a value that’s equal to the thickness of the CD (usually 1.2 mm) plus the thickness of the double-sided tape.
- Print your part on the CD. It should be noted that it’s worthwhile to watch the printing of the first layer in order to ensure that it sticks properly to the grating. If it doesn’t, you’ll know immediately and can try to re-level to ensure that it sticks.
Note: Do not use hairspray or any type of adhesive on the CD, as this will ruin the effect.
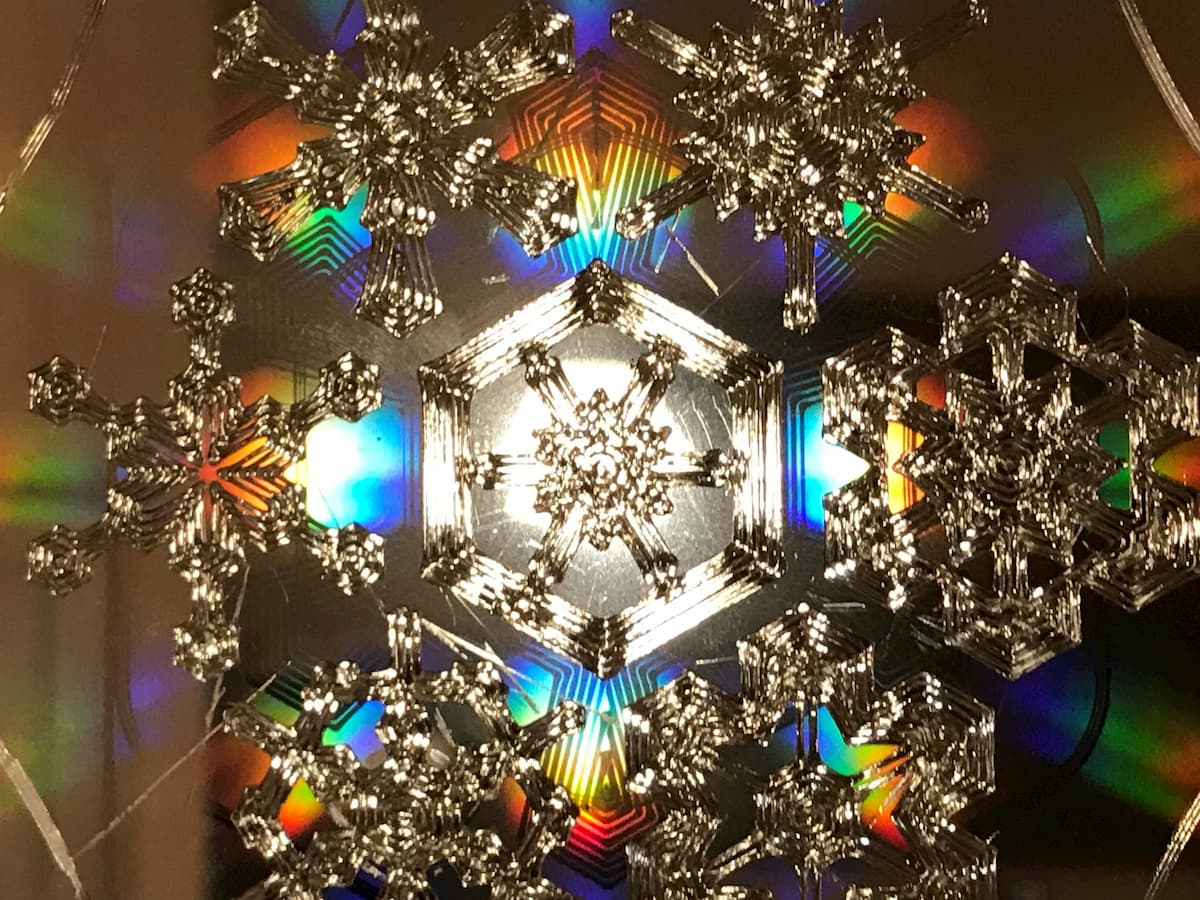
Method 3: Foil Fusion
This method basically mirrors Method 2, except that, instead of 3D printing on a CD with the foil removed, you can 3D print on a CD with the foil still attached. Once the print is done, you can peel away the print with the foil still attached to the bottom of the print, giving a shiny diffraction grating.
- Level your print bed.
- Attach a CD to the surface using double-sided tape.
- Although it isn’t required, it can be helpful to 3D print a mask to guide or line up the CD. This will ensure that the printer will actually print on the CD.
- In your slicing software, adjust the Z offset to a value that’s equal to the thickness of the CD (usually 1.2 mm) plus the thickness of the double-sided tape.
- Note: You can and should use hairspray or glue stick on the foil surface of the CD so that, when you take the print off, the foil comes with the print.
- Print your part on the CD. It should be noted that it’s worthwhile to watch the printing of the first layer in order to ensure that it sticks properly to the grating. If it doesn’t, you’ll know immediately and can try to re-level to ensure that it sticks.
- Once the print has finished, score the edges of the print using a utility knife before removing the print from the CD.
Finishing Up
Removing the Prints
In order to ensure that the rainbow surface continues to shine, you should touch it as little as possible. The more you touch it, the more likely you’ll degrade the tiny nanostructures created during the printing process. Of course, that leaves you with a conundrum. How do you remove the part from the surface?
There are several methods of removing parts from a bed surface without touching them:
- If you have a large diffraction surface, you can use a very fine craft knife to lift the print off from an edge where it won’t be very noticeable. Even if you do disturb that part of the print, it won’t ruin the overall aesthetic.
- Put the CD or diffraction grating into a freezer, and after a little while, flex the disk or diffraction grating to remove the print. This should be done over a soft surface – something to cushion the print in case it falls.
- Spray the print with water or alcohol to remove it, and then let it dry.
Protecting the Diffractive Surface
When it comes to using diffraction gratings, one thing is critical: Dirt, oils from fingerprints, and excessive handling will ruin the surface of the grating.
Unfortunately, you can’t coat the bottom surface of your print with anything, as that will fill in the small nanostructures that give rise to the diffraction effect. This means that you’ll need to use the print such that the diffractive surface doesn’t get touched often. Nevertheless, this can be okay for some models and is better-suited for those prints that are more for display purposes in general.
(Lead image source: Adafruit Industries via YouTube)