Artillery Sidewinder X1 vs X2: The Differences

The Artillery Sidewinder X2 is here. We've taken a closer look at what's new and how it differentiates itself from its predecessor, the X1. Read on to find out.
Time to haul out the big guns. Artillery has just announced a new and improved Sidewinder X2.
The story of the original Sidewinder X1 began back in 2018 and, after going through a handful of iterations to address user feedback, brought forth a pretty desirable 3D printer for its weight class. Besides its large build volume, slick looks, low price, and reliability, the printer also knew how to convince with a list of stock features you would typically think of upgrading similar budget printers with.
After releasing five or so iterations of the original Sidewinder X1, Artillery decided to call it a day. Well, not quite, as a new Sidewinder iteration is just around the corner. The only difference is, this time, it is called X2 and not X1 V-something.
We took a close look at what we know about the Sidewinder X2 so far and how it distinguishes itself from the X1.

Overview
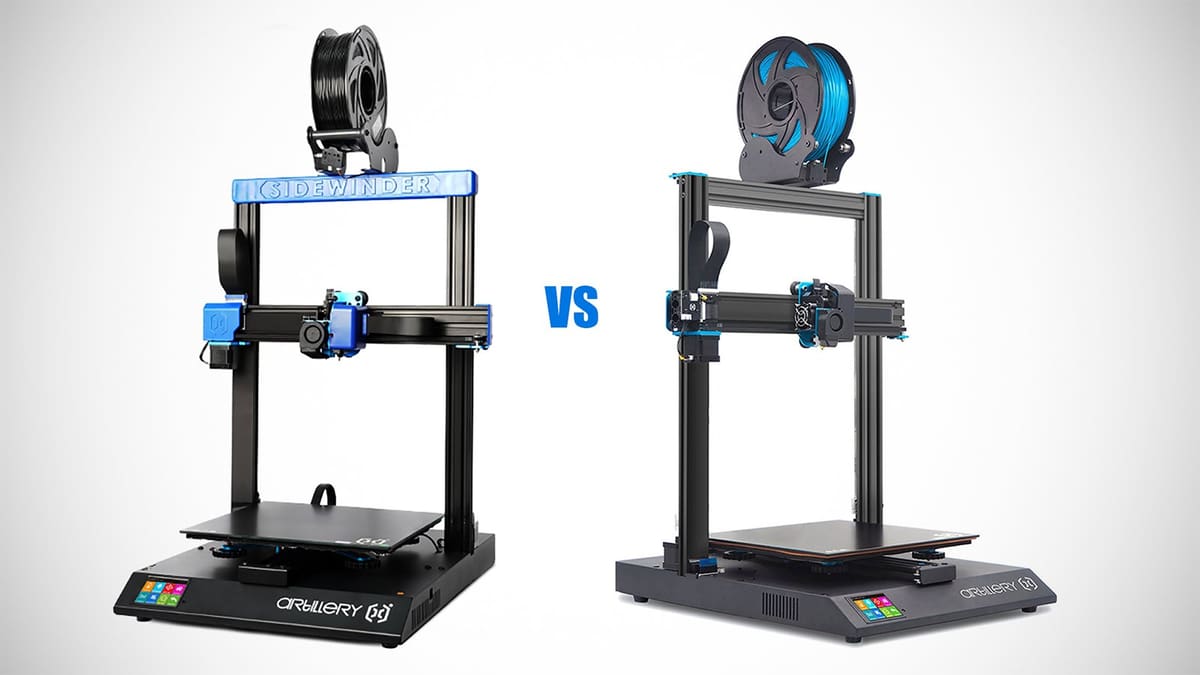
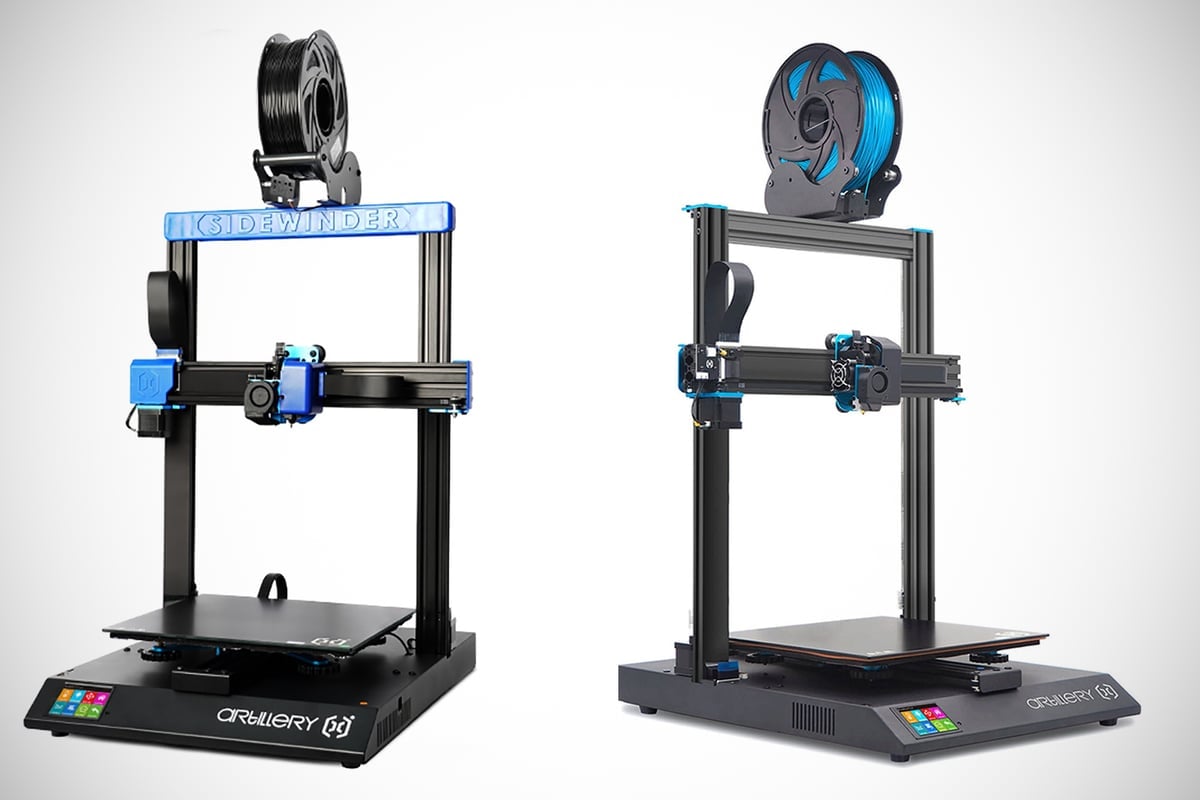
Before we fix our aim on the differences, let’s quickly recap what the original Sidewinder X1 was all about and what has been carried over to the new X2. You can probably tell from just looking at the two printers side by side that a major overhaul is not what we are in store for here.
The Sidewinder X2 offers a similar appearance, spacious 300 x 300 x 400 mm build volume, and fast-heating tempered glass bed. With its Titan direct drive extruder and Volcano hotend, the Sidewinder X1 was well equipped for a number of filaments and print speeds, and we expect much of the same from the X2.

Printing with the Sidewinder X1 was convenient, even though we faced some drawbacks, such as the unevenly heated print plate or the potential Z-axis wobble at high altitudes and print speeds. Nonetheless, the out-of-the-box experience was fun, and we would still recommend it to beginners (with the patience to possibly tinker further down the road) as well as experienced users. It’s a solid starting point capable of great prints.
Now that we’ve freshened up our memories on the X1, let’s get in and what the new Sidewinder X2 brings to the war table.
The Differences
Automatic bed leveling
Arguably the Sidewinder X2’s most prominent upgrade is the automatic bed leveling probe. Its predecessor already featured a five-point assisted leveling system, that, while you had to turn the knobs until the bed was even, sped up the process quite a bit. Constant re-leveling of the X1 was unnecessary, as the bed was not removable and pretty sturdy in its posture.
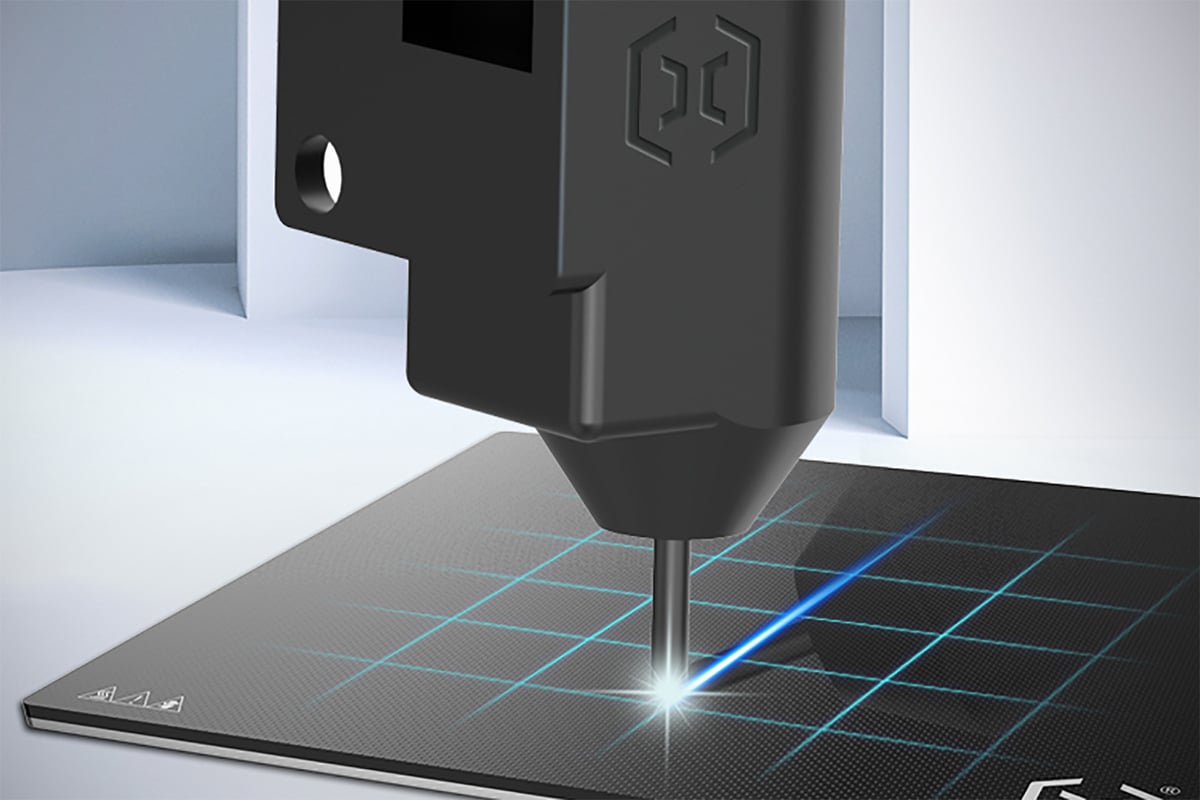
Nevertheless, no reason not to go automatic. The X2 does so using a “physical probe style” sensor that, from the looks of it, appears to be pretty BLTouch-y.
Automatic bed leveling is not the pro-only feature it was a couple of years ago. In fact, it is making fairly frequent appearances on budget 3D printers these days. Having the leveling process done meticulously and automatically should add to the X2’s ease of use, print quality, and overall print success rate. As such, the upgrade is a logical step, even though we never really missed automatic bed leveling during our time with the old X1.
With the use of the bed leveling probe, Artillery decided to cut the Z-axis endstop, as it is, theoretically, no longer needed. It does come with the connector cables though, so you can go DIY on this thing and mod it to your liking.

Learn more
Improved Wiring
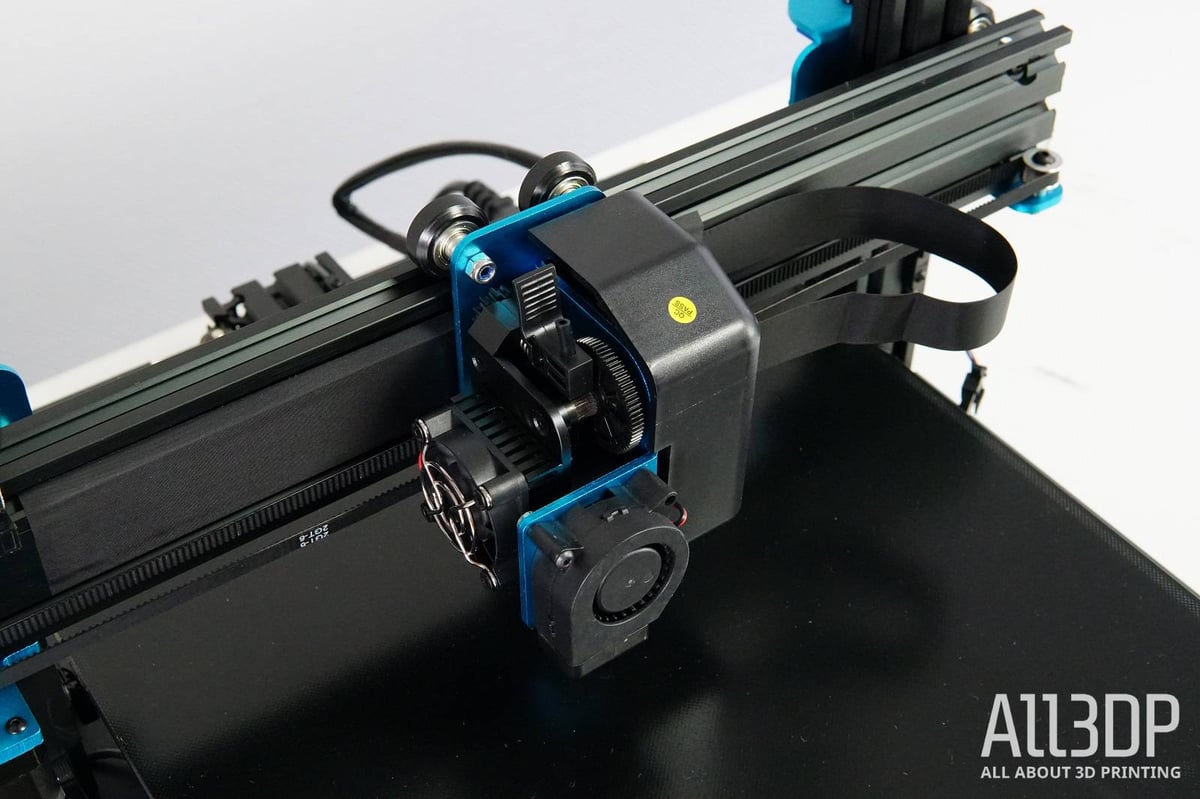
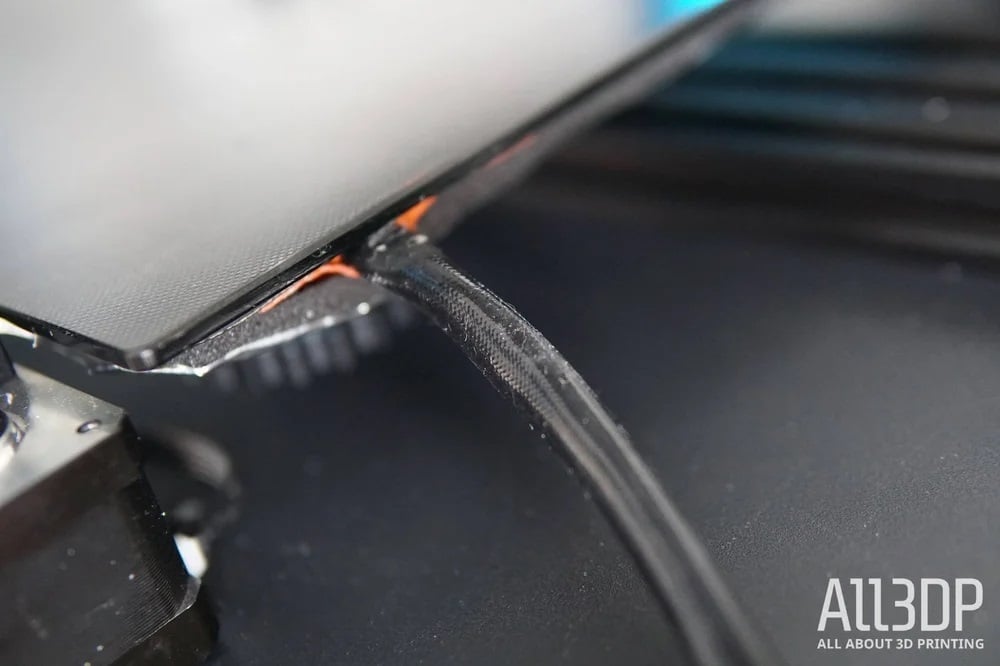
Ribbon cables
One of the main talking points of the Sidewinder X1 was its cable wiring, especially the use of ribbon cables. When we reviewed the X1 back in the day, we quite liked the choice from a design perspective. Typically, budget desktop 3D printers were known to come with a pile of spaghetti-like cabling that, more often than not, removed any chances of a professional vibe about the machine. However, with its neatly arranged ribbon cables, the Artillery Sidewinder X1 clearly deviated itself.
Well, it almost worked for Artillery. But, it discovered through the X1 that design choices and functionality are two different cups of tea, as some users reported the ribbon cables wearing out or breaking at the connector pins over time due to rapid motion. During our time with the X1, we faced no wear and tear, nor encountered any stress on the cables, but we only spent a couple of weeks with it, compared to continuous usage over months and years that users gave it.
However, despite some complaints there were still a lot of happy customers out there, who seemingly had no problem with any cable wear. And for those that did, nifty tinkerers came up with a bunch of 3D printable cable covers and strain reliefs to counter any potential wear from the get-go.

For the Sidewinder X2, Artillery has once again decided to opt for ribbon cables, the only difference being this time they come pre-installed, meaning no there’s plugging in required of the user.
From the looks of it, the connector pins do feature a little plastic cover that could add to the overall longevity and mitigate the need to emend the printer right away with 3D printed parts. Only a hands-on stress test will tell, however.
Strain relief
What definitely will help improve the longevity of the X2, and on top of that, your personal safety is the use of strain relief for the heated bed.
Unlike most 3D printers, the Sidewinder does not use a DC-heated, 24V bed. Artillery instead went the whole nine yards and featured a 220/110 V (depending on your region) AC-powered bed, which allowed it to perform some speedy bed heating. Sounds wonderful, right? The only problem for the X1 was that the cable had no strain relief. With the risk of getting seriously zapped, we advised users to go for a 3D printed strain relief to minimize the risk of a potential electric shock.
Maybe Artillery realized it was playing just a bit too fast and loose with the health of its customers, but the Sidewinder X2 now features a strain release as well as an upgraded, more durable wiring for its heated bed. Electrifying news.
Learn more
New Mainboard
One less visible change is the upgrade in brainpower. Whereas the X1 was running all its tasks on an 8-bit mainboard (Makerbase MKS GEN L), the new X2 quadruples its grey matter with Artillery’s self-developed 32-bit Ruby mainboard.
From our time with the X1, we didn’t see it as slow on the uptake, but in following the cross-manufacturer trend of increased processing power, Artillery certainly can’t harm the X2. The 32-bit mainboard should allow for smooth operation and, as it is open-source, upgrades.
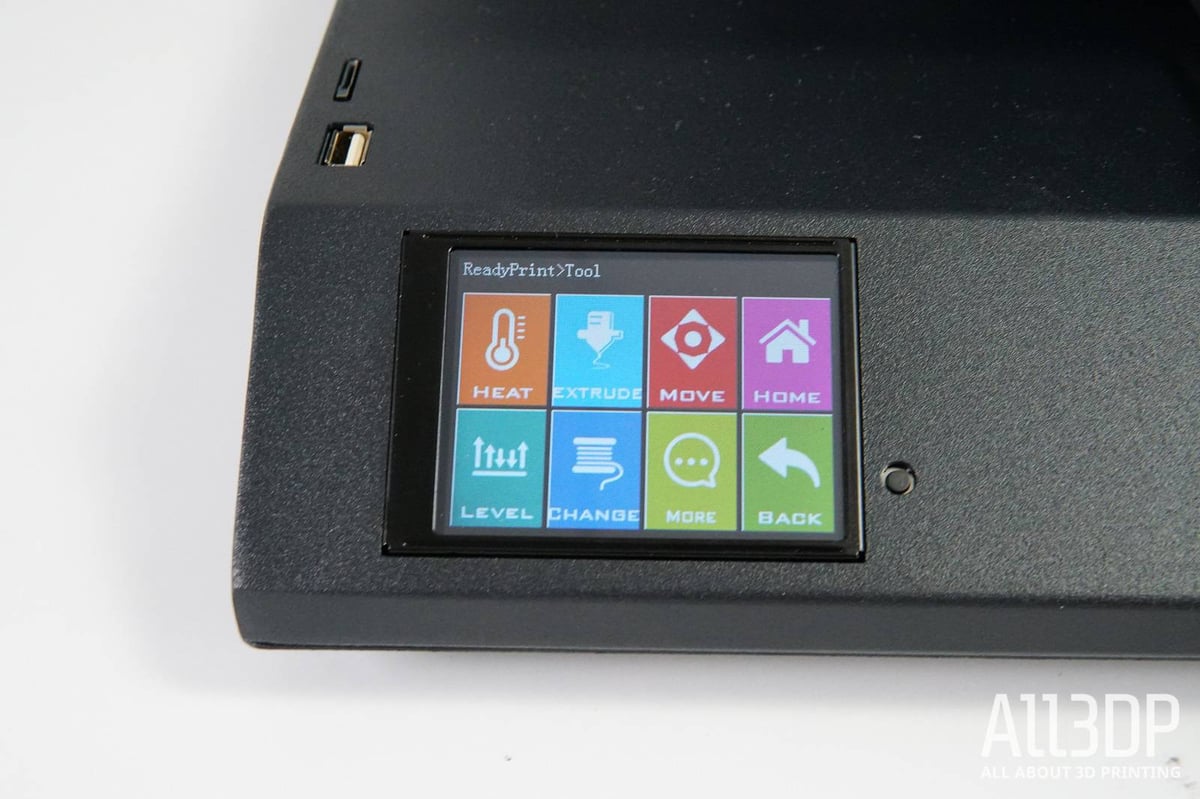
Through the X2 has received a step up in processing power, the user interface and connectivity options appear to be unchanged. The printer still comes with its colorful UI, ready for you to poke at on the printer’s 3.5-inch touchscreen and USB connectivity. It would have been nice to see this upgraded too.
Learn more
New-ish design
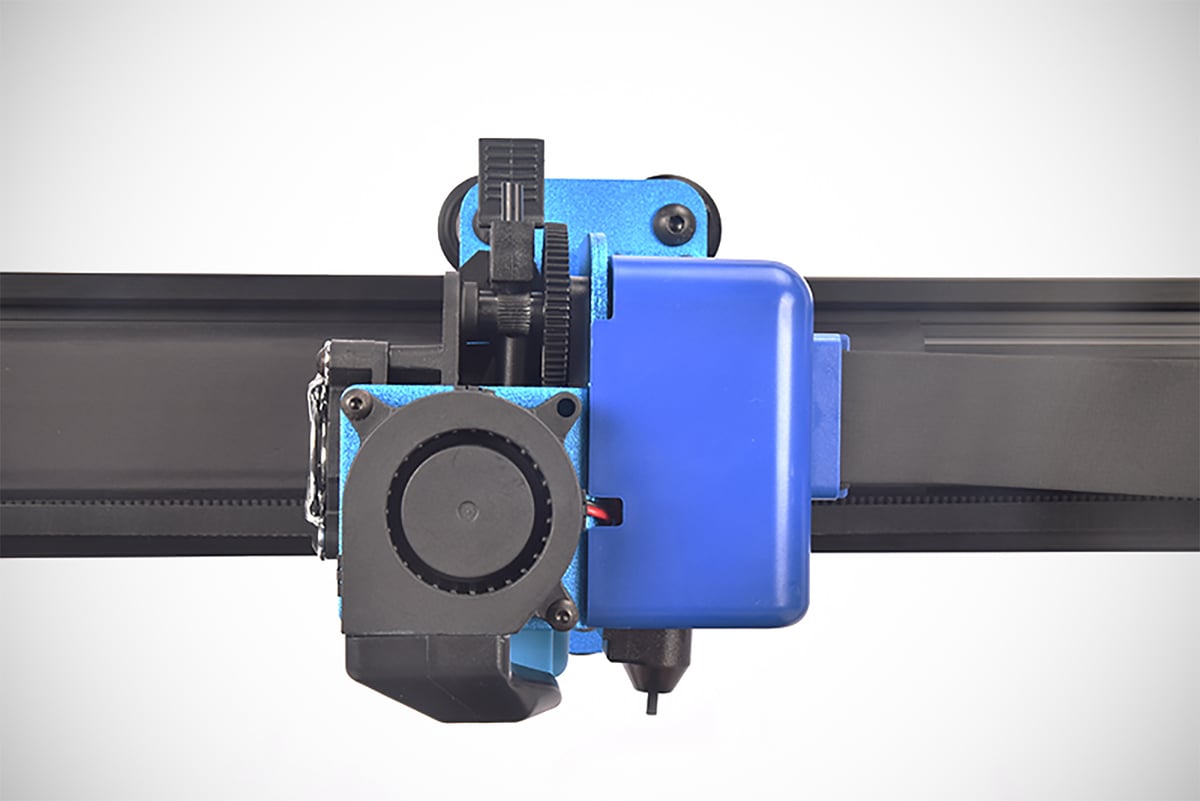
Last but not least, the X2 also comes with a fresh design, of sorts. For the X2, Artillery has embellished the stripped-down look with some blue plastic garnish. The large plastic Z-axis front with the “Sidewinder” name is probably the easiest way to distinguish the X’s from a distance.
The print head cover, some snap-on end parts for the brackets, and the ribbon cable connector covers are also held in blue hues of plastic. Still, it is arguably only the latter that provides anything beyond an aesthetic benefit.
Artillery has also included a plastic crossbar for its filament holder, something that was somewhat of a mandatory first print on the X1. The stock filament holder was badly designed and required some immediate DIY countermeasures courtesy of community-designed solution. Artillery has now formally adopted this fix for the new model.
The newish design strongly reminds us of the X’s little brother, the Artillery Genius, though. It looks like someone in the R&D department might have had the idea of giving these printers a family face. In any case, we liked the Sidewinder X1’s (and the Genius’) sleek and professional appearance, which, for the most part has been carried over to the X2.
Learn more
License: The text of "Artillery Sidewinder X1 vs X2: The Differences" by All3DP is licensed under a Creative Commons Attribution 4.0 International License.
CERTAIN CONTENT THAT APPEARS ON THIS SITE COMES FROM AMAZON. THIS CONTENT IS PROVIDED ‘AS IS’ AND IS SUBJECT TO CHANGE OR REMOVAL AT ANY TIME.